RenderForm is an easy way to create engaging banners using a drag & drop web-based editor. We put great effort to make it very easy to use. RenderForm focuses on templates' creation, which allows you to reuse those templates later for other purposes. It allows you to quickly generate banners with different, texts and images keeping style of your blog or business.
Basics
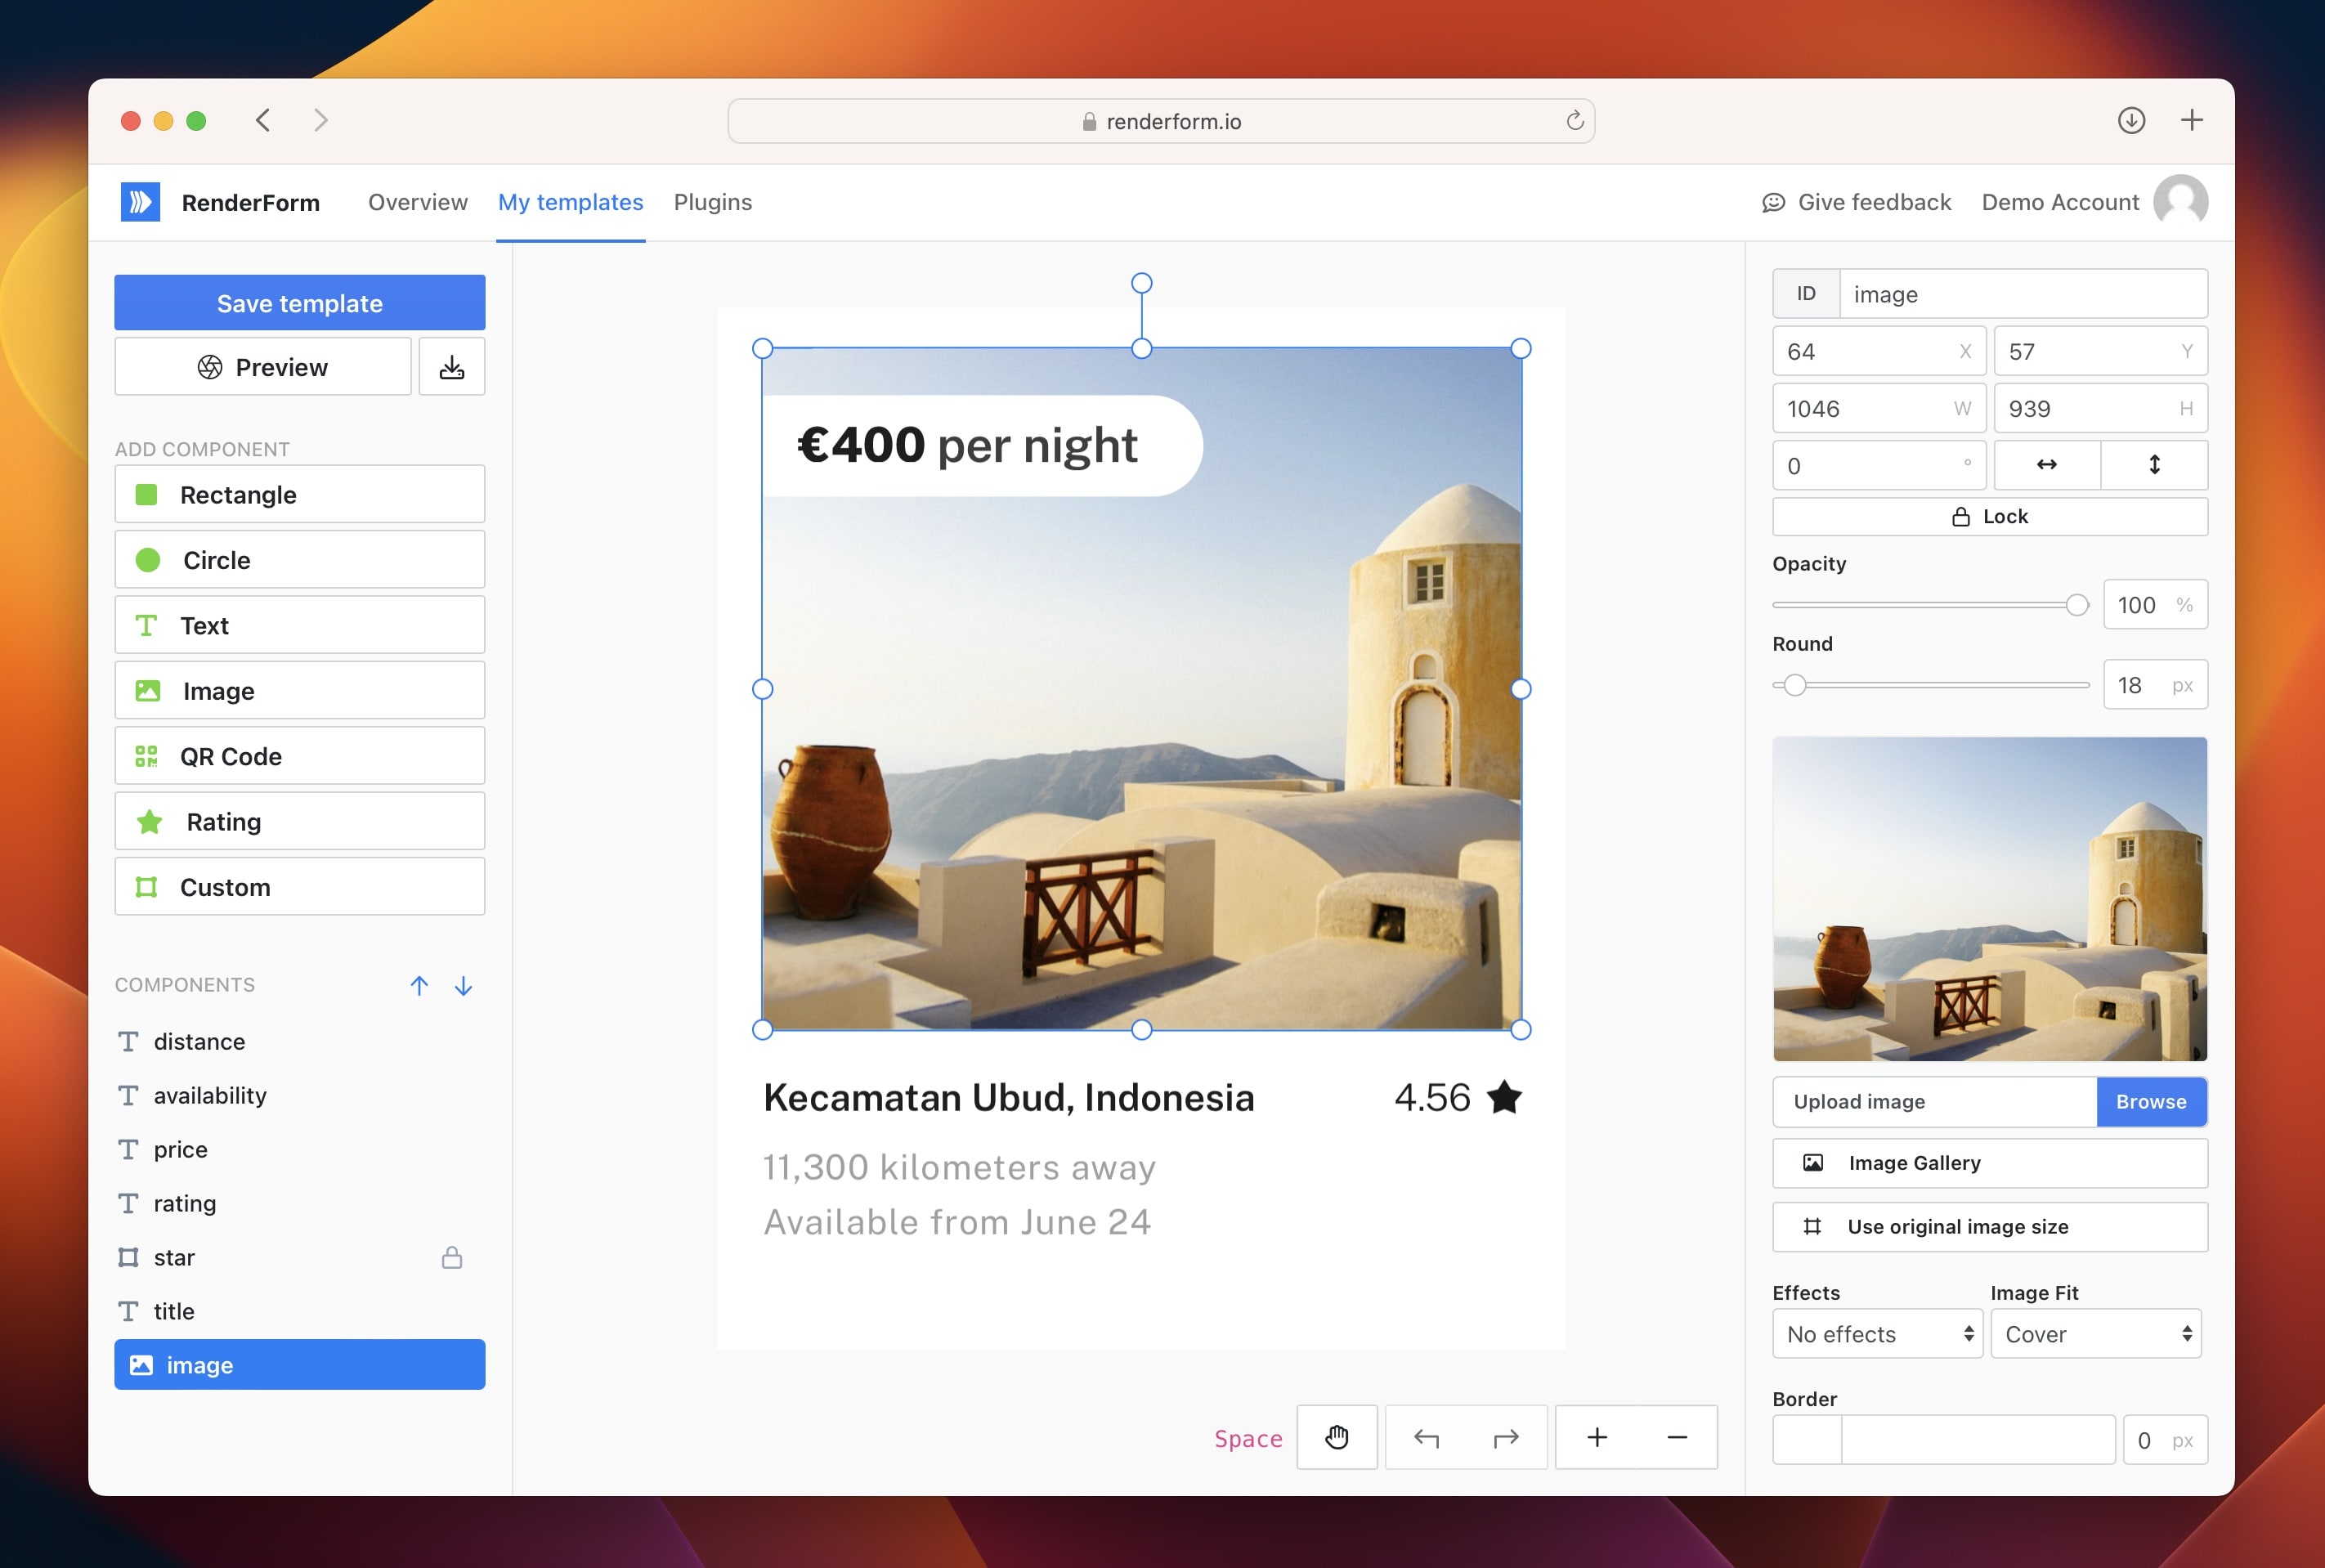
Toolset and component list
On the left side there is your toolset. There you will find the list of all available components, components used in your template, and an option to save your template.
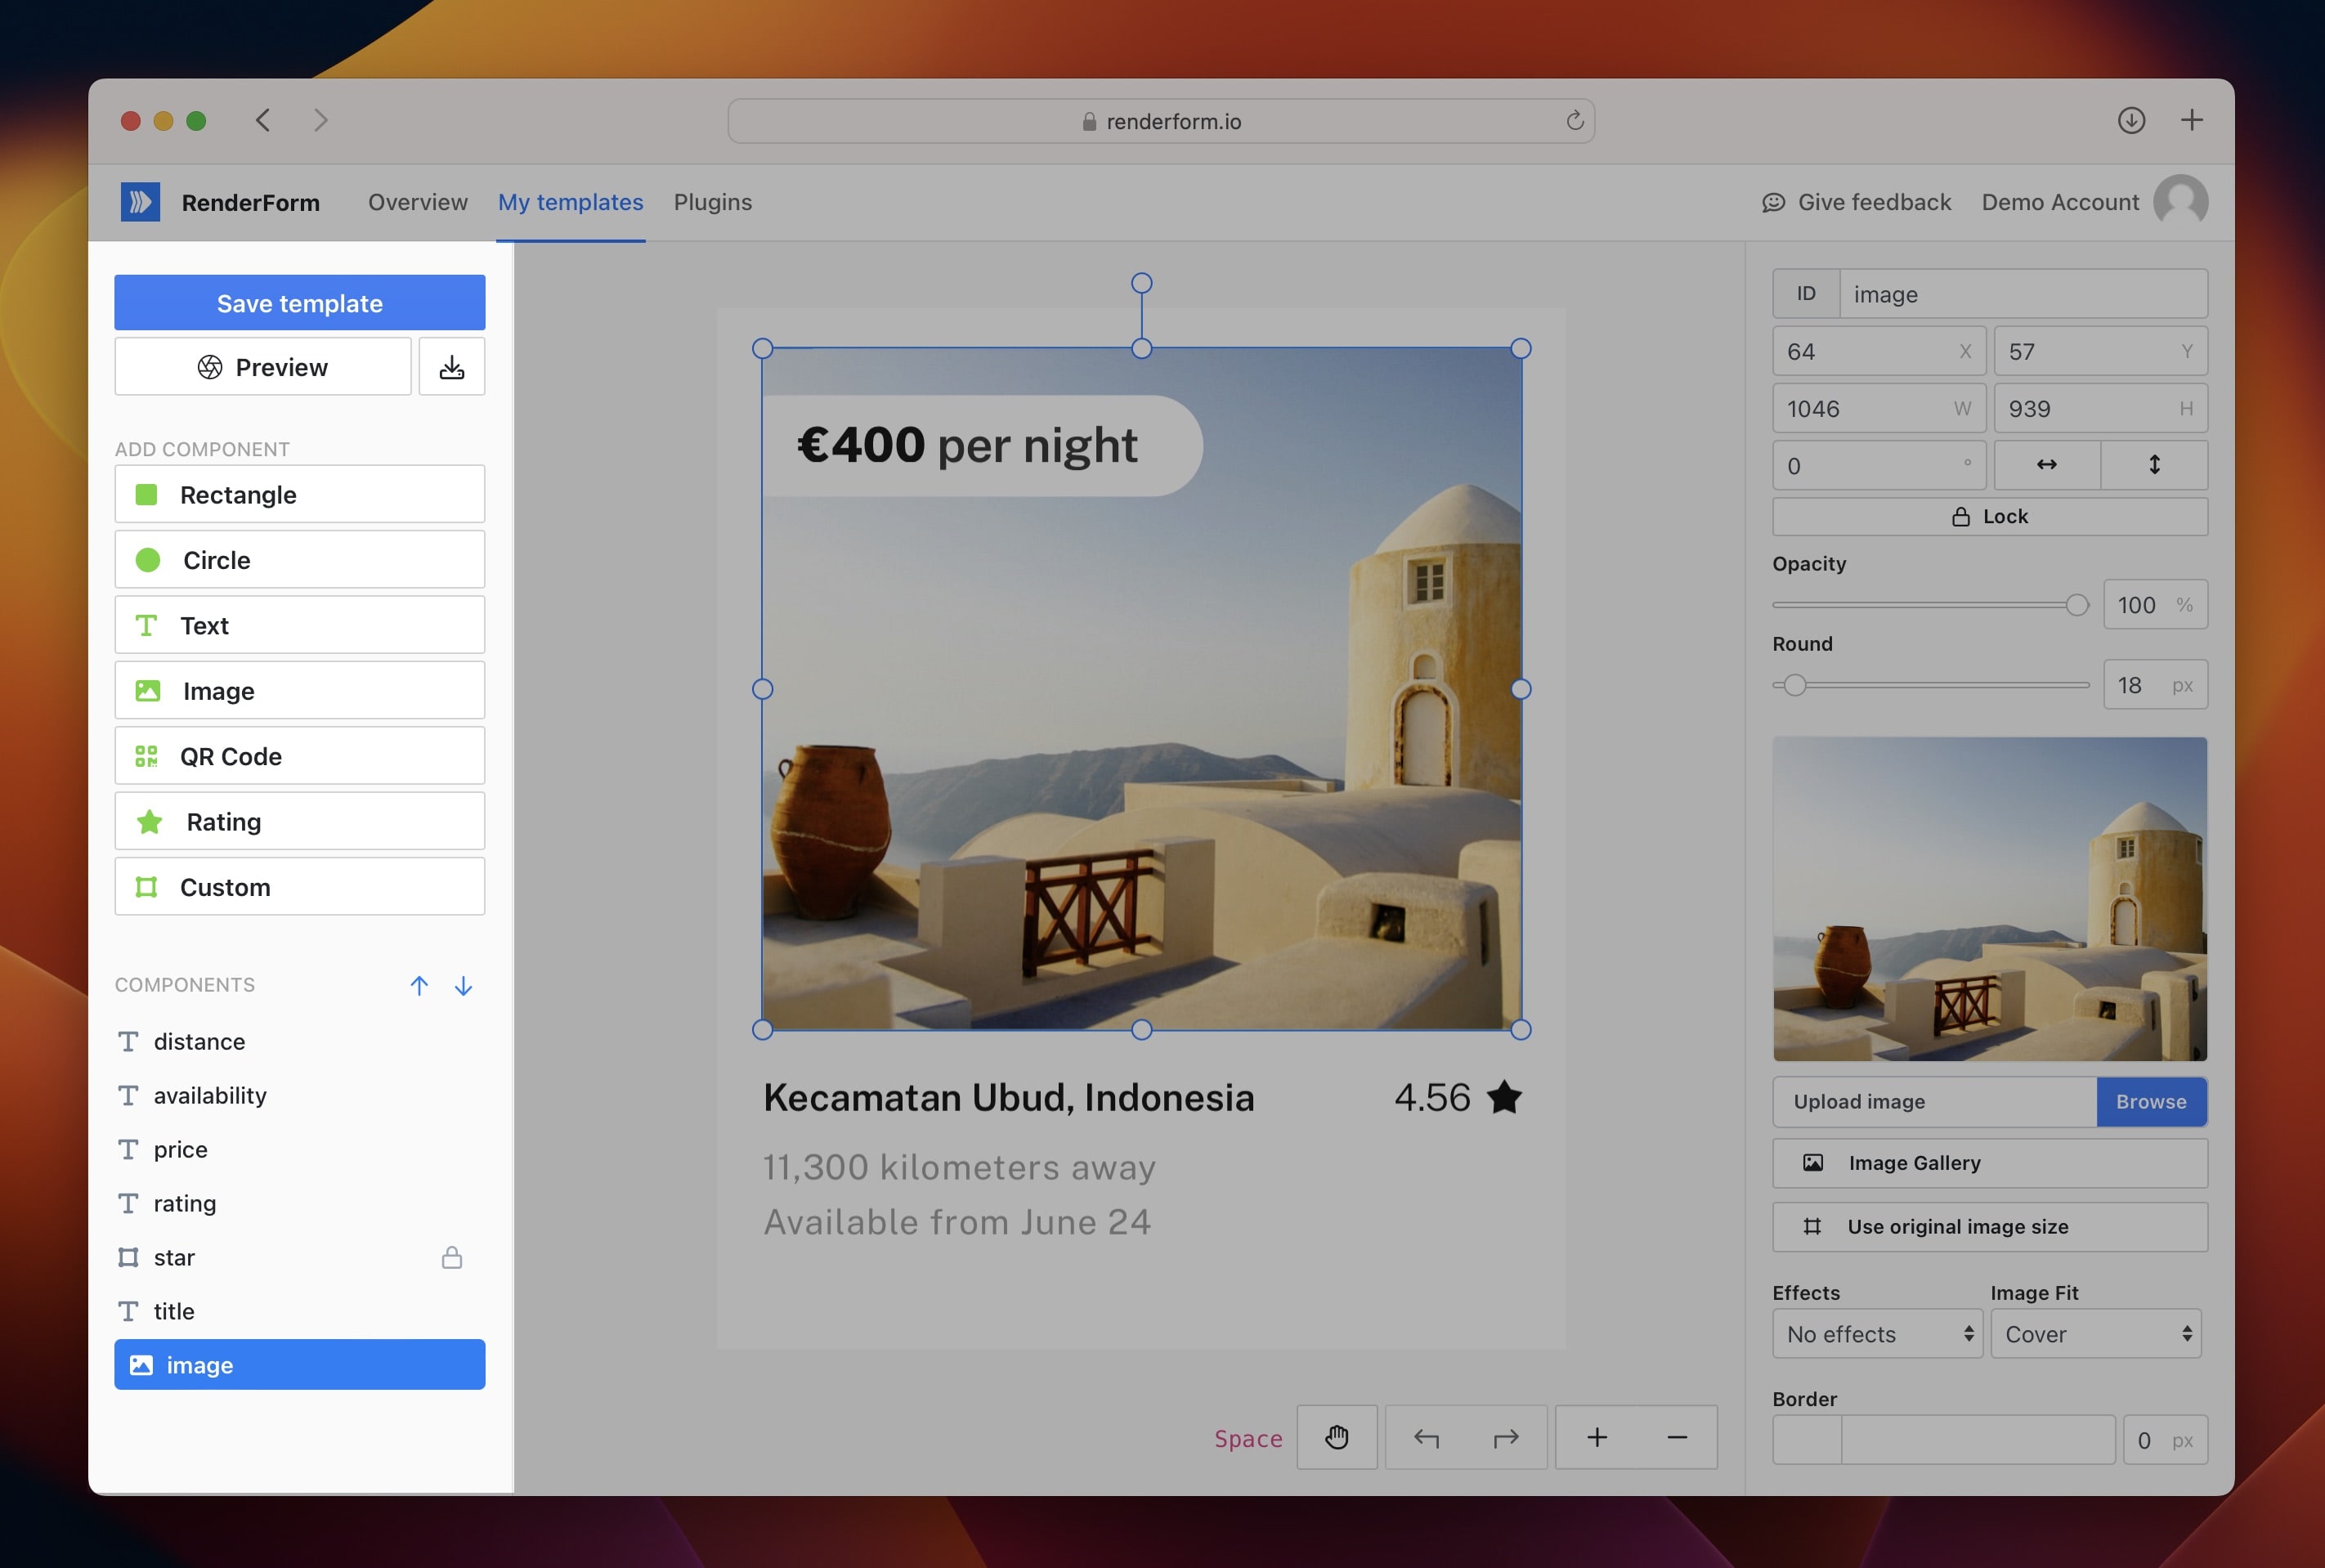
Blue arrows next to the components list allow you to bring a component forward or backward on canvas.
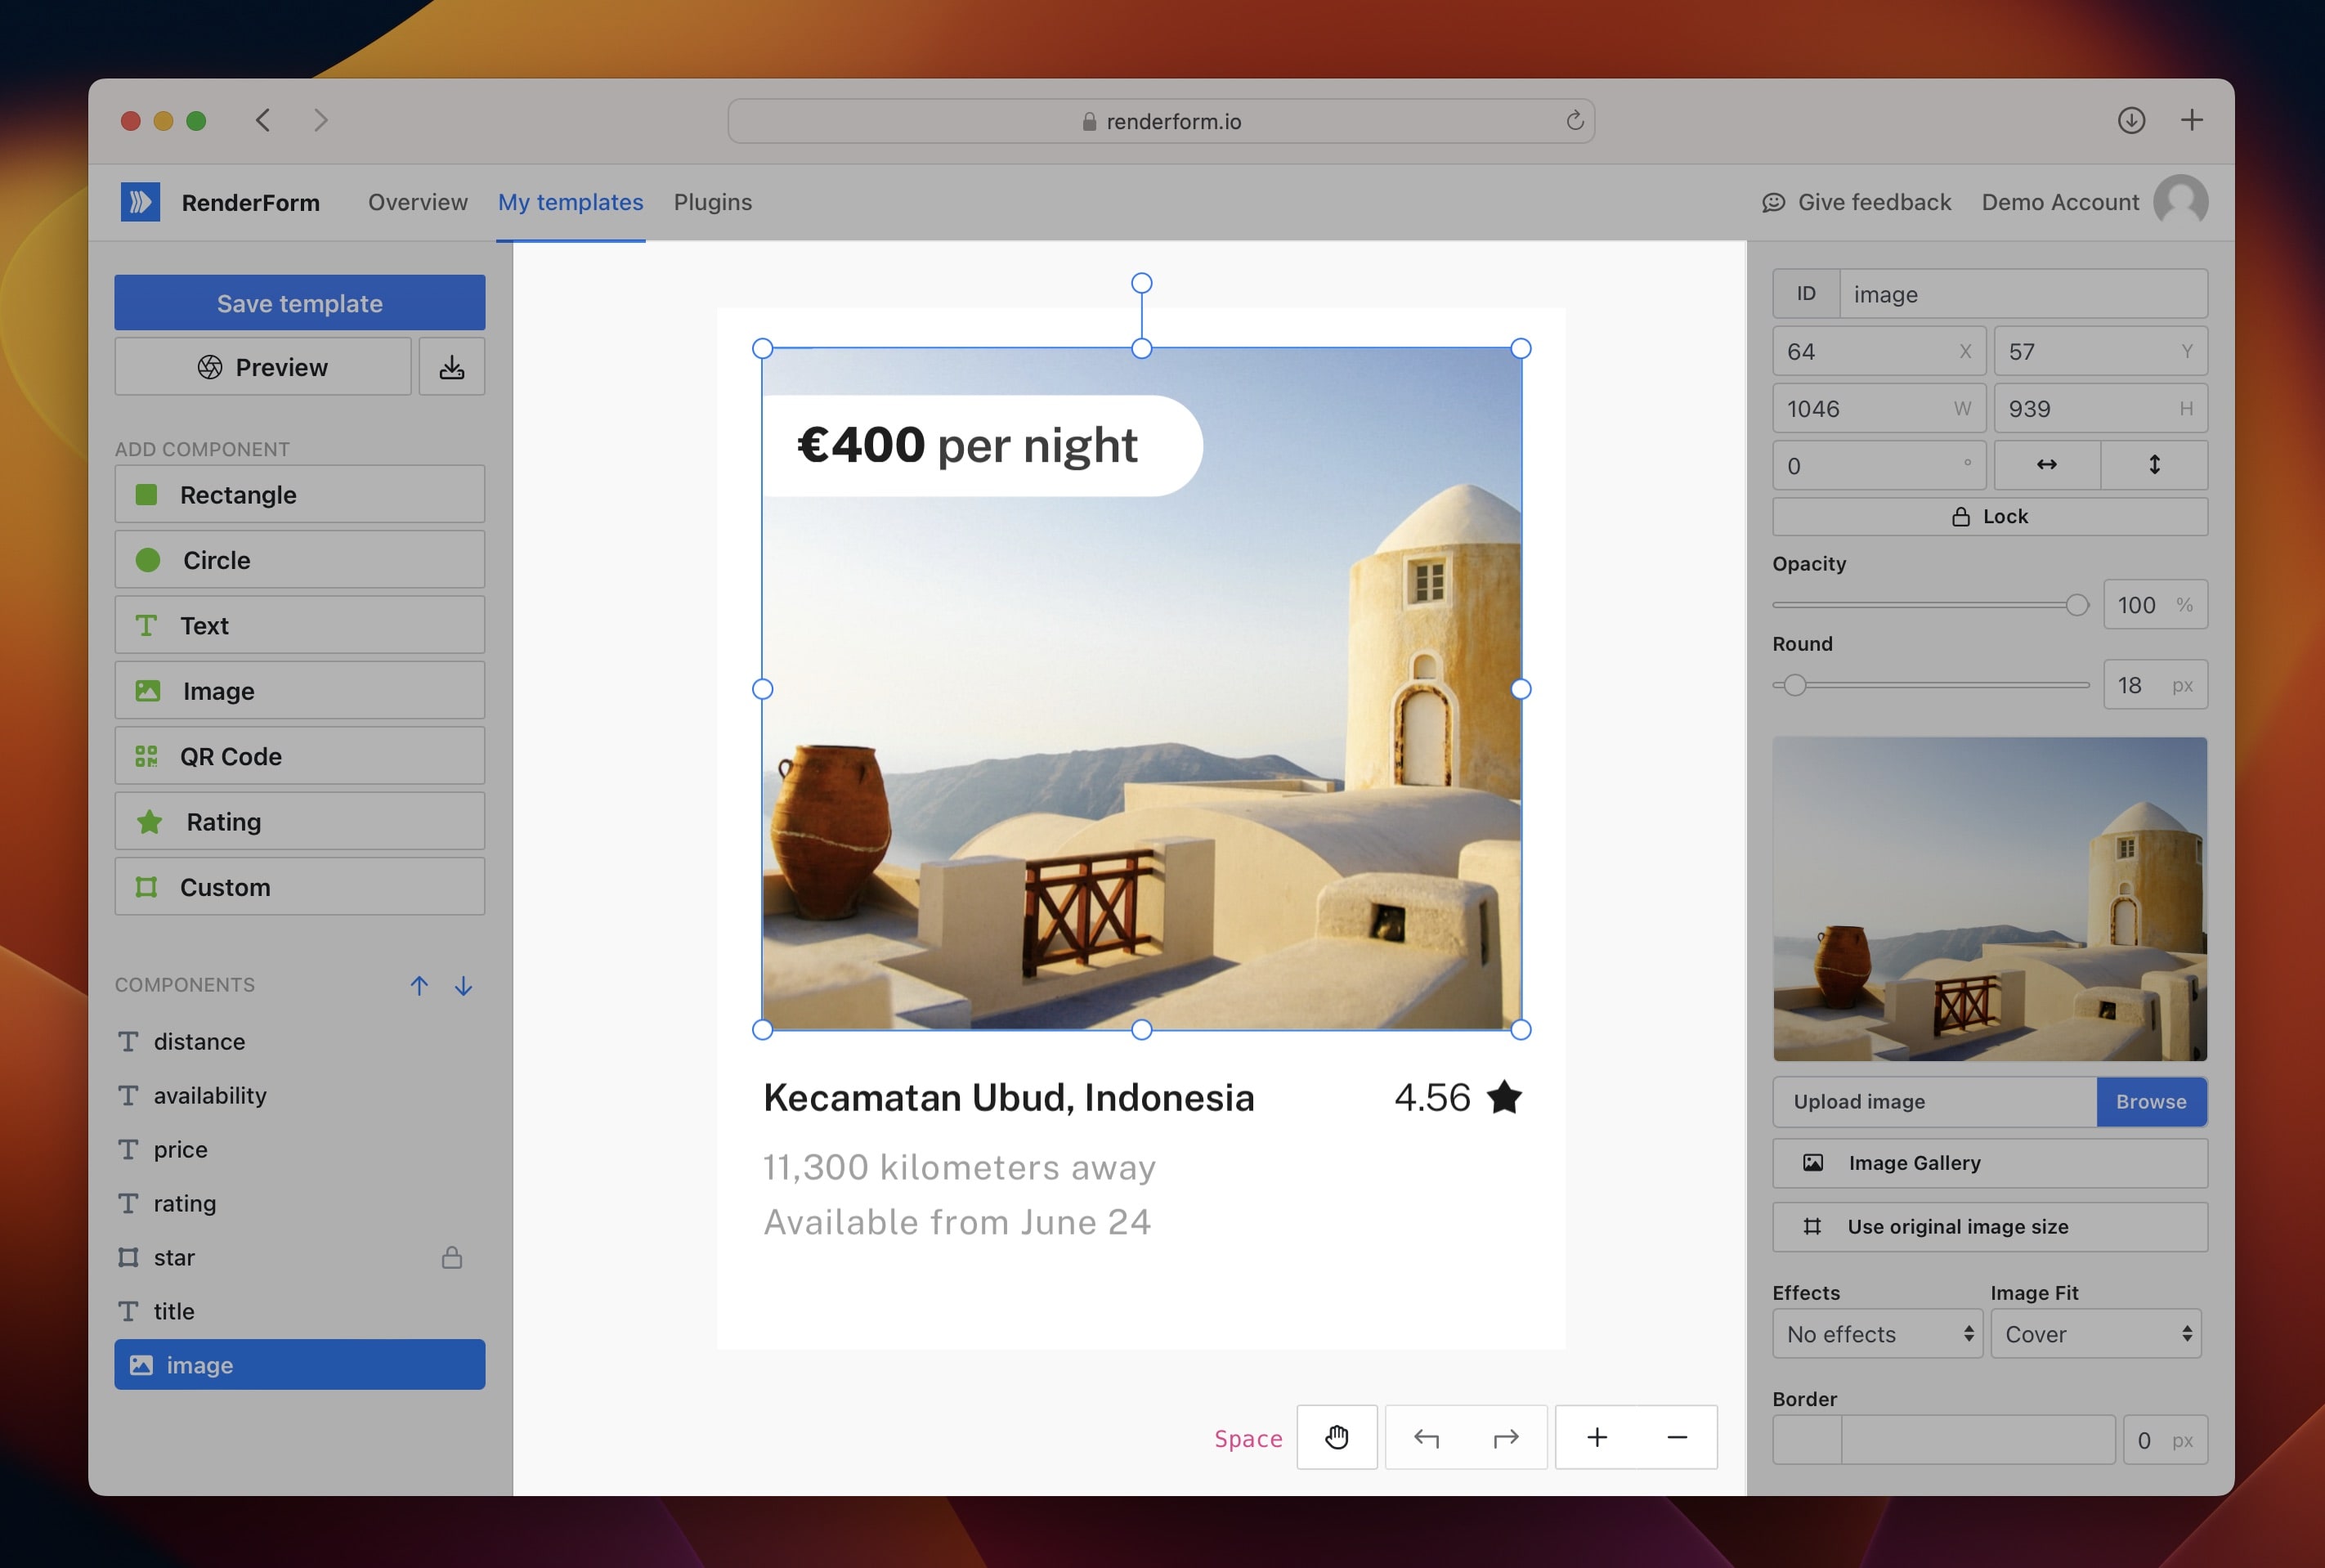
Canvas
The most important part of the editor is its center, the canvas on which you can create and edit your templates.
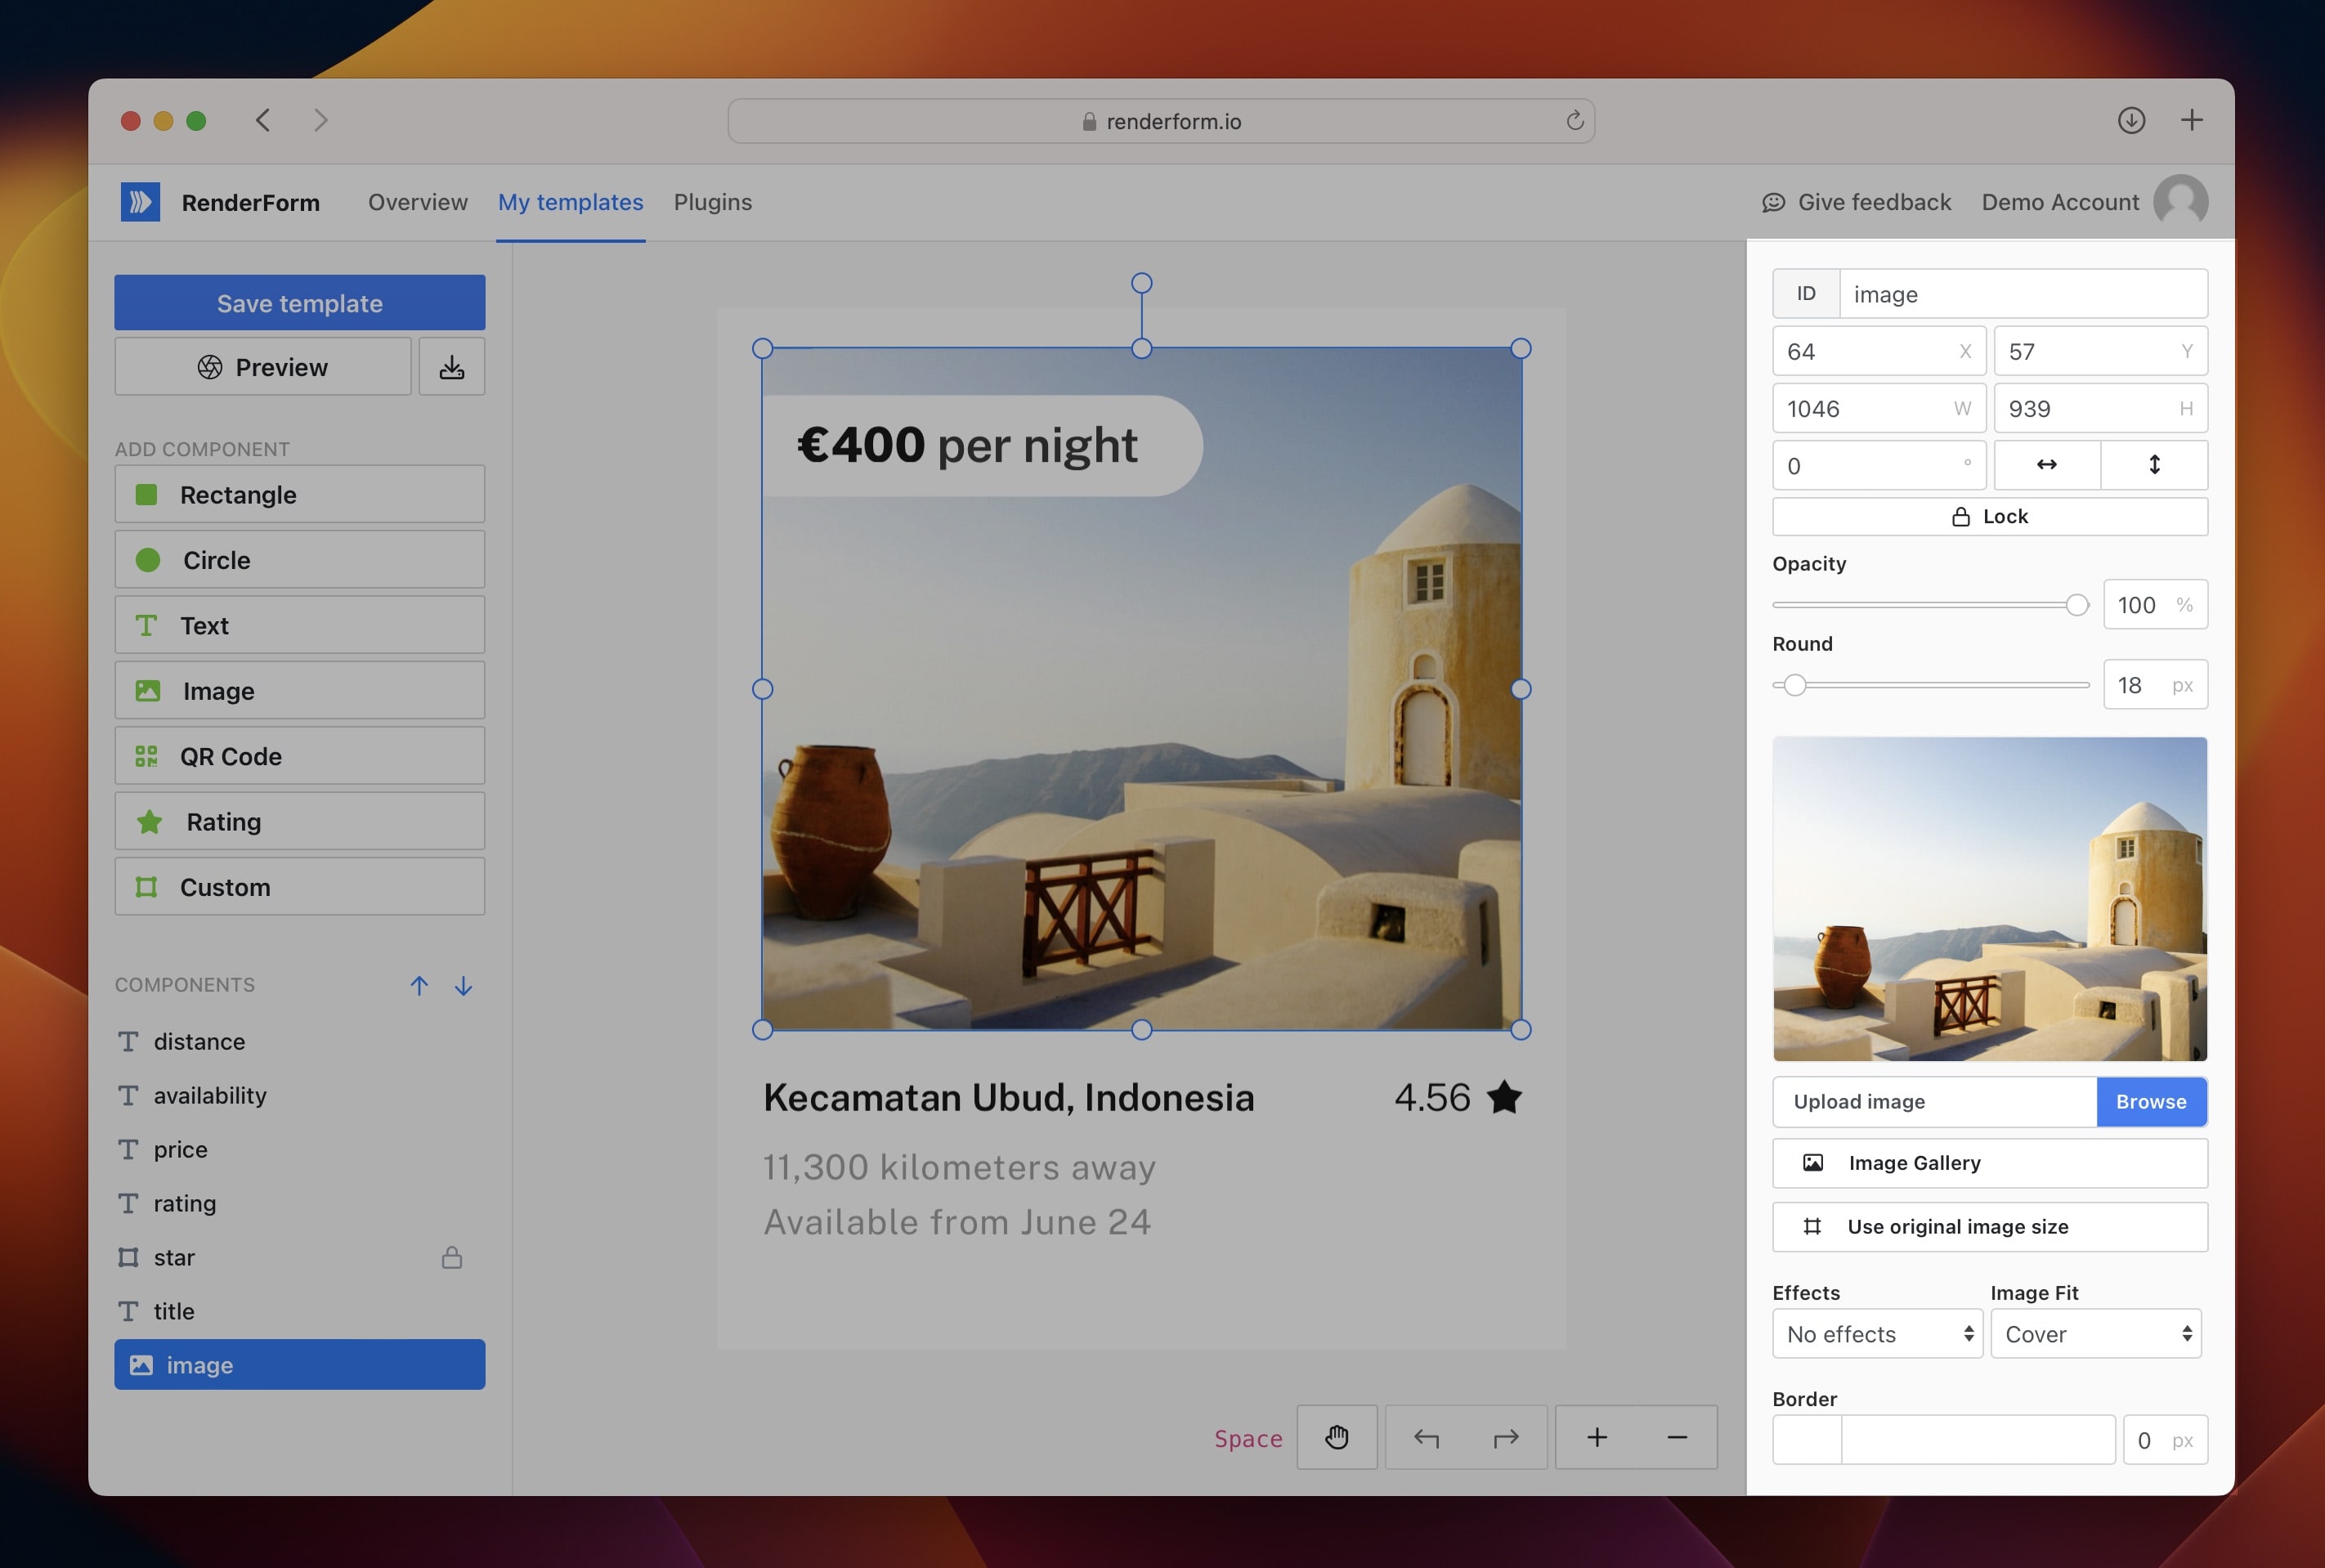
Inspector
On the right side there is Inspector. It adjusts for you depending on the selected element of your template. For example, if you click on the image, you will see an option to change image and image styling. When you select text, you will be able to change text and text styling.
Masks
A mask lets you show a component only inside the outline of another one. It is the easiest way to crop a photo into a circle, put an image inside a custom SVG shape, or fill text with a picture.
Applying a mask
- Add the component you want to clip (for example an image) and, on top of it, the shape that should define the visible area (a rectangle, a circle, an SVG shape or a text).
- Select both components at once: hold Shift and click them on the canvas, or Shift-click them in the components list.
- In the Inspector click Use top shape as mask.
The component that is higher in the layer order becomes the mask, and the component below it is clipped to the mask's outline. Everything outside the shape becomes transparent. If the wrong component was used as the mask, remove the mask, use the blue arrows in the components list to change the order, and apply it again.
Once applied, the mask shape is no longer a separate element: it disappears from the canvas and from the components list and is stored inside the clipped component. It keeps exactly the position, size and rotation it had on the canvas, and from now on it moves, scales and rotates together with the clipped component, so you can drag the masked image around as a single element.
A few rules:
- Exactly two components must be selected. The artboard can't be part of a mask.
- Only the outline of the mask matters. Its fill color is not rendered, so you can use any color while designing.
- Any component can be a mask, but shapes, SVG shapes and text give the most predictable results.
- The mask is saved with the template and applied every time the template is rendered through the API, so a merge tag that replaces the masked image will still be clipped to the same shape.
Removing a mask
Select the masked component and click Remove mask in the Inspector. The mask shape is put back on the canvas exactly where it was visible, becomes selected, and can be moved, resized or replaced. To adjust a mask, remove it, change the shape, and apply it again.
Video templates
The Advanced Editor can also produce short animated clips. Pick the Video tab when creating a template to get a timeline, per-element timing and Enter/Loop/Exit animation presets. See Video templates to learn more.
Play with the designer, you can't break it, it's in the cloud! We will take care of everything!