The Embedded Editor is a version of the editor that can be embedded into your own website or application. It provides an editor similar to the one you see in the dashboard, but it has some limitations and disables access to certain features like: tags, exporting templates, image gallery, render settings, and preview mode.
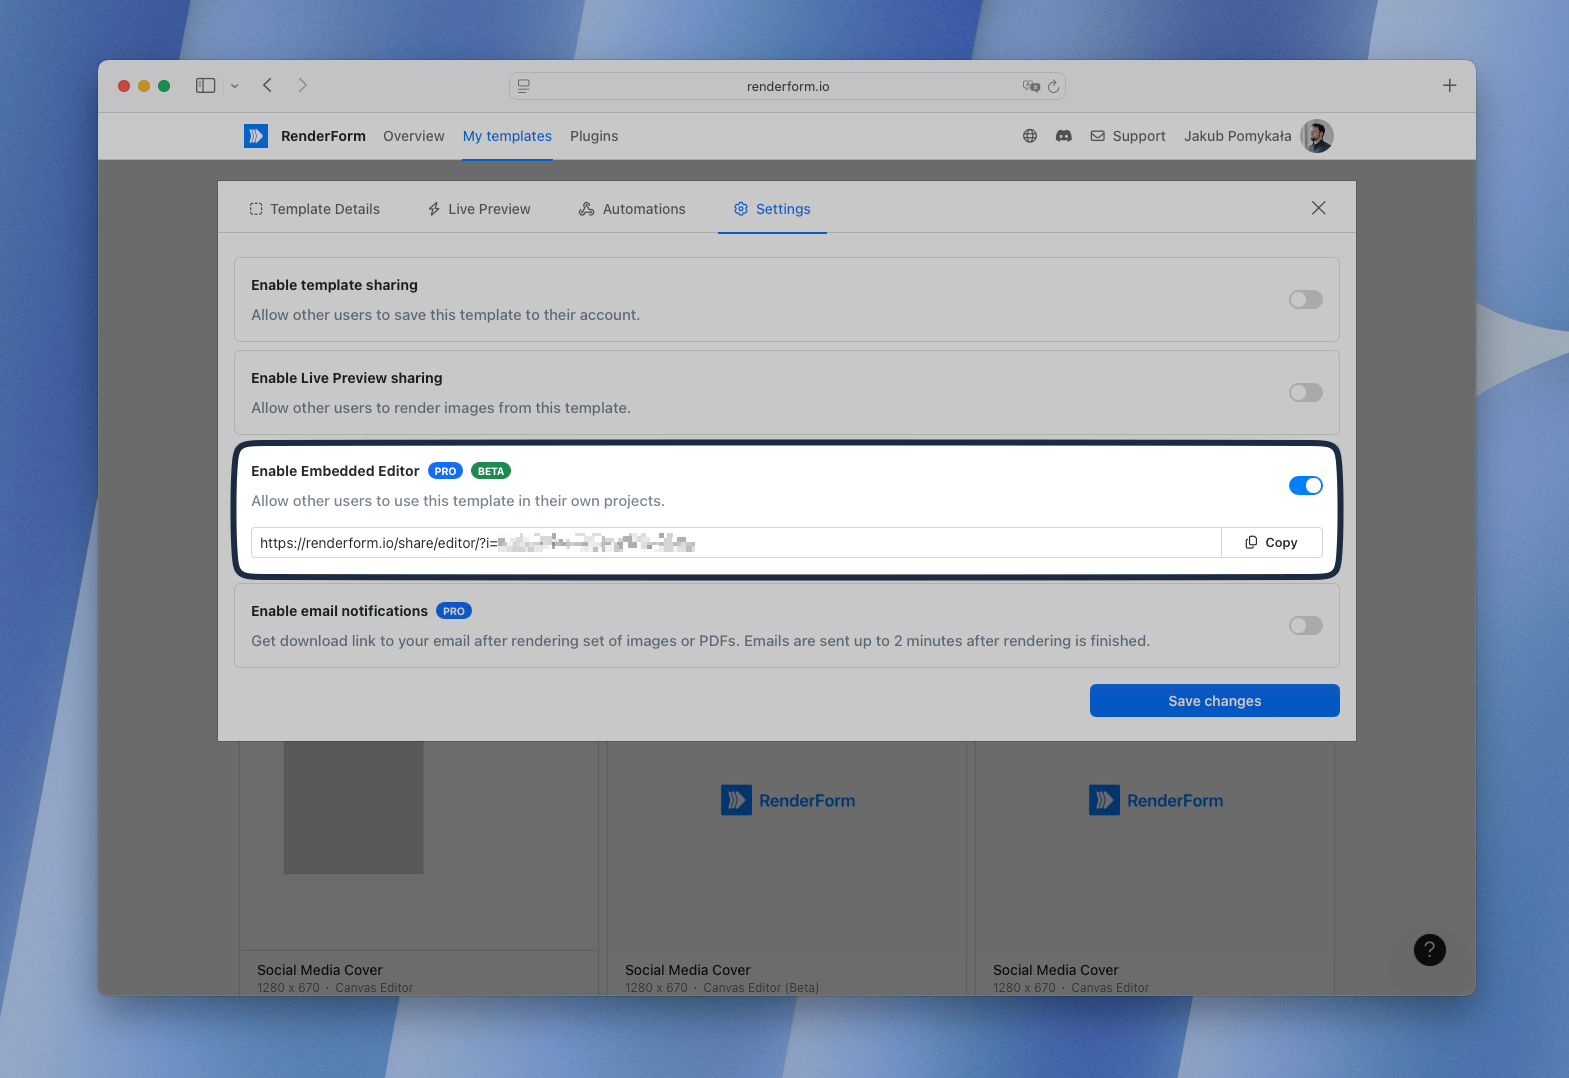
To use the Embedded Editor, you need to create a template in the dashboard first, and enable the "Embedded Editor" option in the template settings.
Once you have it, you can embed the editor into your website or application using the following code:
<iframe src="https://renderform.io/share/editor/?i=your-template-id" width="100%" height="800px" frameborder="0"></iframe>
Replace your-template-id with the ID of your template. You can find the template ID in the URL of the template in the dashboard.
You can also customize the width and height of the iframe to fit your needs.
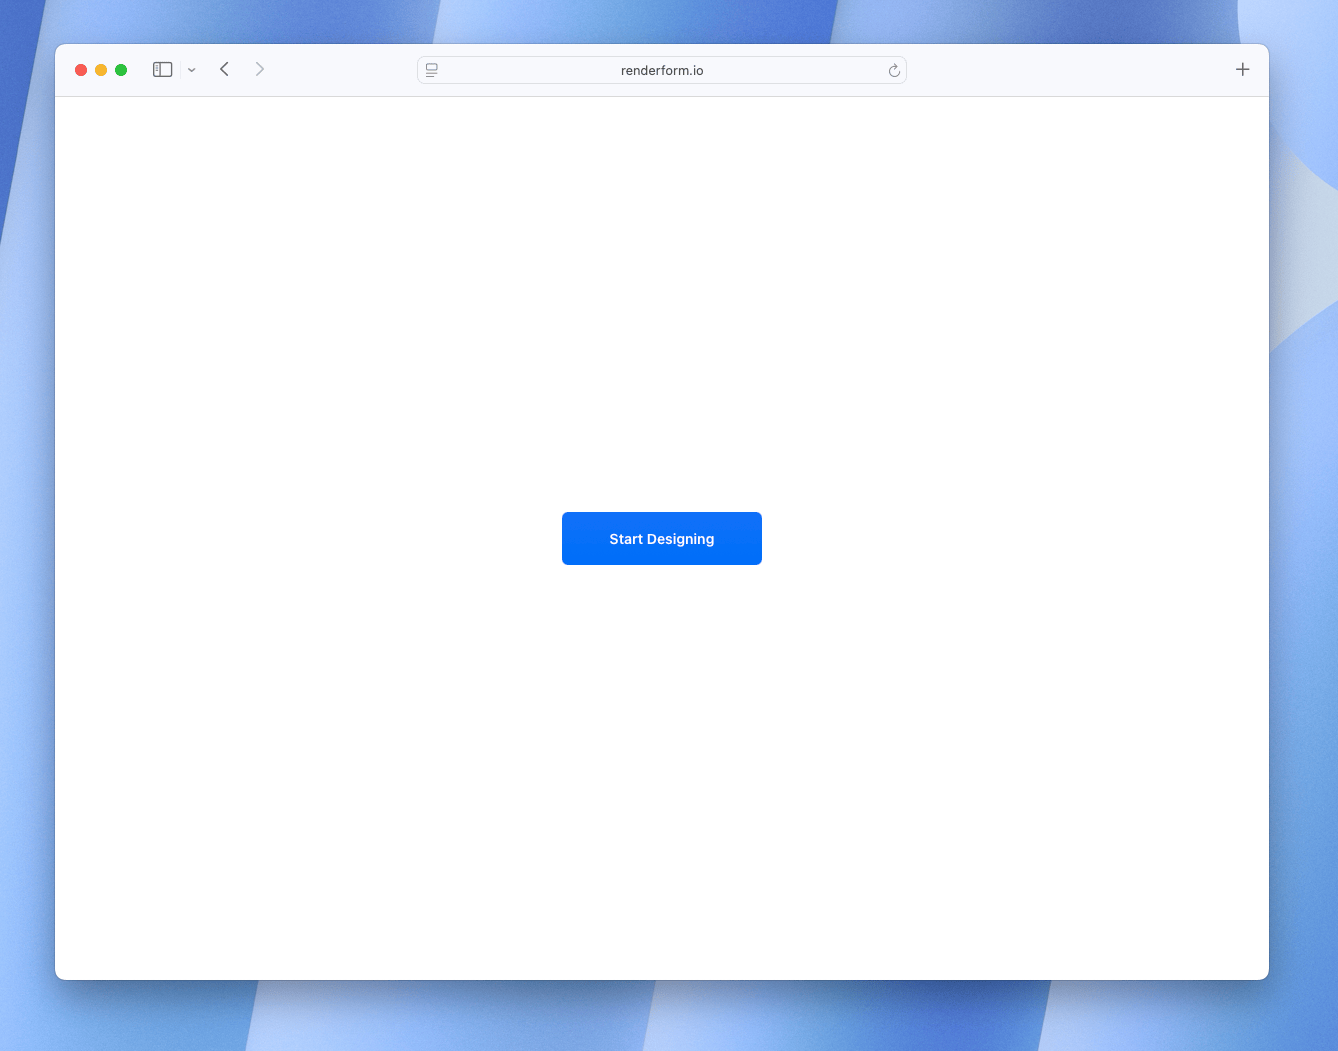
At the start, users will see the "Start Designing" button, which will open the editor with the template you specified.
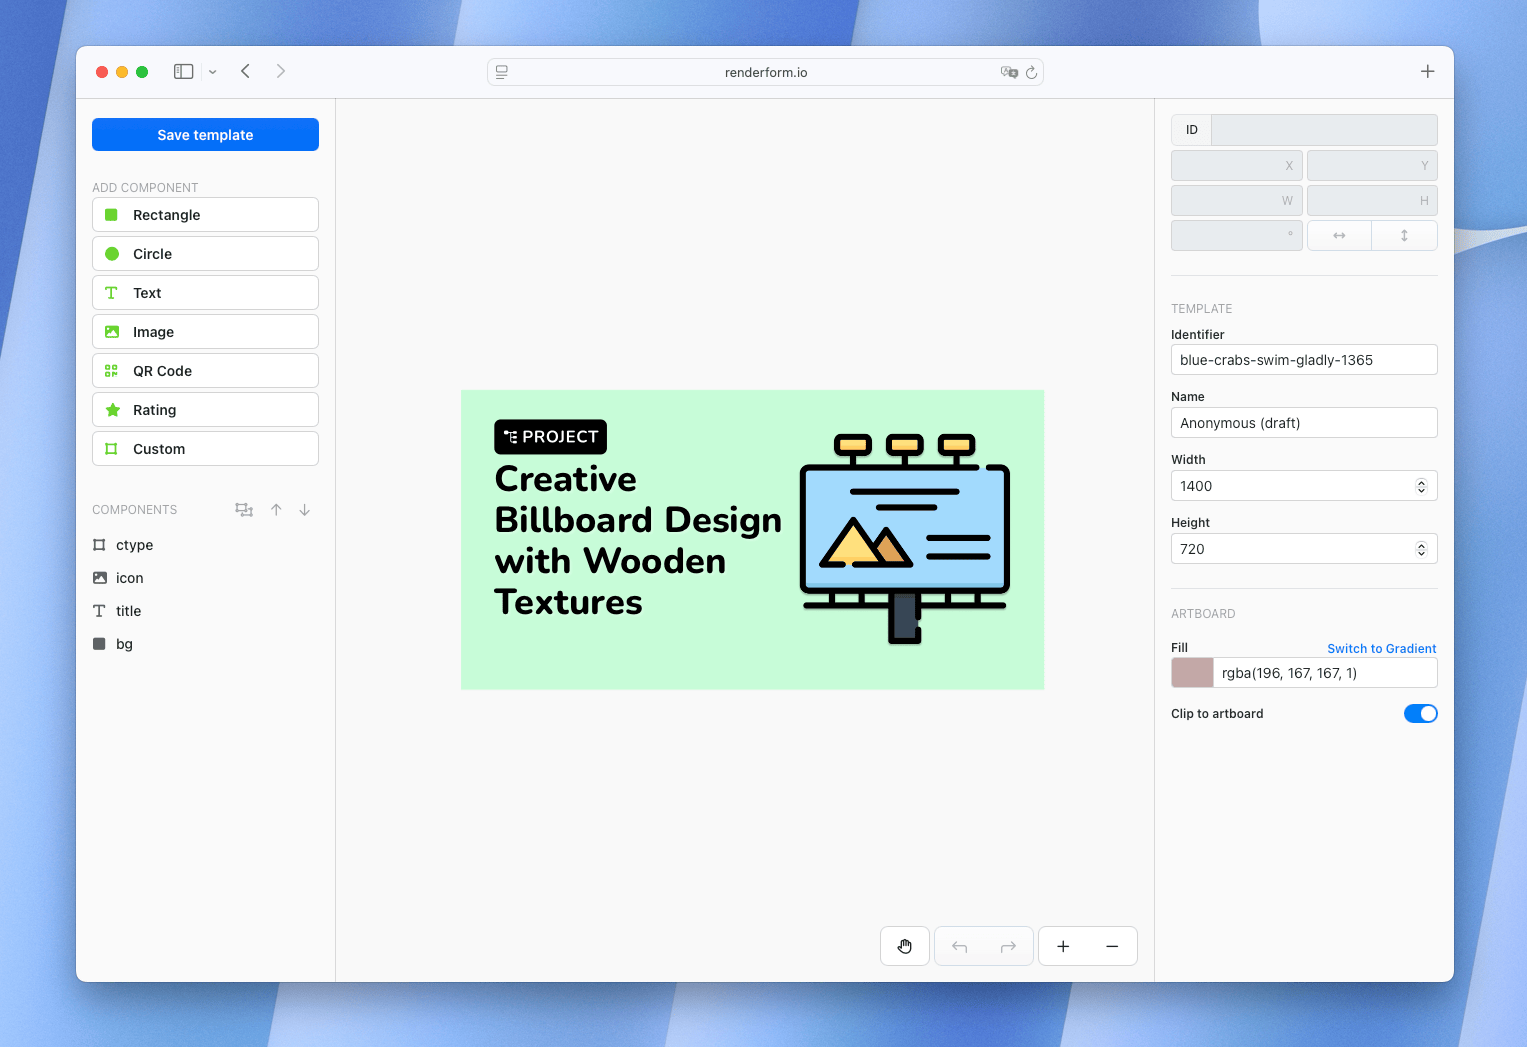
Once the editor is opened, users can drag and drop elements, edit text, change colors, and customize the template as needed, and then save the changes.
Newly created templates will be saved to your account, like any other template created in the dashboard.
Event messages
You can receive messages from the Embedded Editor using the window.postMessage API.
<script>
  window.addEventListener('message', function(event) {
    console.log("Message received from the embedded editor: " + event.data);
  });
</script>
Currently, the following messages are sent from the Embedded Editor:
When the user clicks "Start Designing" button, the Embedded Editor will send a message to the parent window with the following data:
{
  "type": "template:create",
  "templateId": "id-of-the-template"
}
When the user saves the template, the Embedded Editor will send a message to the parent window with the following data:
{
  "type": "template:save",
  "templateId": "id-of-the-template"
}
Custom template name
You can customize the name of the template that will be created in the Embedded Editor by using the tn (Template Name) query parameter in the iframe src attribute.
<iframe src="https://renderform.io/share/editor/?i=your-template-id&tn=Custom%20Template%20Name" width="100%" height="800px" frameborder="0"></iframe>
Use %20 to represent spaces in the template name. This will set the name of the template to "Custom Template Name" when the user starts designing.
Work resuming
If the user closes the Embedded Editor and then returns to it later, they will be able to resume their work from where they left off, but it's not done automatically if it's used
via iframe. You need to implement this functionality yourself by listening for the template:create message and saving the template ID in your application.
Once you receive the template:create message, you can store the template ID in your application (e.g., in local storage or a database).
When the user returns to the Embedded Editor, you can check if there is a saved template ID and then load it into the editor by updating the iframe src attribute,
that will use ut (User Template) query parameter to load the template.
const templateId = localStorage.getItem('savedTemplateId');
if (templateId) {
  const iframe = document.querySelector('iframe');
  iframe.src = `https://renderform.io/share/editor/?ut=${templateId}`;
}