Automate team birthday wishes with custom slack cards — no code required!
Do you often forget team members' birthdays or struggle to send greetings on time? You are not alone. Even in the most thoughtful teams, birthday wishes can get lost in the chaos of deadlines and meetings. But what if you could automate it — and still make each message feel personal and warm?
In this post, you will learn how to build a simple no-code automation that sends personalized birthday cards to your team on Slack using Google Calendar, Zapier (or even Make.com), and RenderForm.
🎯 TL;DR: What you'll learn
- Track team birthdays with a dedicated Google Calendar
- Auto-generate personalized birthday card images using RenderForm
- Send cards automatically to Slack with Zapier
- Create a scalable, no-code workflow for team celebrations
Why automate sending birthday cards
Automating the process of sending birthday wishes is a great solution for various reasons:
- You never forget to send wishes, even during busy times.
- Enables scalability, allowing you to send personalized wishes to many recipients simultaneously.
- Saves time and effort by eliminating manual intervention.
- Maintains consistency in your birthday greetings.
- Allows for scheduling and customization in advance, creating a seamless and heartfelt experience for recipients.
Automating birthday wishes makes the process easier and more enjoyable for you. By saving time and effort, automation allows you to spend more quality time with the birthday person. It simplifies the process and lets you focus on the personal aspects of celebrating their special day.
Birthday wishes automation
The automation we are going to build works great especially for workspaces and teams. The automation combines the power of three platforms:
- Google Calendar: Utilizing Google Calendar, we will create a dedicated calendar to keep track of team members' birthdays.
- RenderForm: With RenderForm, we can easily generate personalized birthday cards, ensuring a unique touch for each individual.
- Zapier: By harnessing the capabilities of Zapier, we can seamlessly connect these apps and effortlessly send birthday messages and corresponding images to the designated Slack channel.
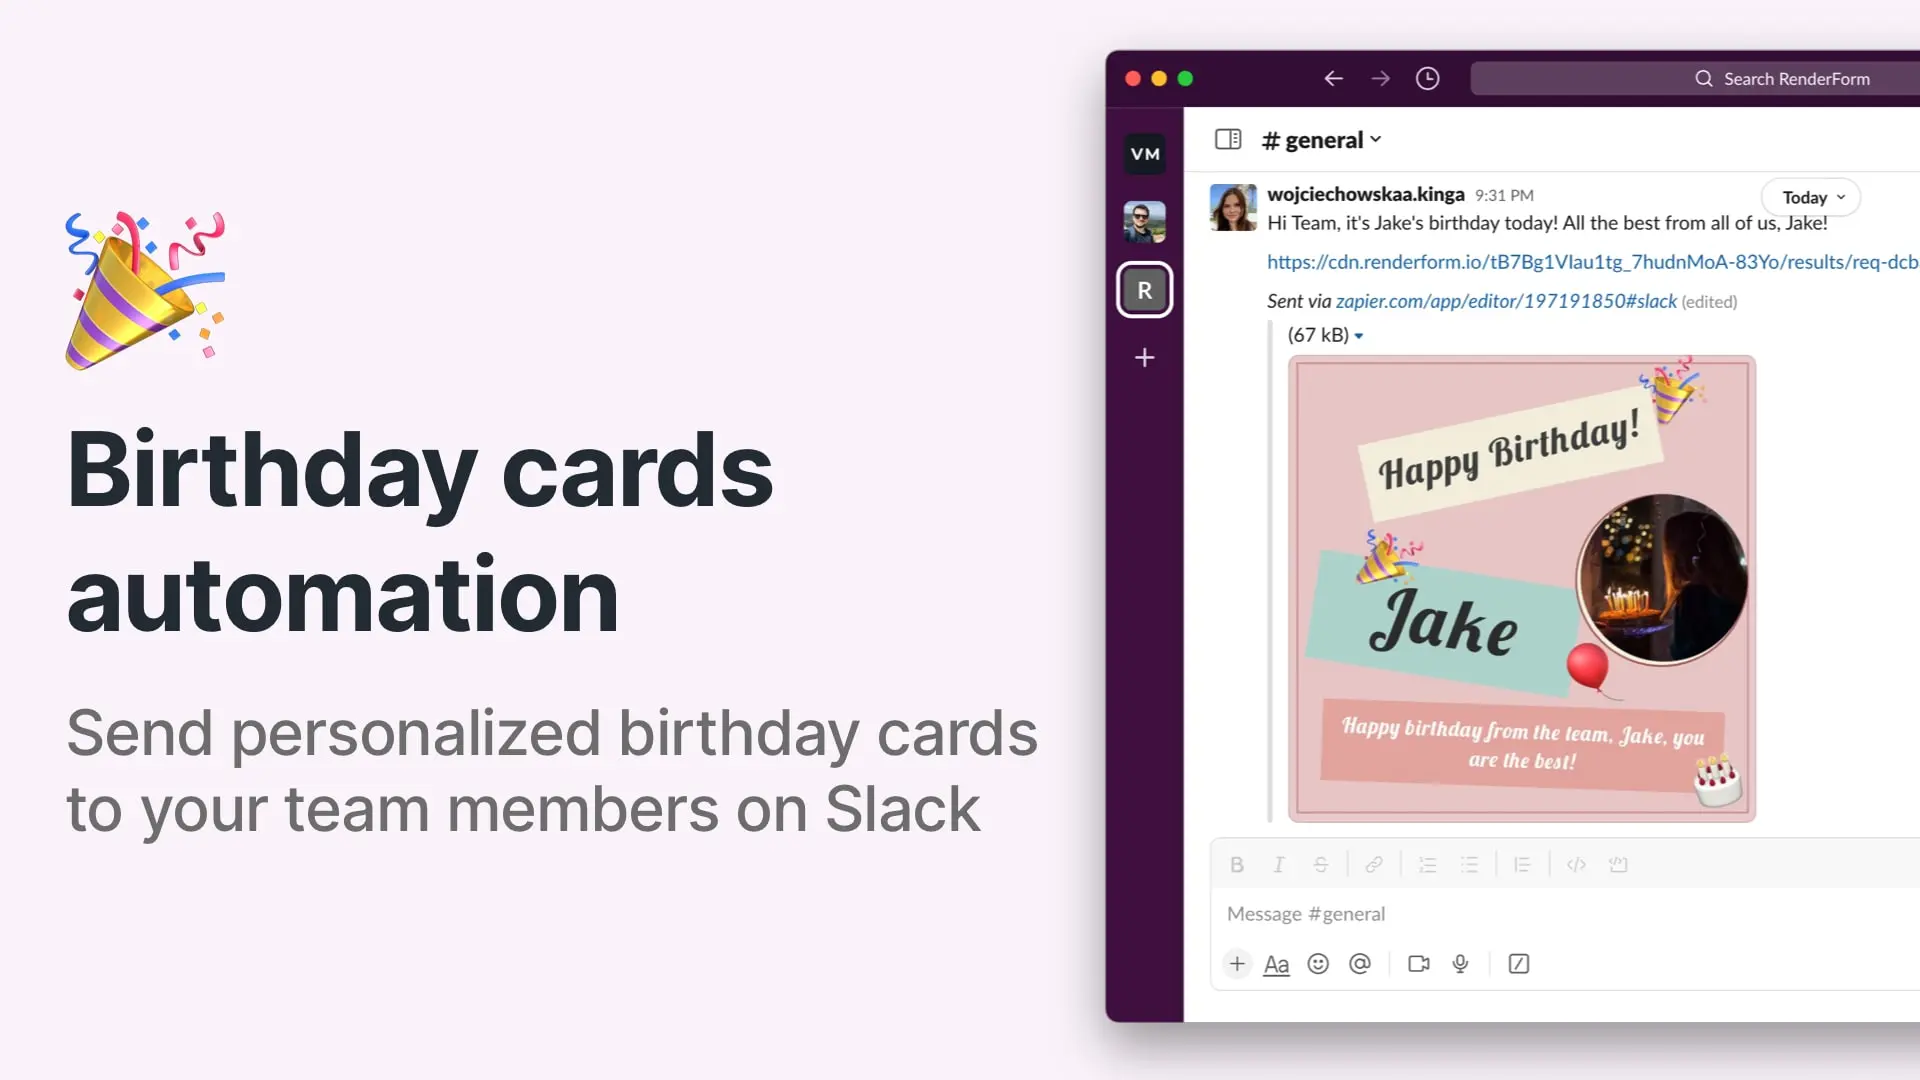
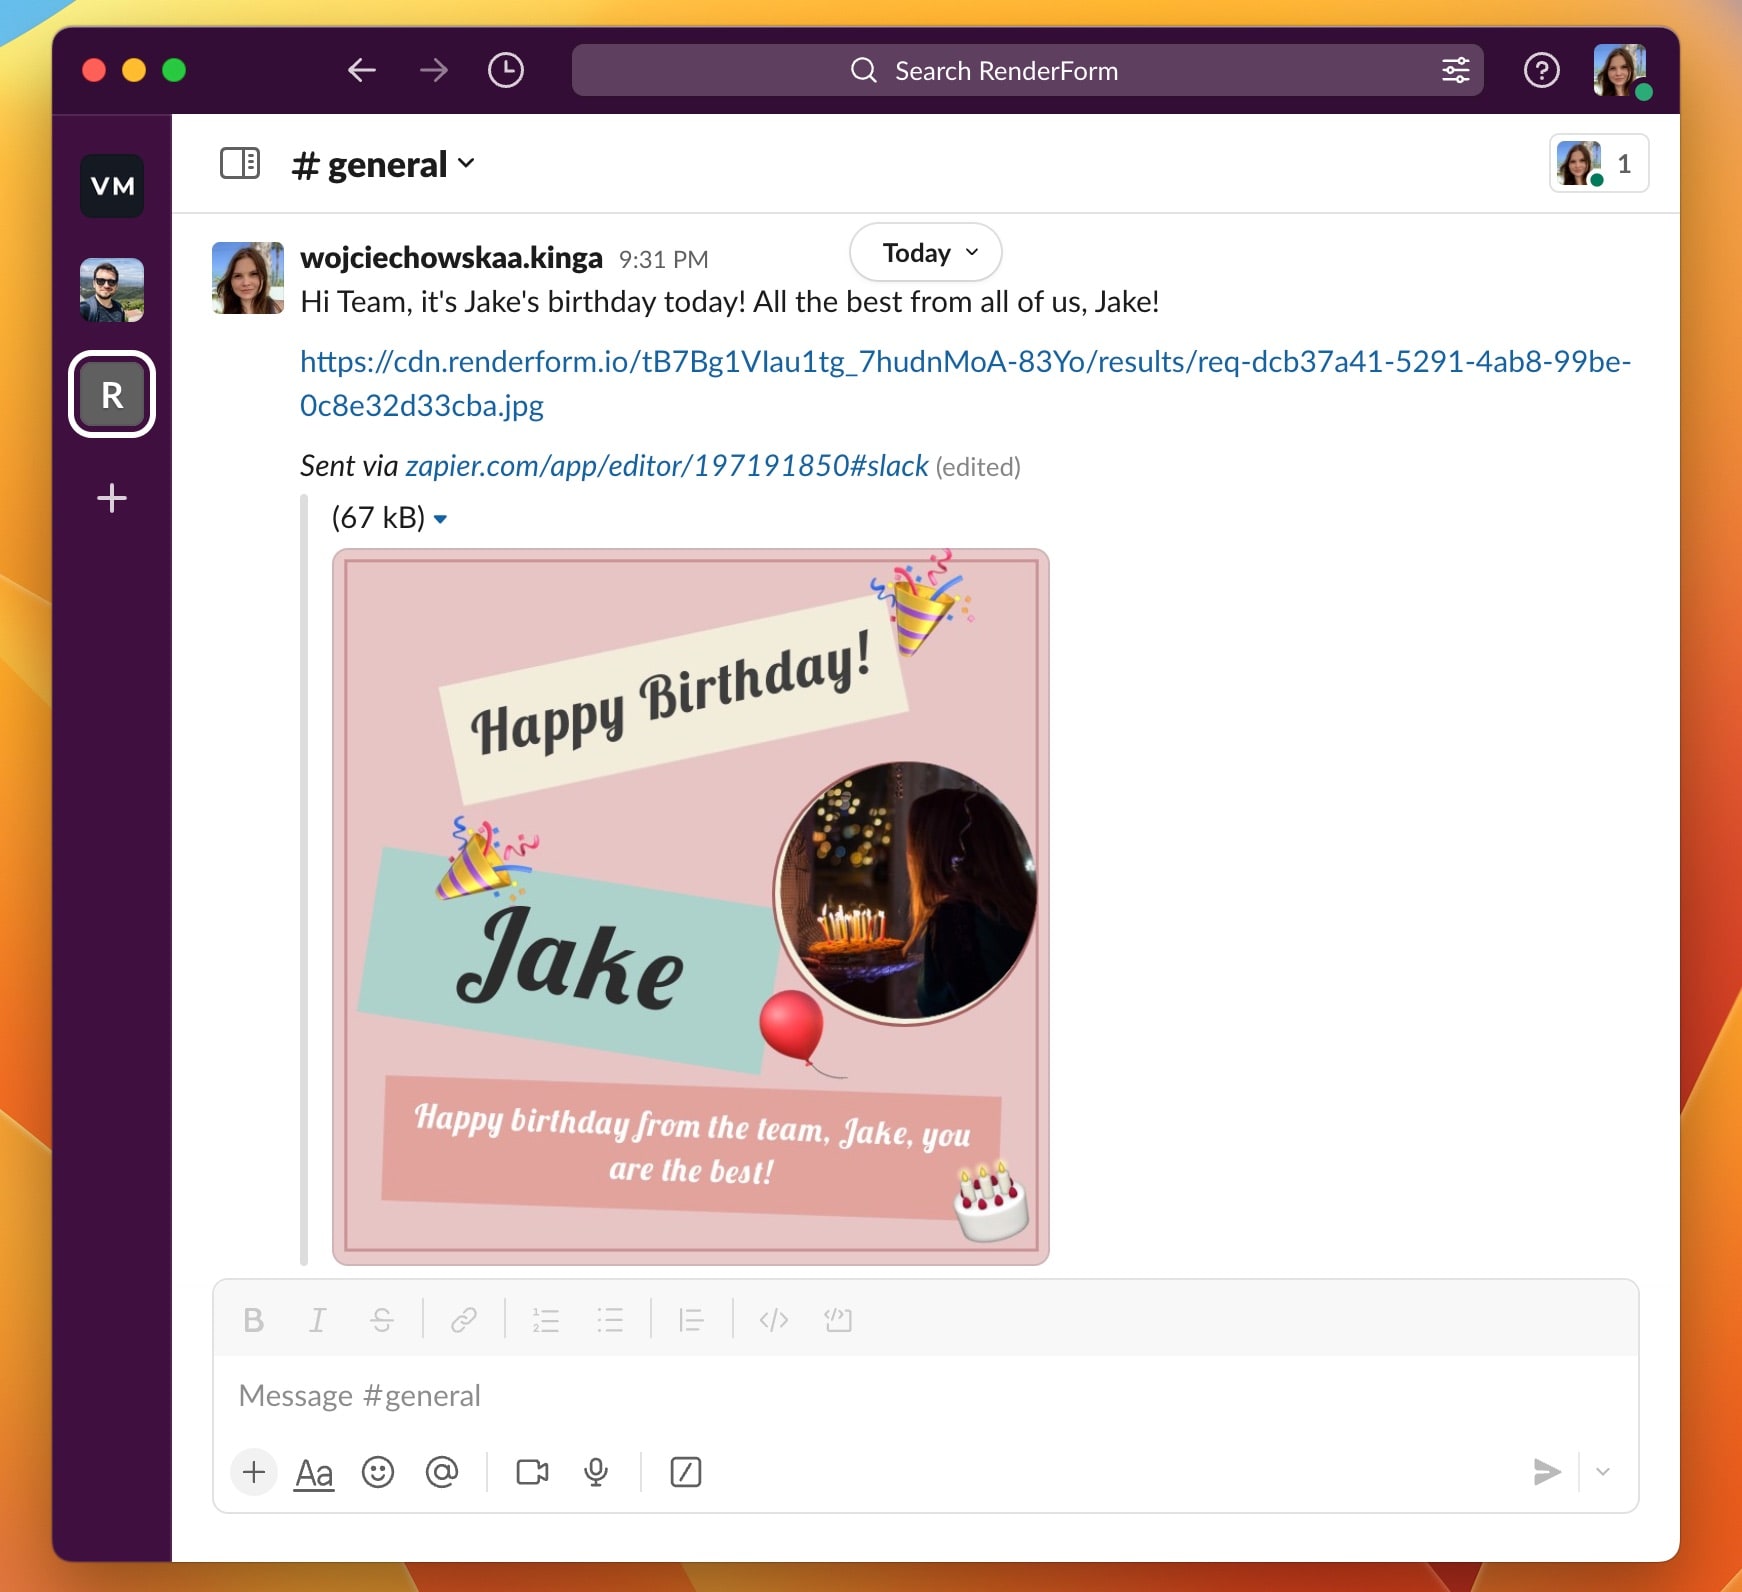
The end result is simple yet impactful. The birthday person will receive a personalized card filled with warm wishes directly on the selected Slack channel. With this automation in place, celebrating team members' birthdays becomes a breeze, fostering a positive and engaging work environment.
Create and setup Google Calendar
To begin, let's create a new calendar in Google Calendar specifically dedicated to birthdays. Follow the steps outlined in Google Support's help base here to create the calendar effectively.
After creating the calendar, we need to populate it with the actual birthdays of our team members. Here's how you can do it:
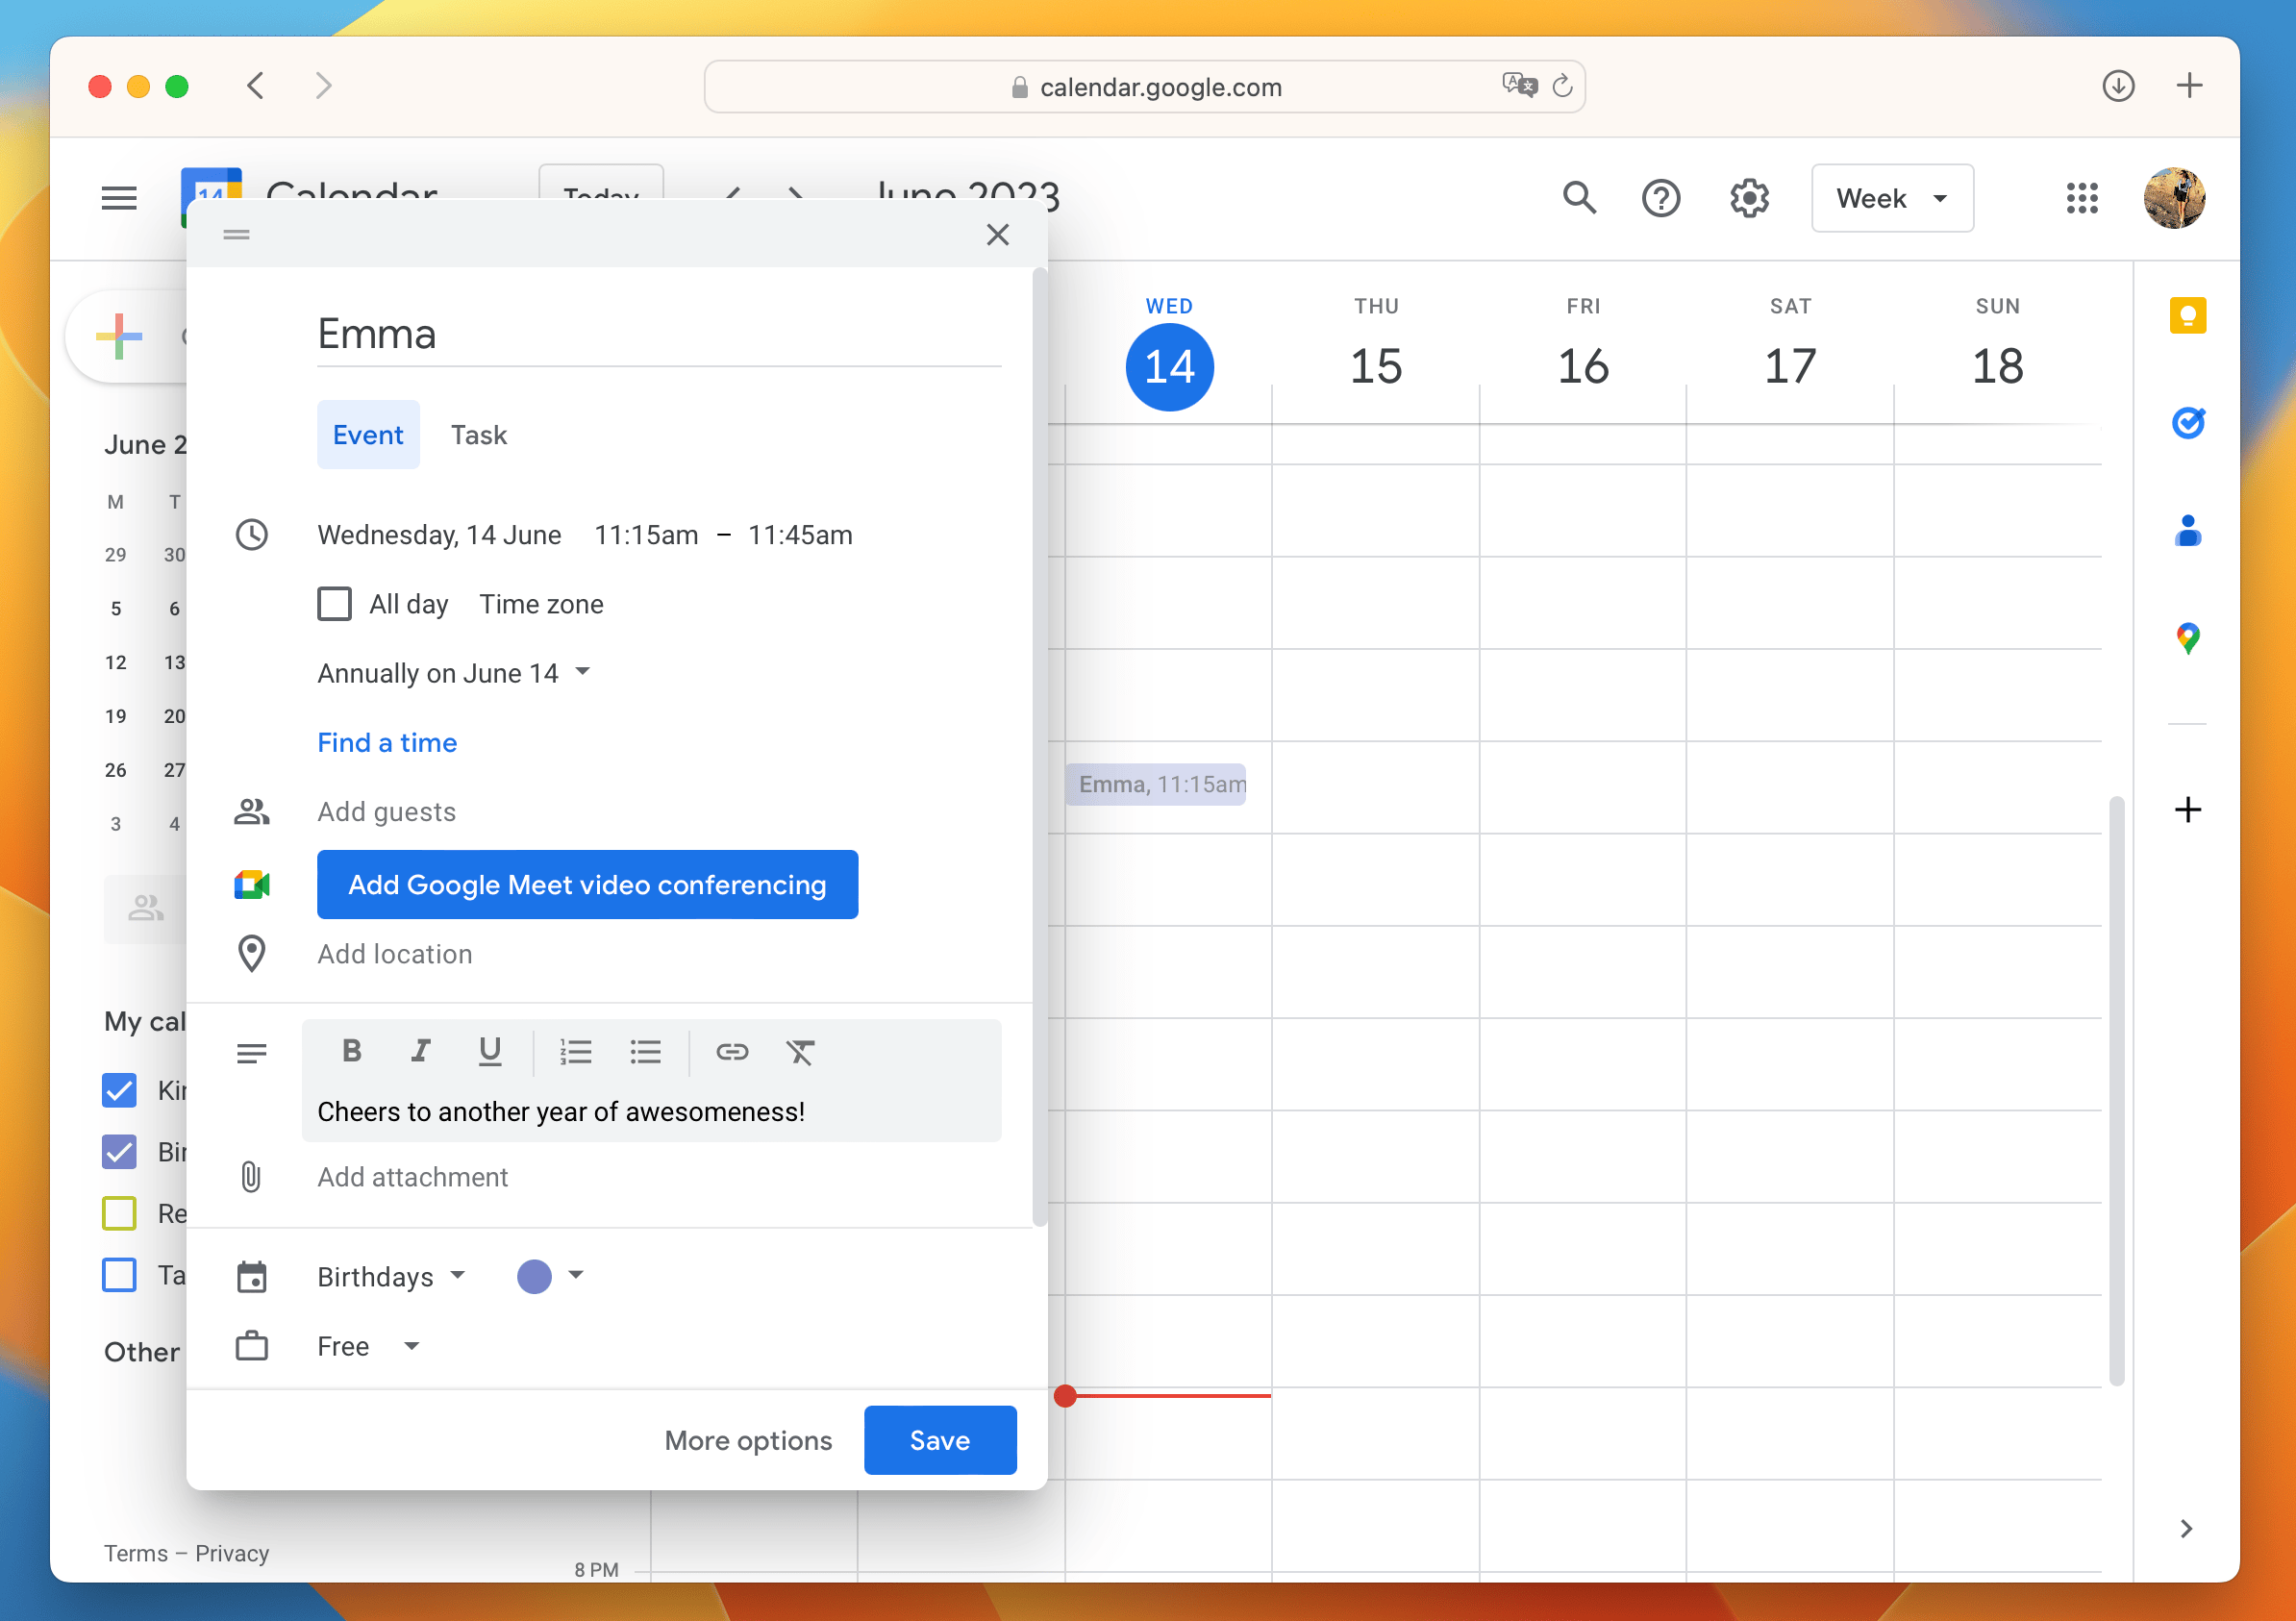
- Add event to your calendar (set event time to hour that aligns with when you want the birthday message to be delivered.)
- Add the birthday person's name as the event title.
- Set the event to repeat yearly to ensure it recurs automatically.
- In the description, include a short personalized birthday message that will be added to the birthday card.
- Ensure that you select the Birthdays calendar you created.
- Set the event as Free to avoid affecting your real work calendar availability.
This step may require some initial effort, but remember that it is a one-time task. You may already have some birthdays in your calendar, which can save you time. Once you have completed adding the necessary birthdays, you're ready to proceed to the next step!
Once the calendar is ready and filled with birthday dates, you can choose to hide the calendar to prevent it from impacting your regular work calendar. This way, you can maintain a clean and organized view while still benefiting from the automation.
Create birthday card template
Now, let's dive into the exciting part of creating a personalized birthday card using RenderForm. This card template will serve as the foundation for the automated birthday wishes, allowing you to customize selected image elements for each recipient.
To begin, log in to your RenderForm account or sign up for free if you don't have an account yet. Navigate to My templates and start creating your unique birthday card template. With the RenderForm Template Editor, you have the flexibility to incorporate various elements such as backgrounds, images, emojis, custom shapes, and more.
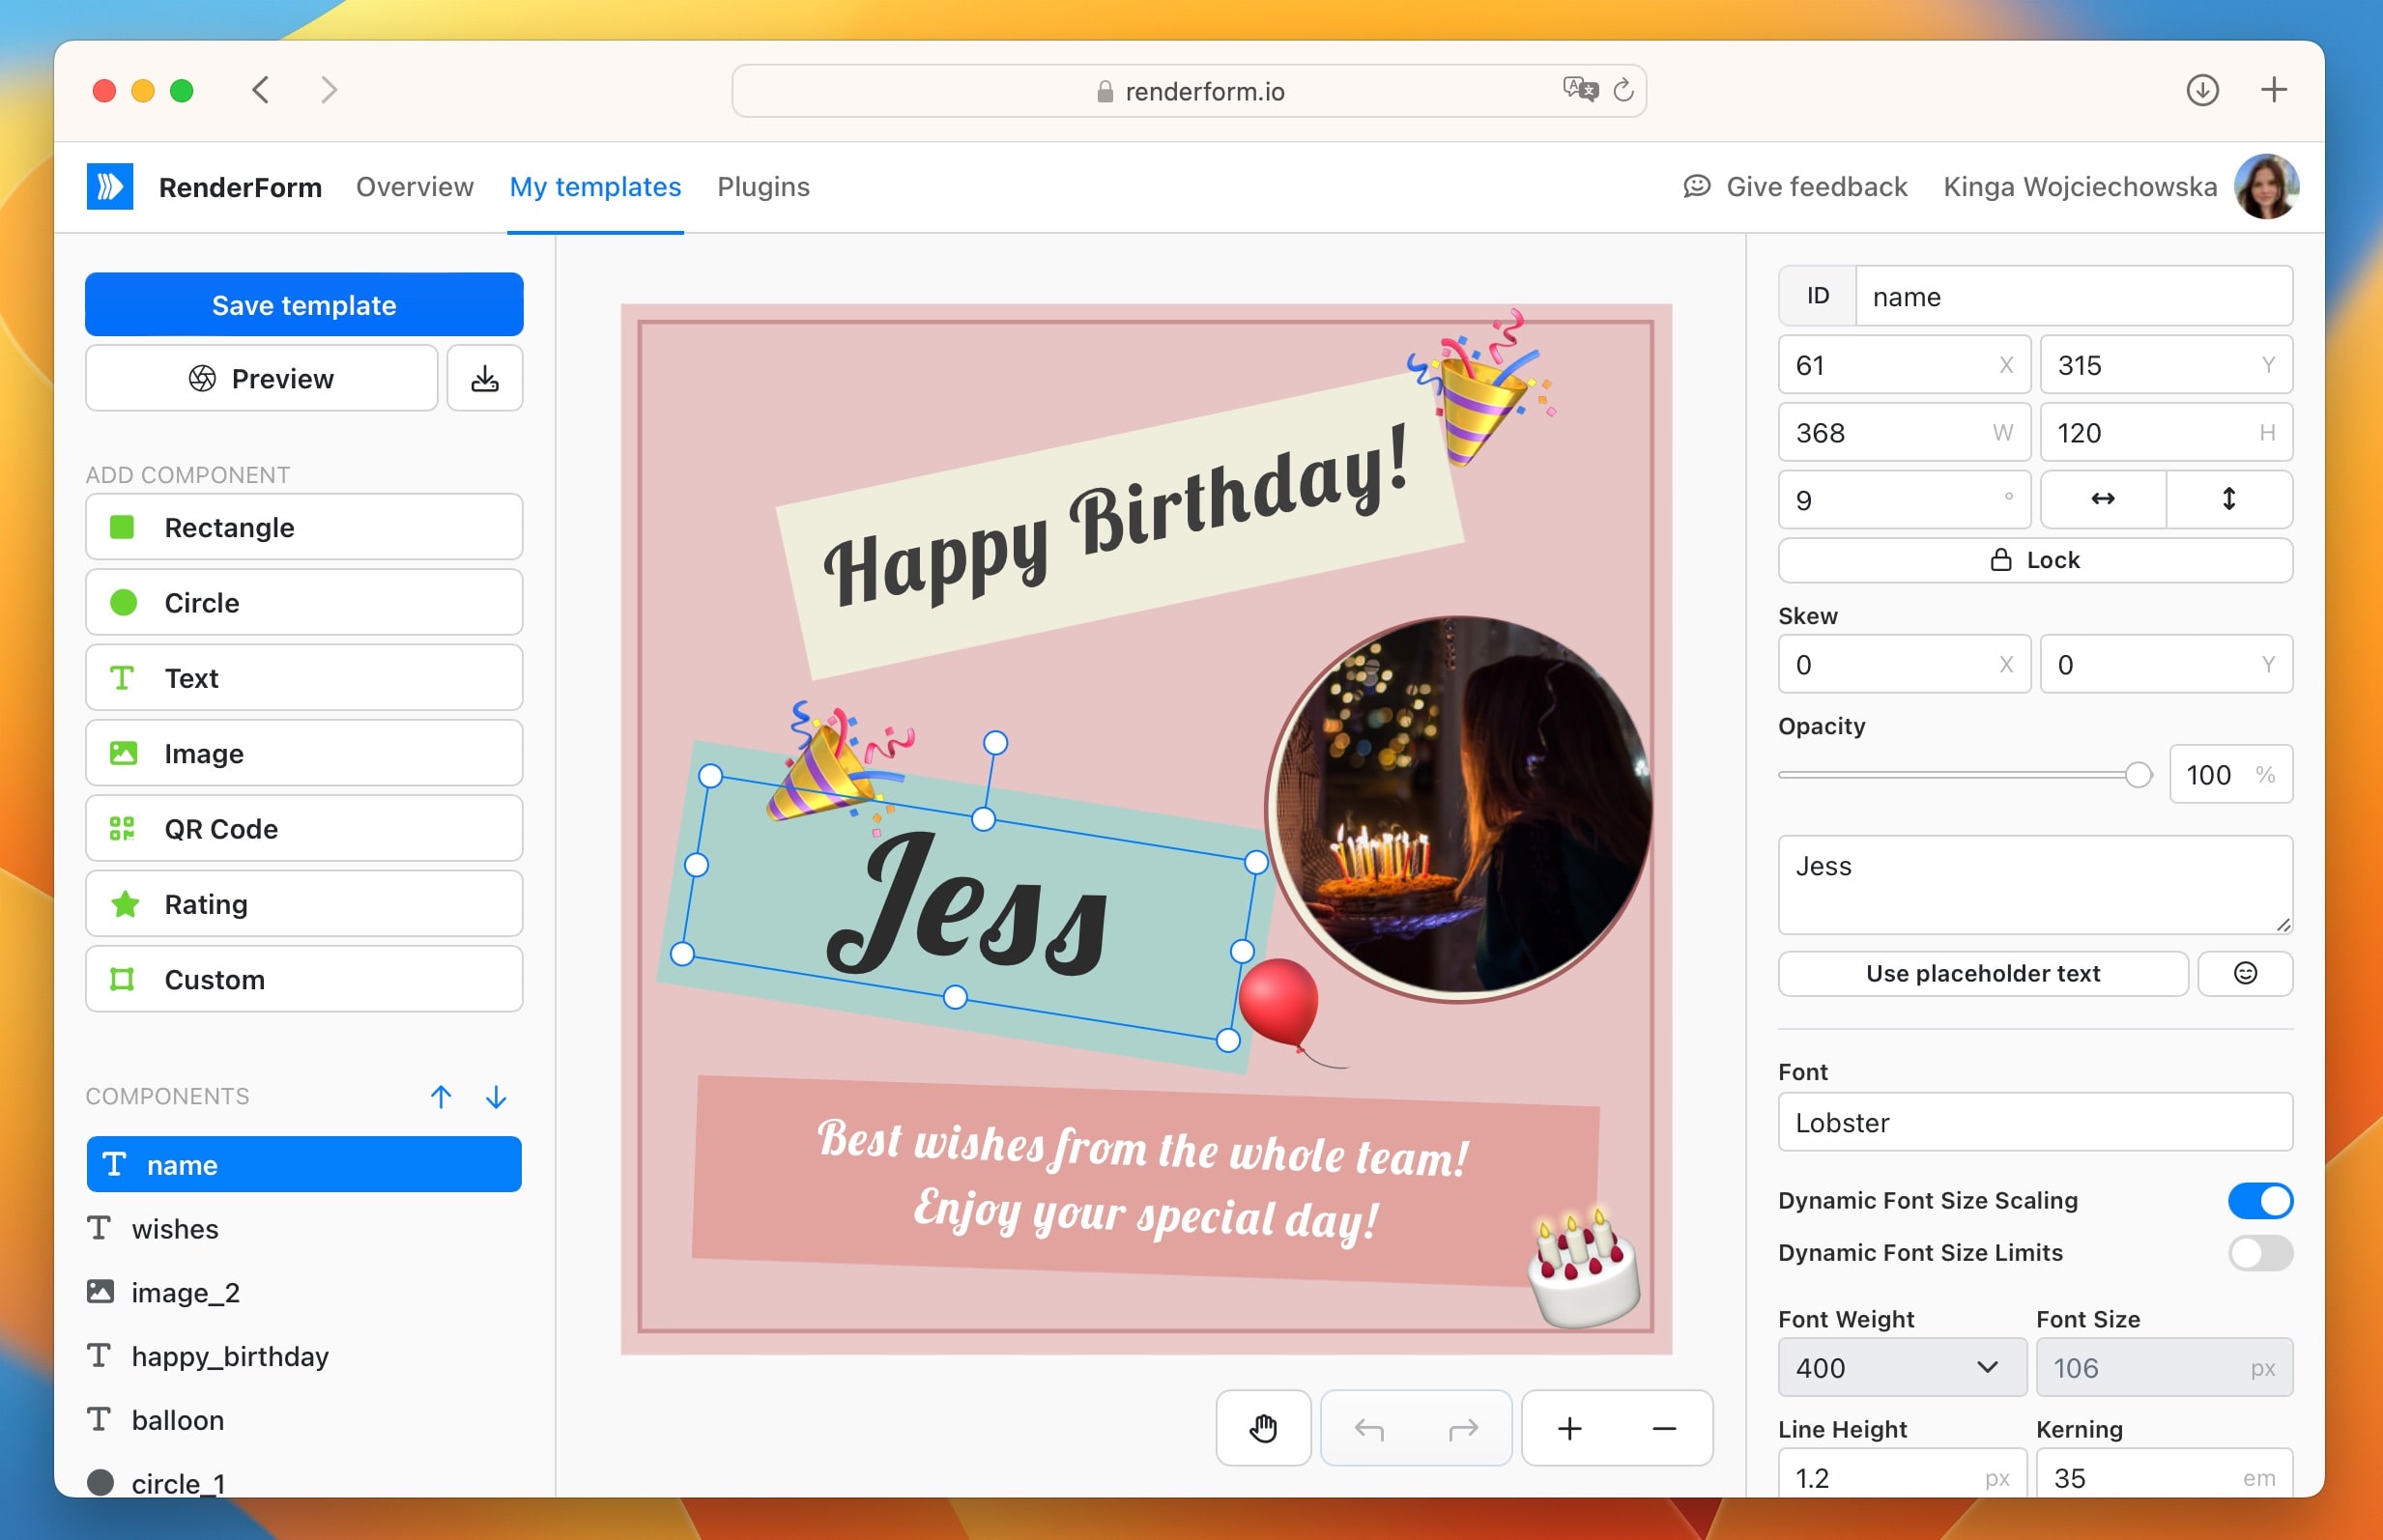
For my birthday card template, I've included specific elements that I want to personalize when the card is sent to different individuals:
- birthday person's name (
name) - custom text with wishes (
wishes)
On the left side of the editor, you'll find all the template elements (components). In addition to the mentioned elements, there's an image, background rectangles with colors, emojis, background circles, and other decorative elements.
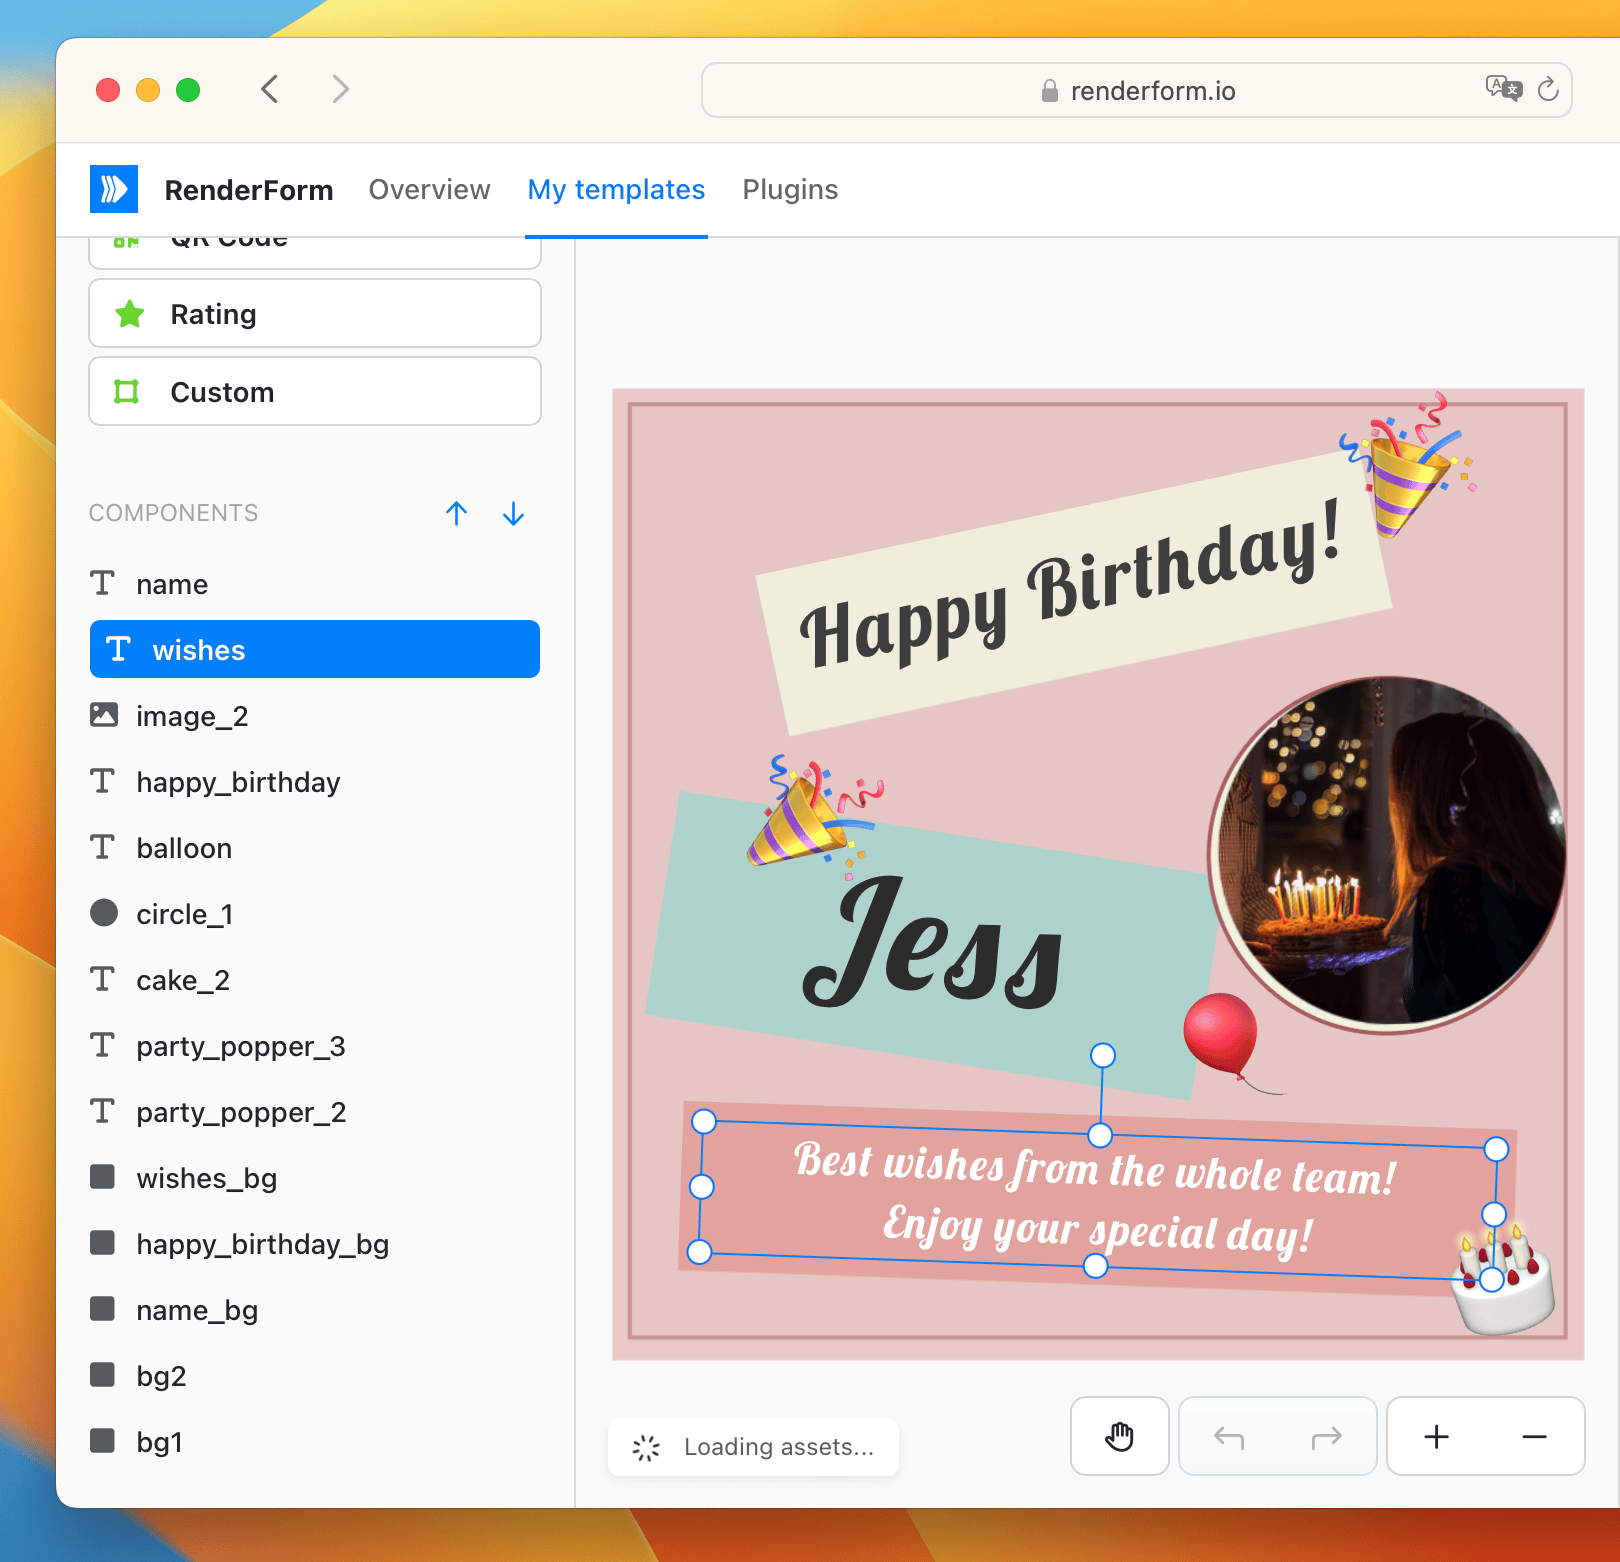
Tip 1: Rename the template components to easily identify them later during image automation.
Tip 2: Lock elements that you don't want to change during image generation. You can do this by clicking on the lock button in the element properties panel.
Once you've crafted your template to perfection, remember to save it. Now, you're ready for the final step: creating the automation.
Want to send cards to a larger group at once? Check out our guide on how to generate multiple images with different texts — perfect for batch greetings.
Create the automation
In this final step, we'll create and configure the automation using Zapier, which will seamlessly connect all our apps and facilitate the automated birthday message delivery to the selected Slack channel.
To get started, log in to Zapier and create a new Zap by following the instructions below.
Setting up the Trigger from Google Calendar
The trigger event will be an event from our birthday calendar, which will initiate the desired action when a birthday is detected.
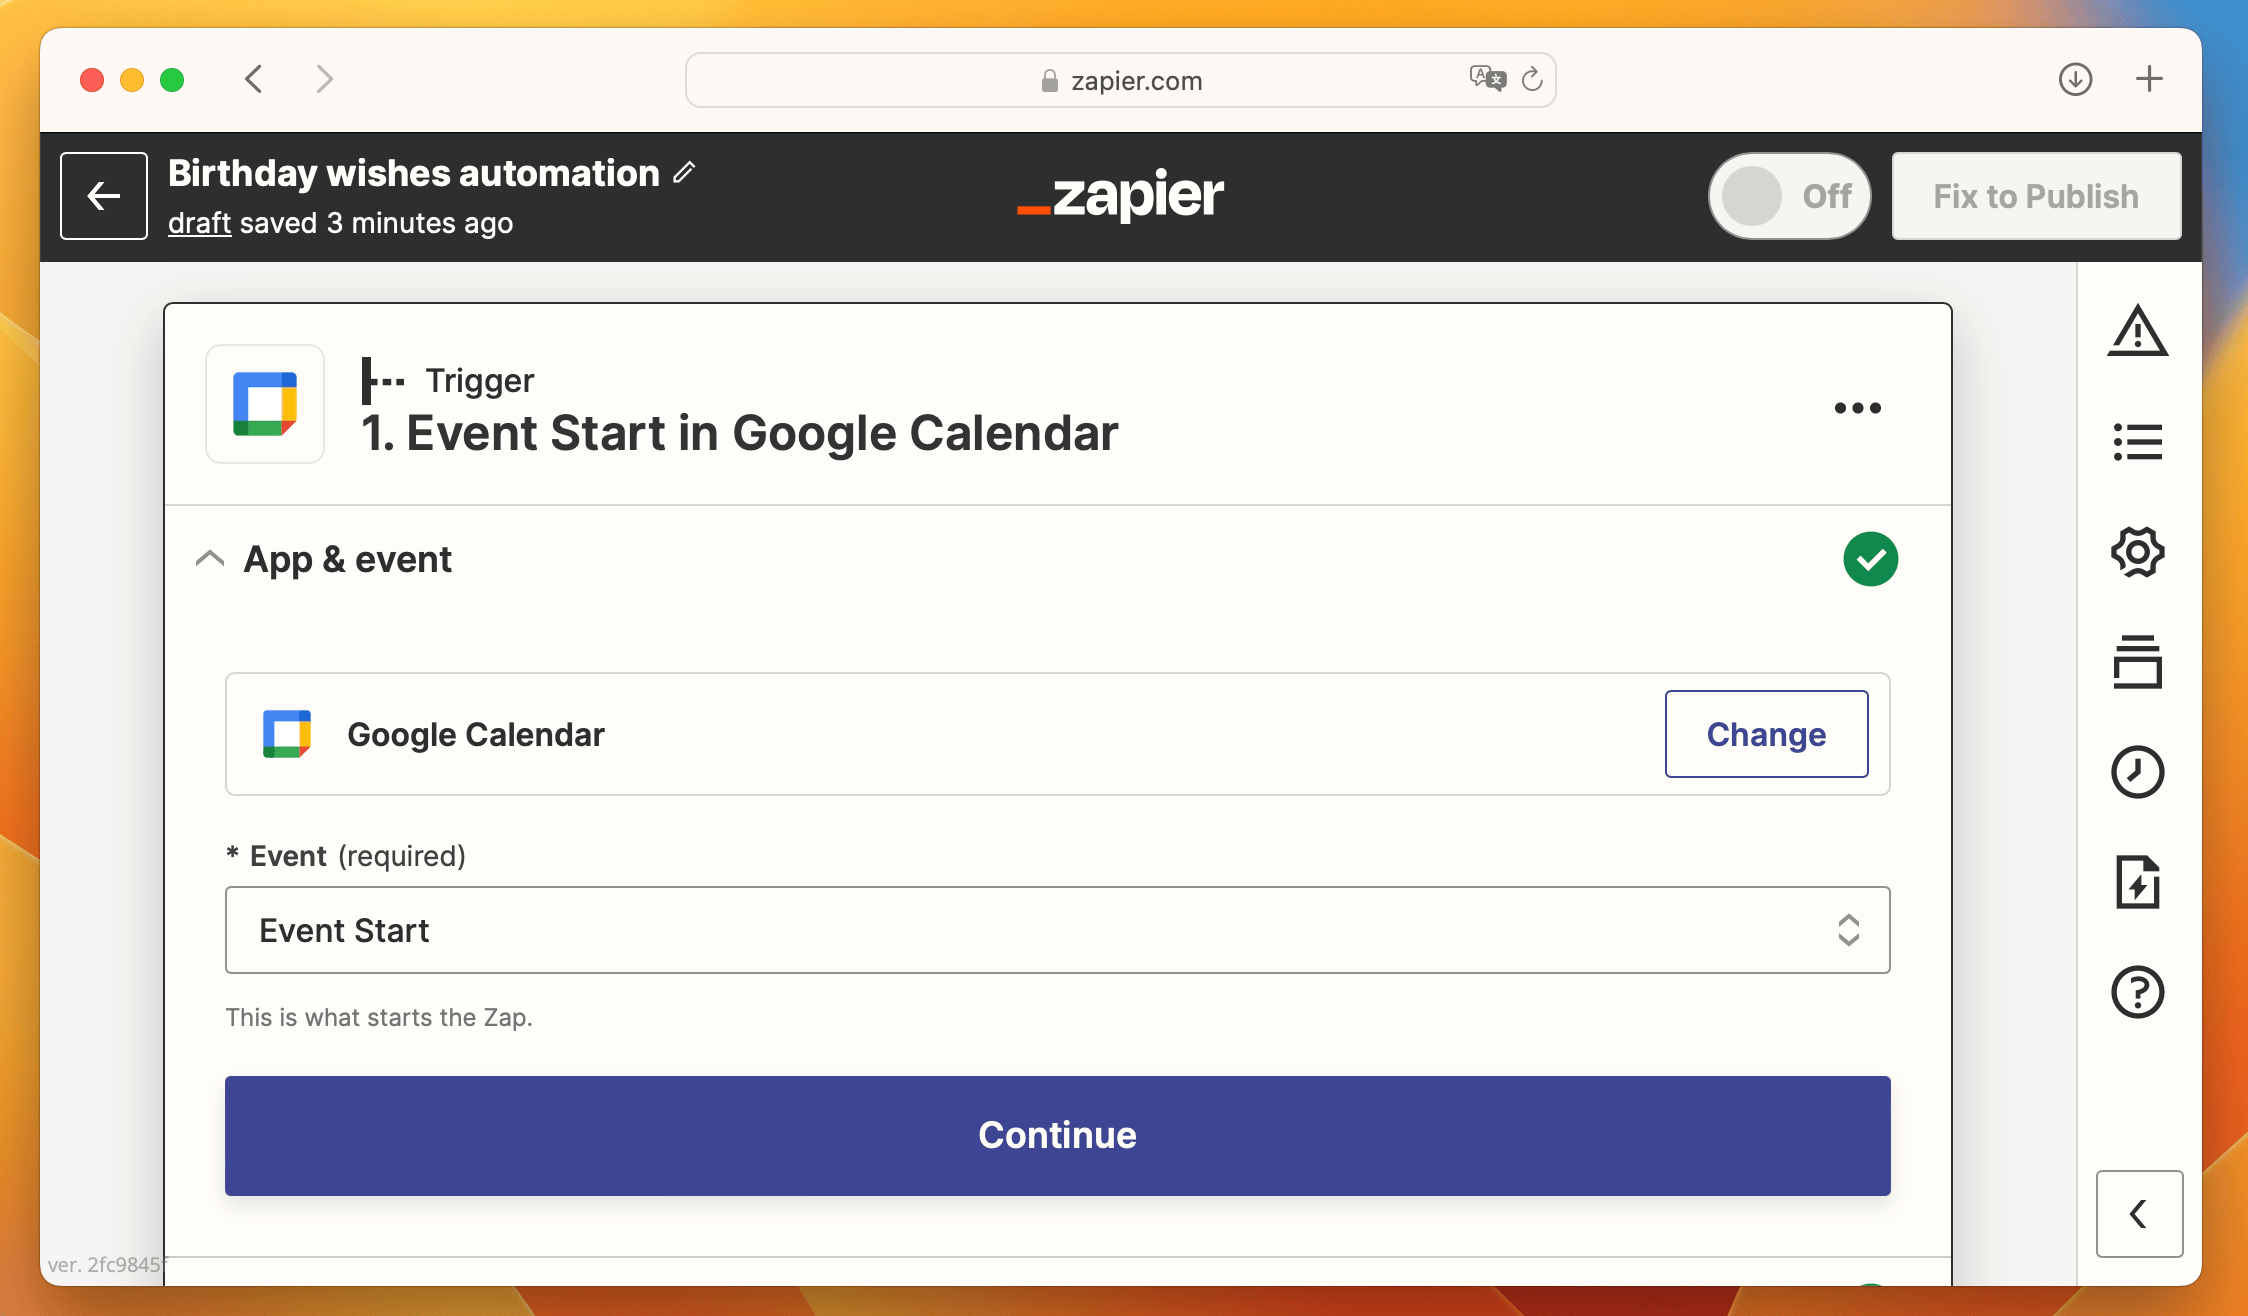
App & event
Choose Google Calendar from available apps and select Event Start as the trigger event.
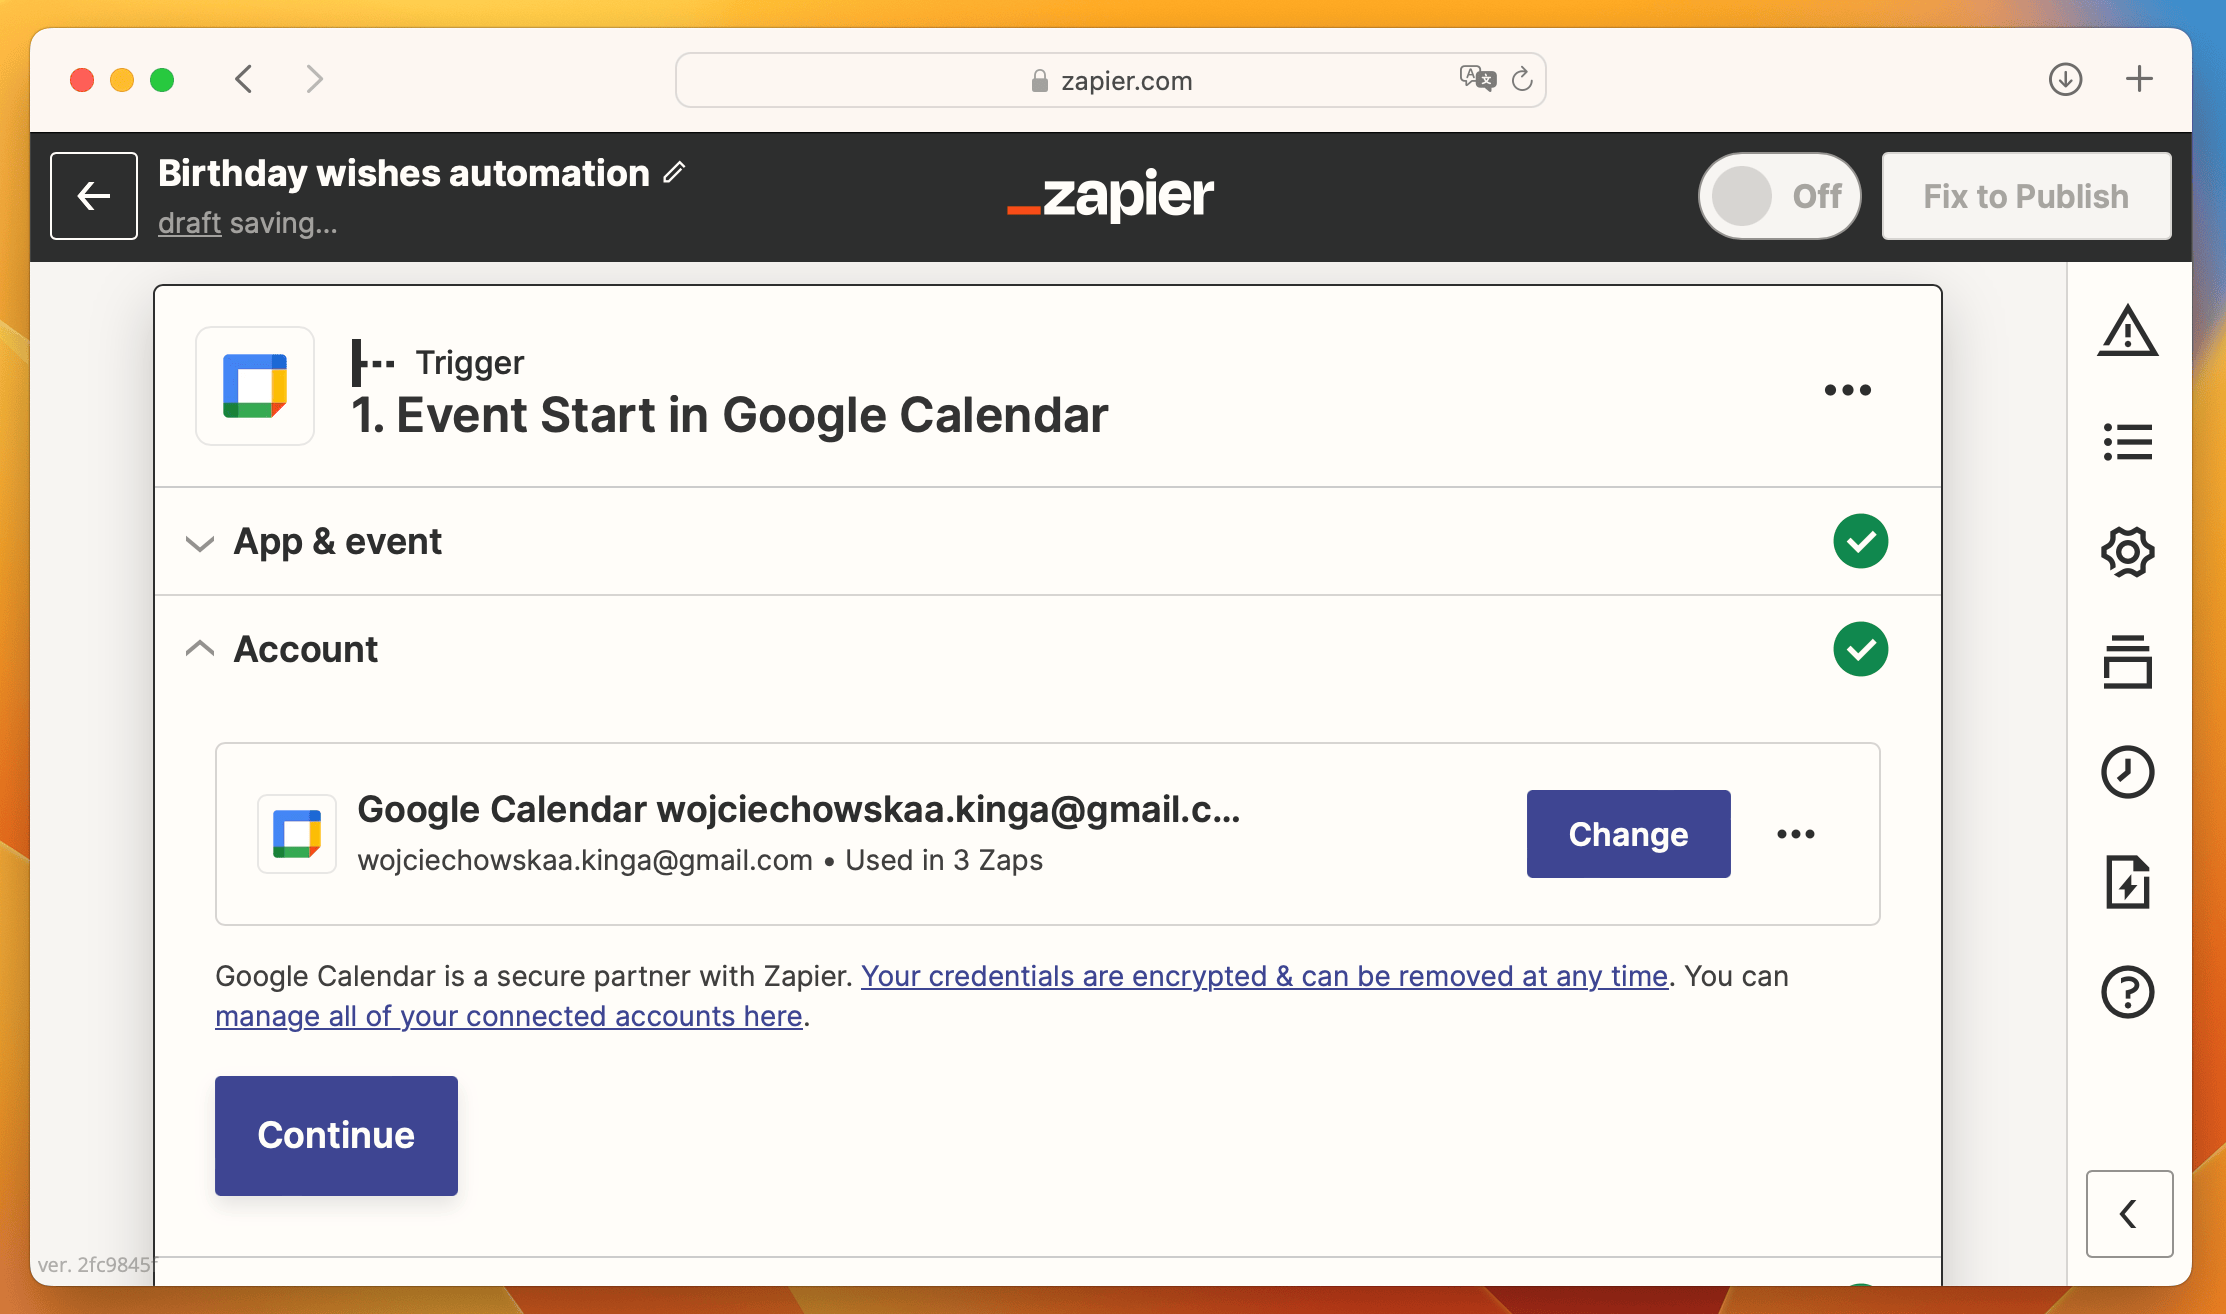
Account
Connect Zapier with your Google account to grant it secure access to your calendar. Rest assured, your calendars will not be shared anywhere.
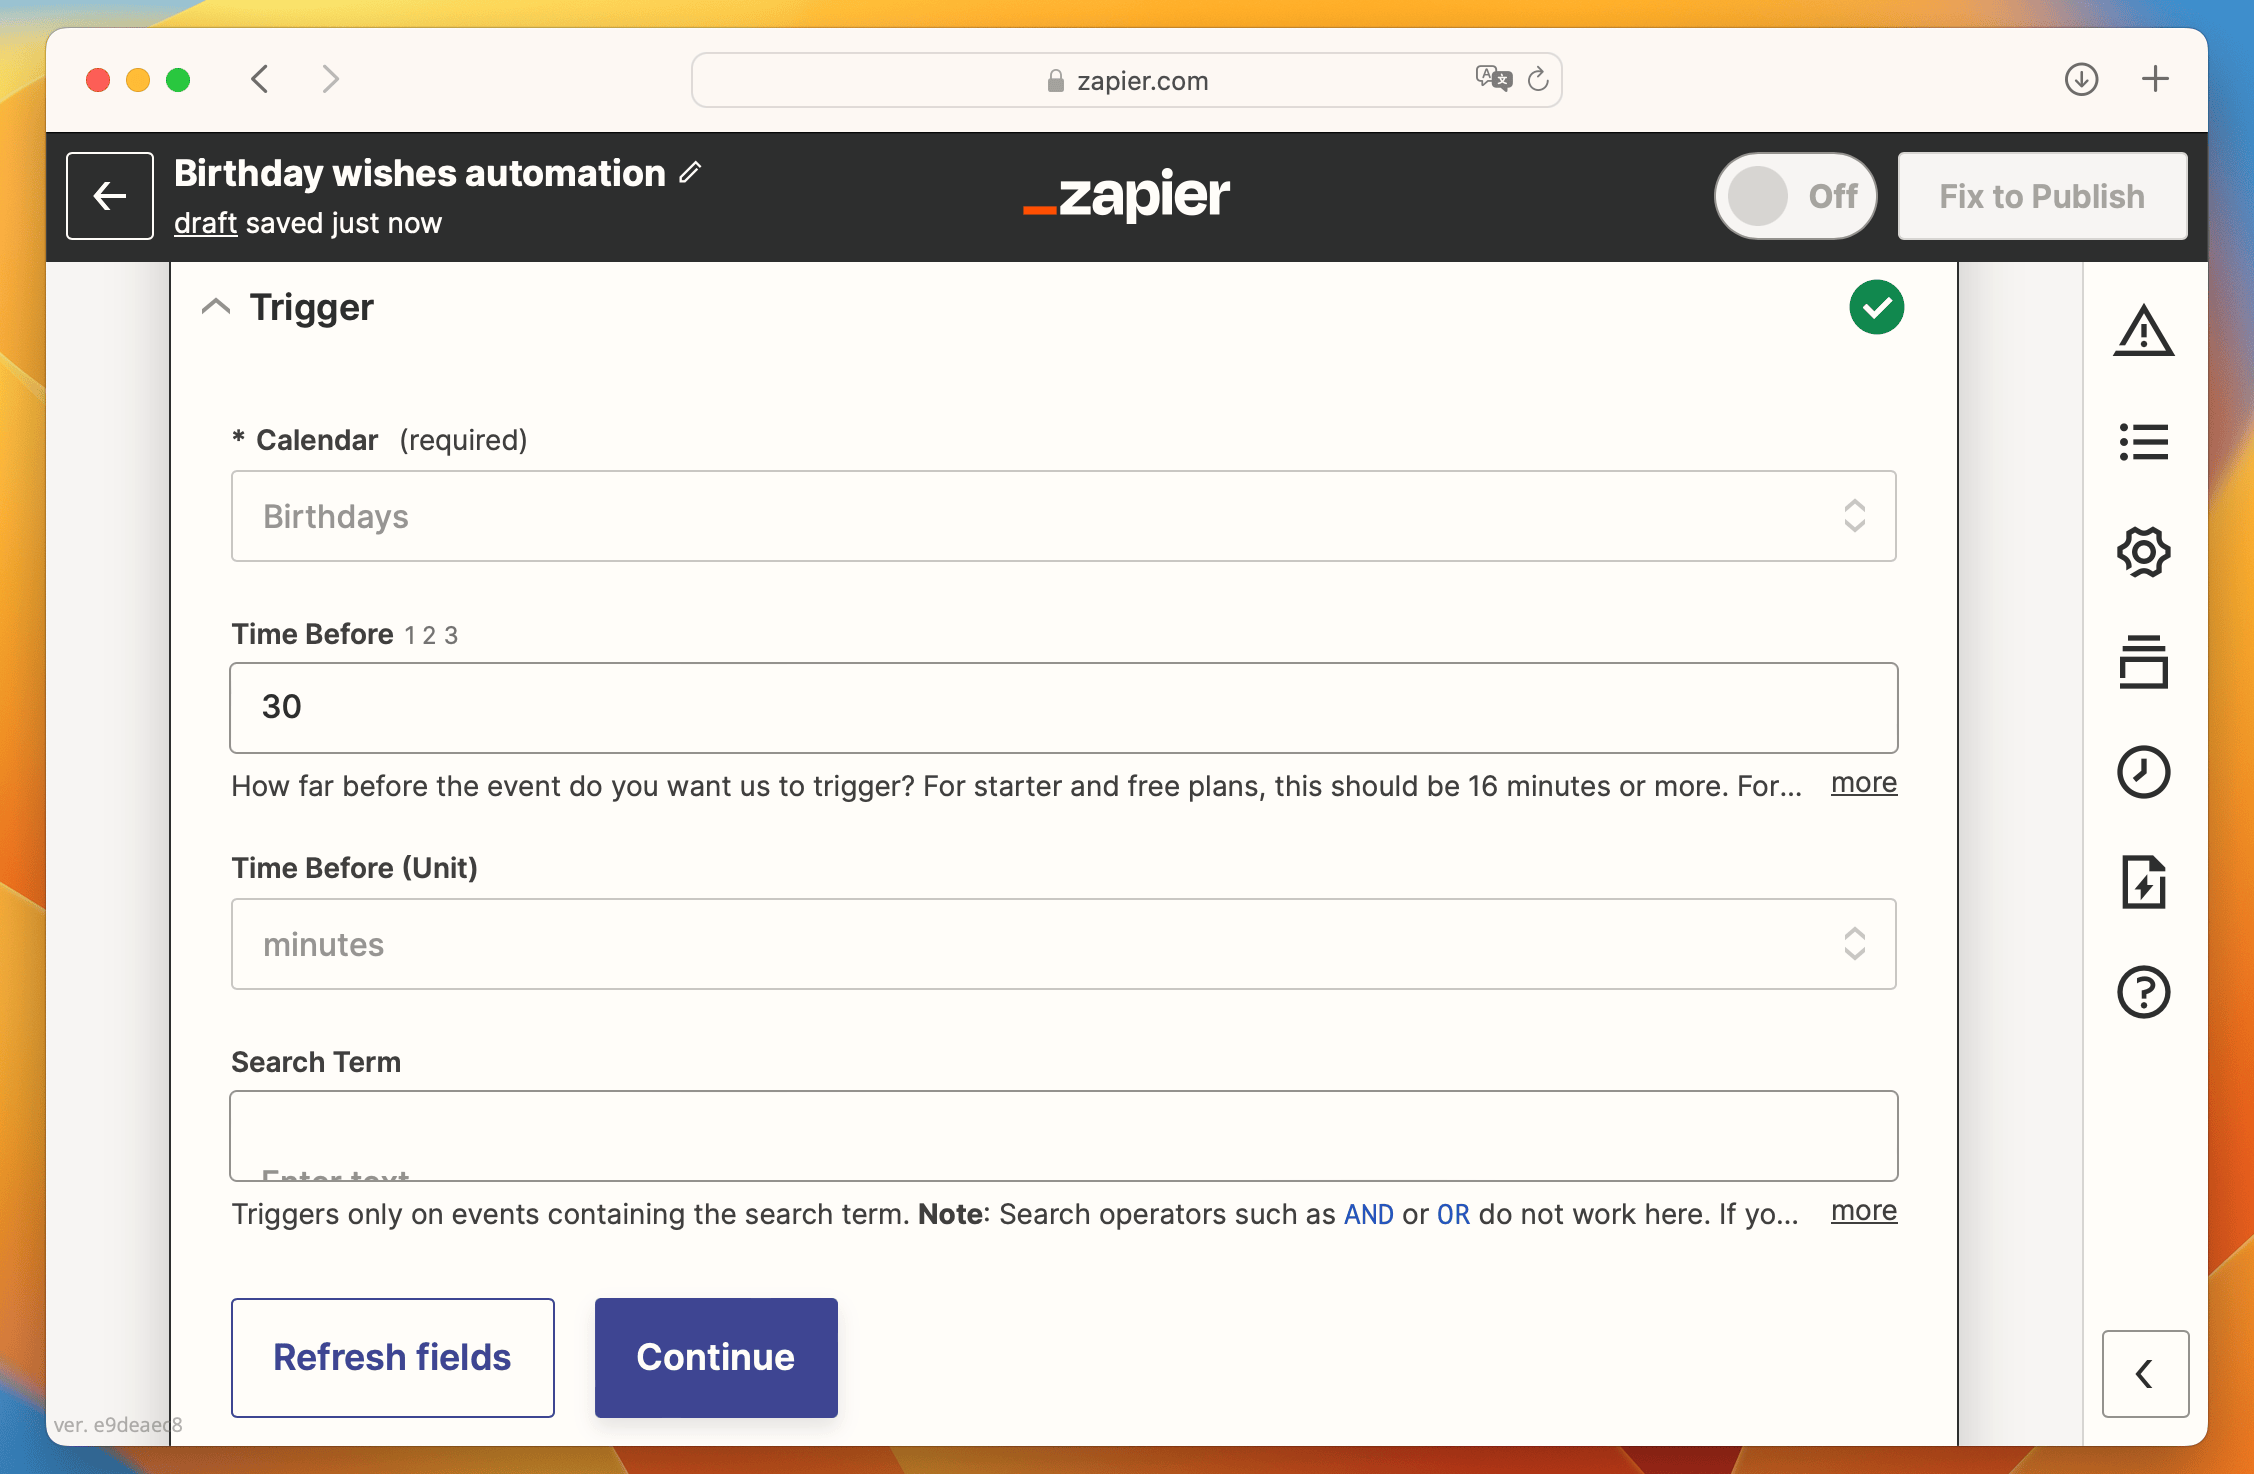
Trigger
Now, it's time to specify the trigger event. Start by selecting the Birthdays calendar where you've added all the birthdays in your Google Calendar. Next, set up the Time Before and unit (I recommend setting it to 30 minutes, which means that Zapier will check for triggers 30 minutes before the birthday event and initiate the automation accordingly). Click Continue when you're done.
Test
The final step in this part is to test the trigger connection. Simply click on Test trigger and wait for the results.
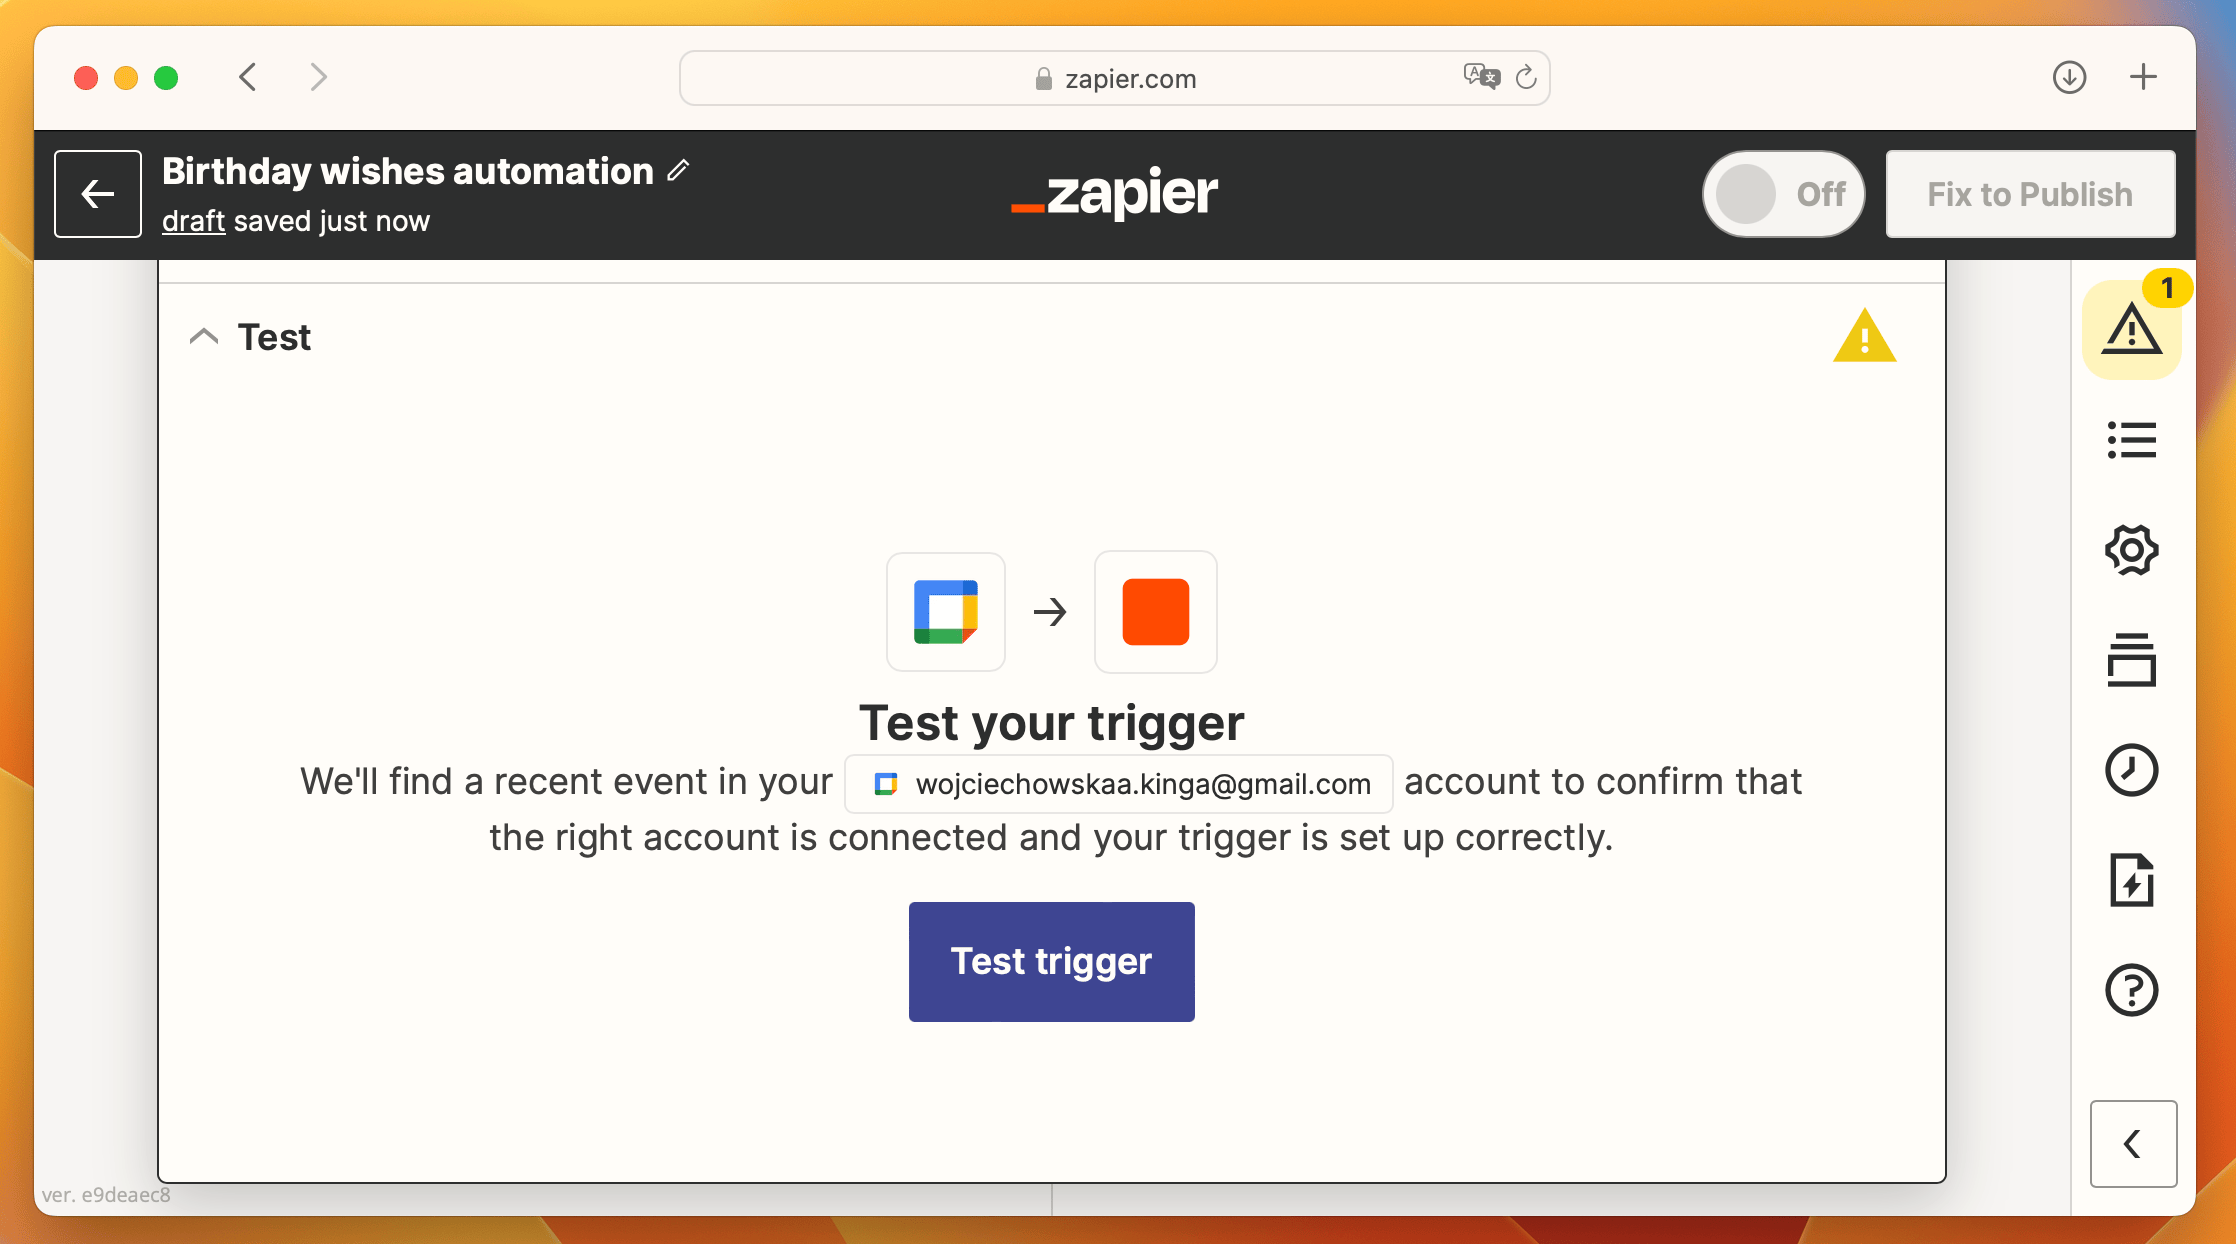
Once the test is completed successfully, click on Continue to proceed to the second part of the automation: connecting with the RenderForm birthday card template.
Action: Link RenderForm template
In the action phase, we'll connect the birthday card template created in RenderForm with the event details from Google Calendar. This will involve using the event title as the birthday person's name and the event description as the personalized wishes.
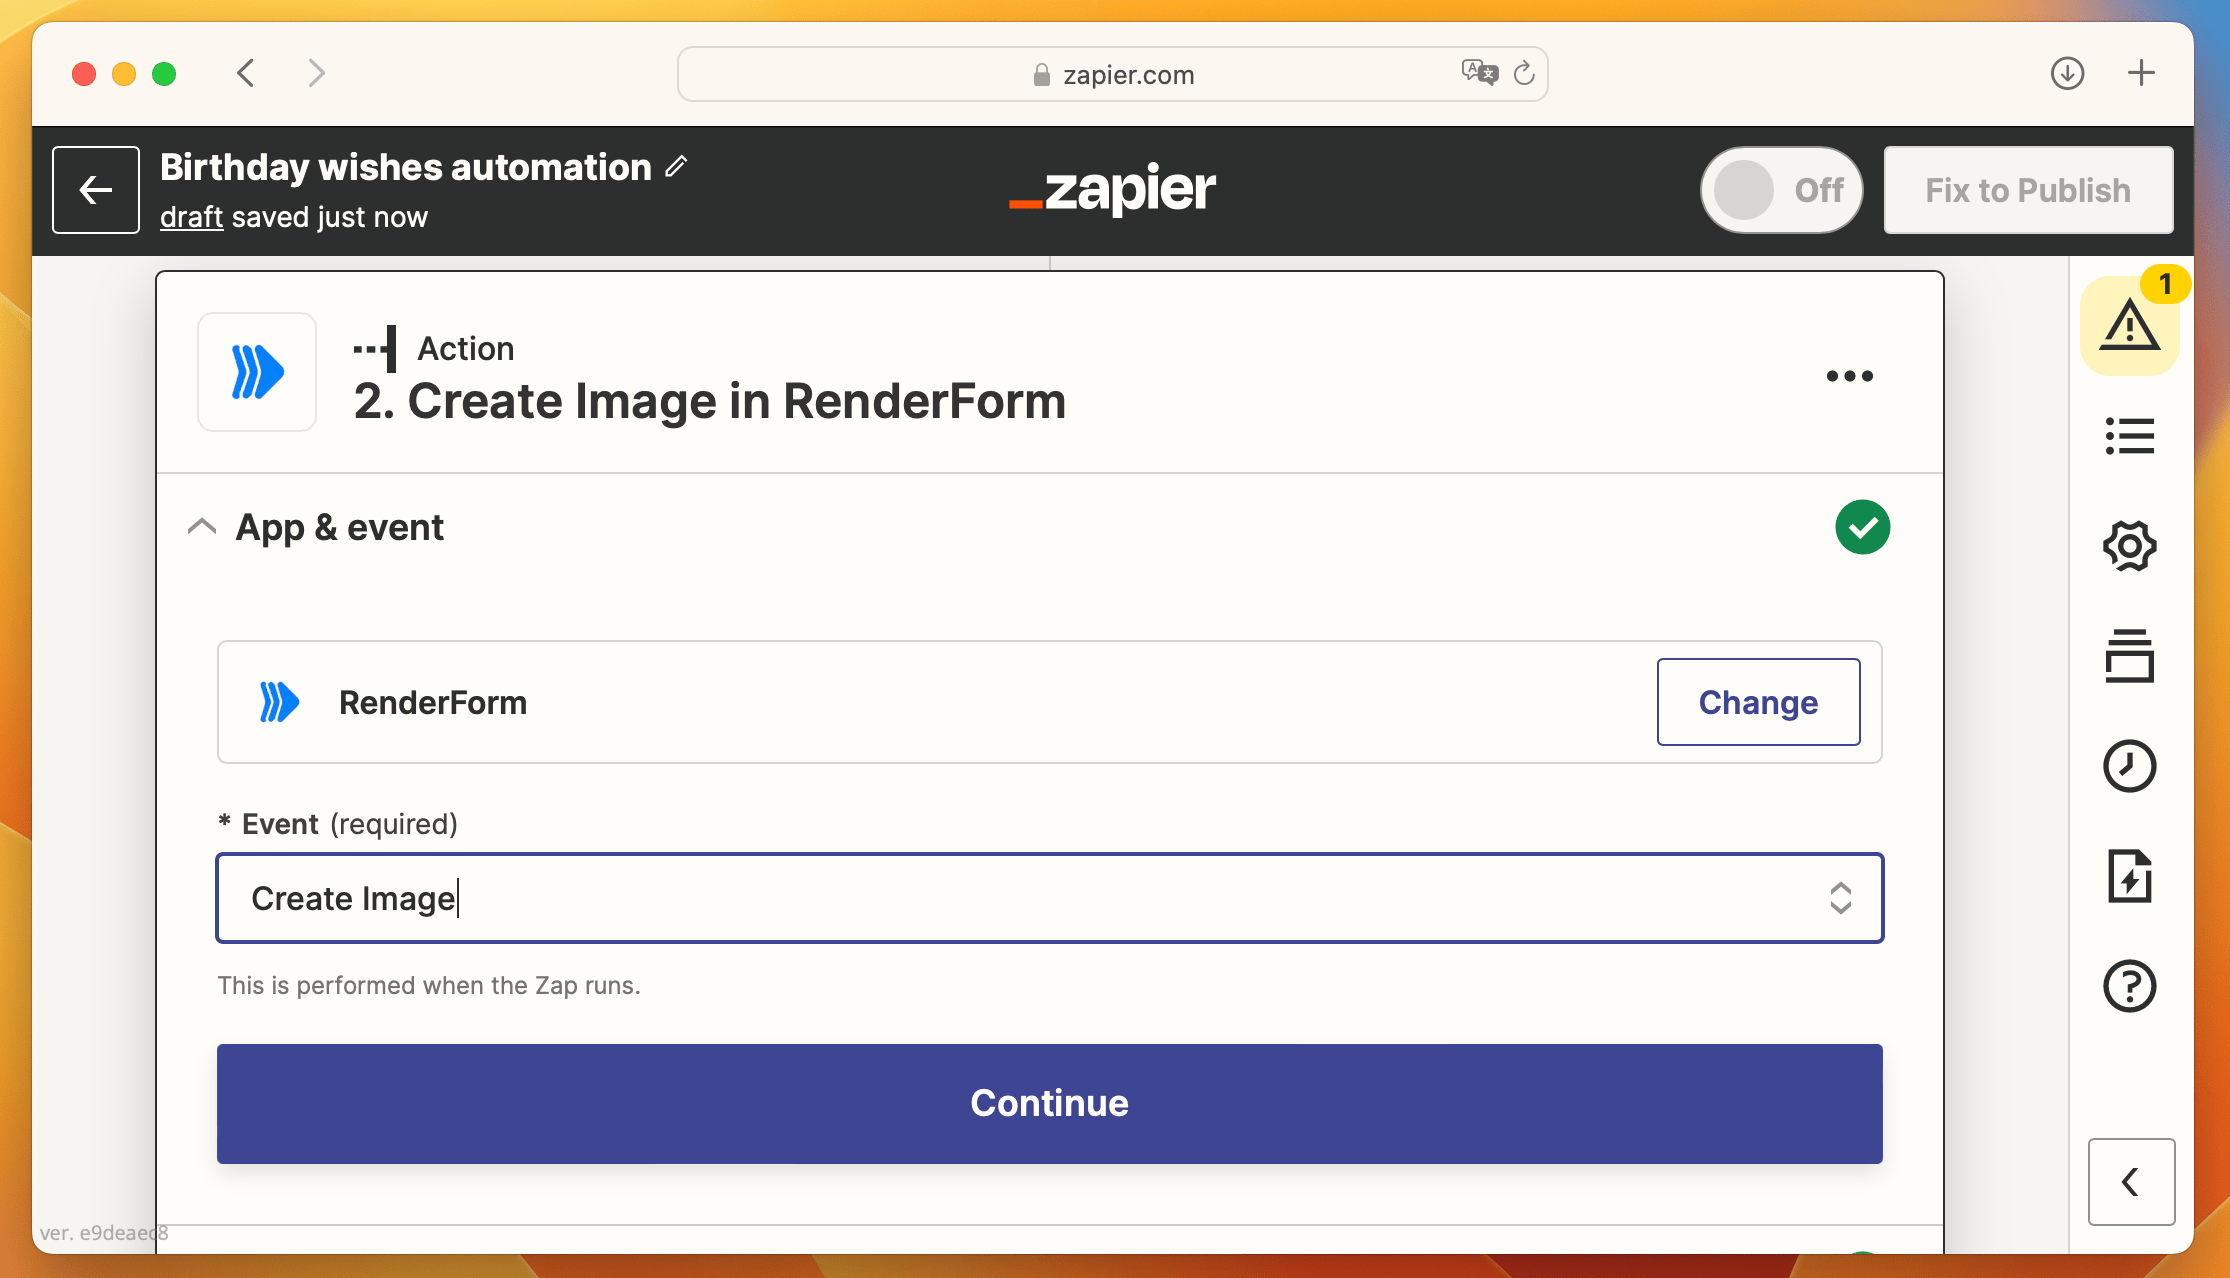
App & event
Search for RenderForm in the list of apps and select Create Image as the event.
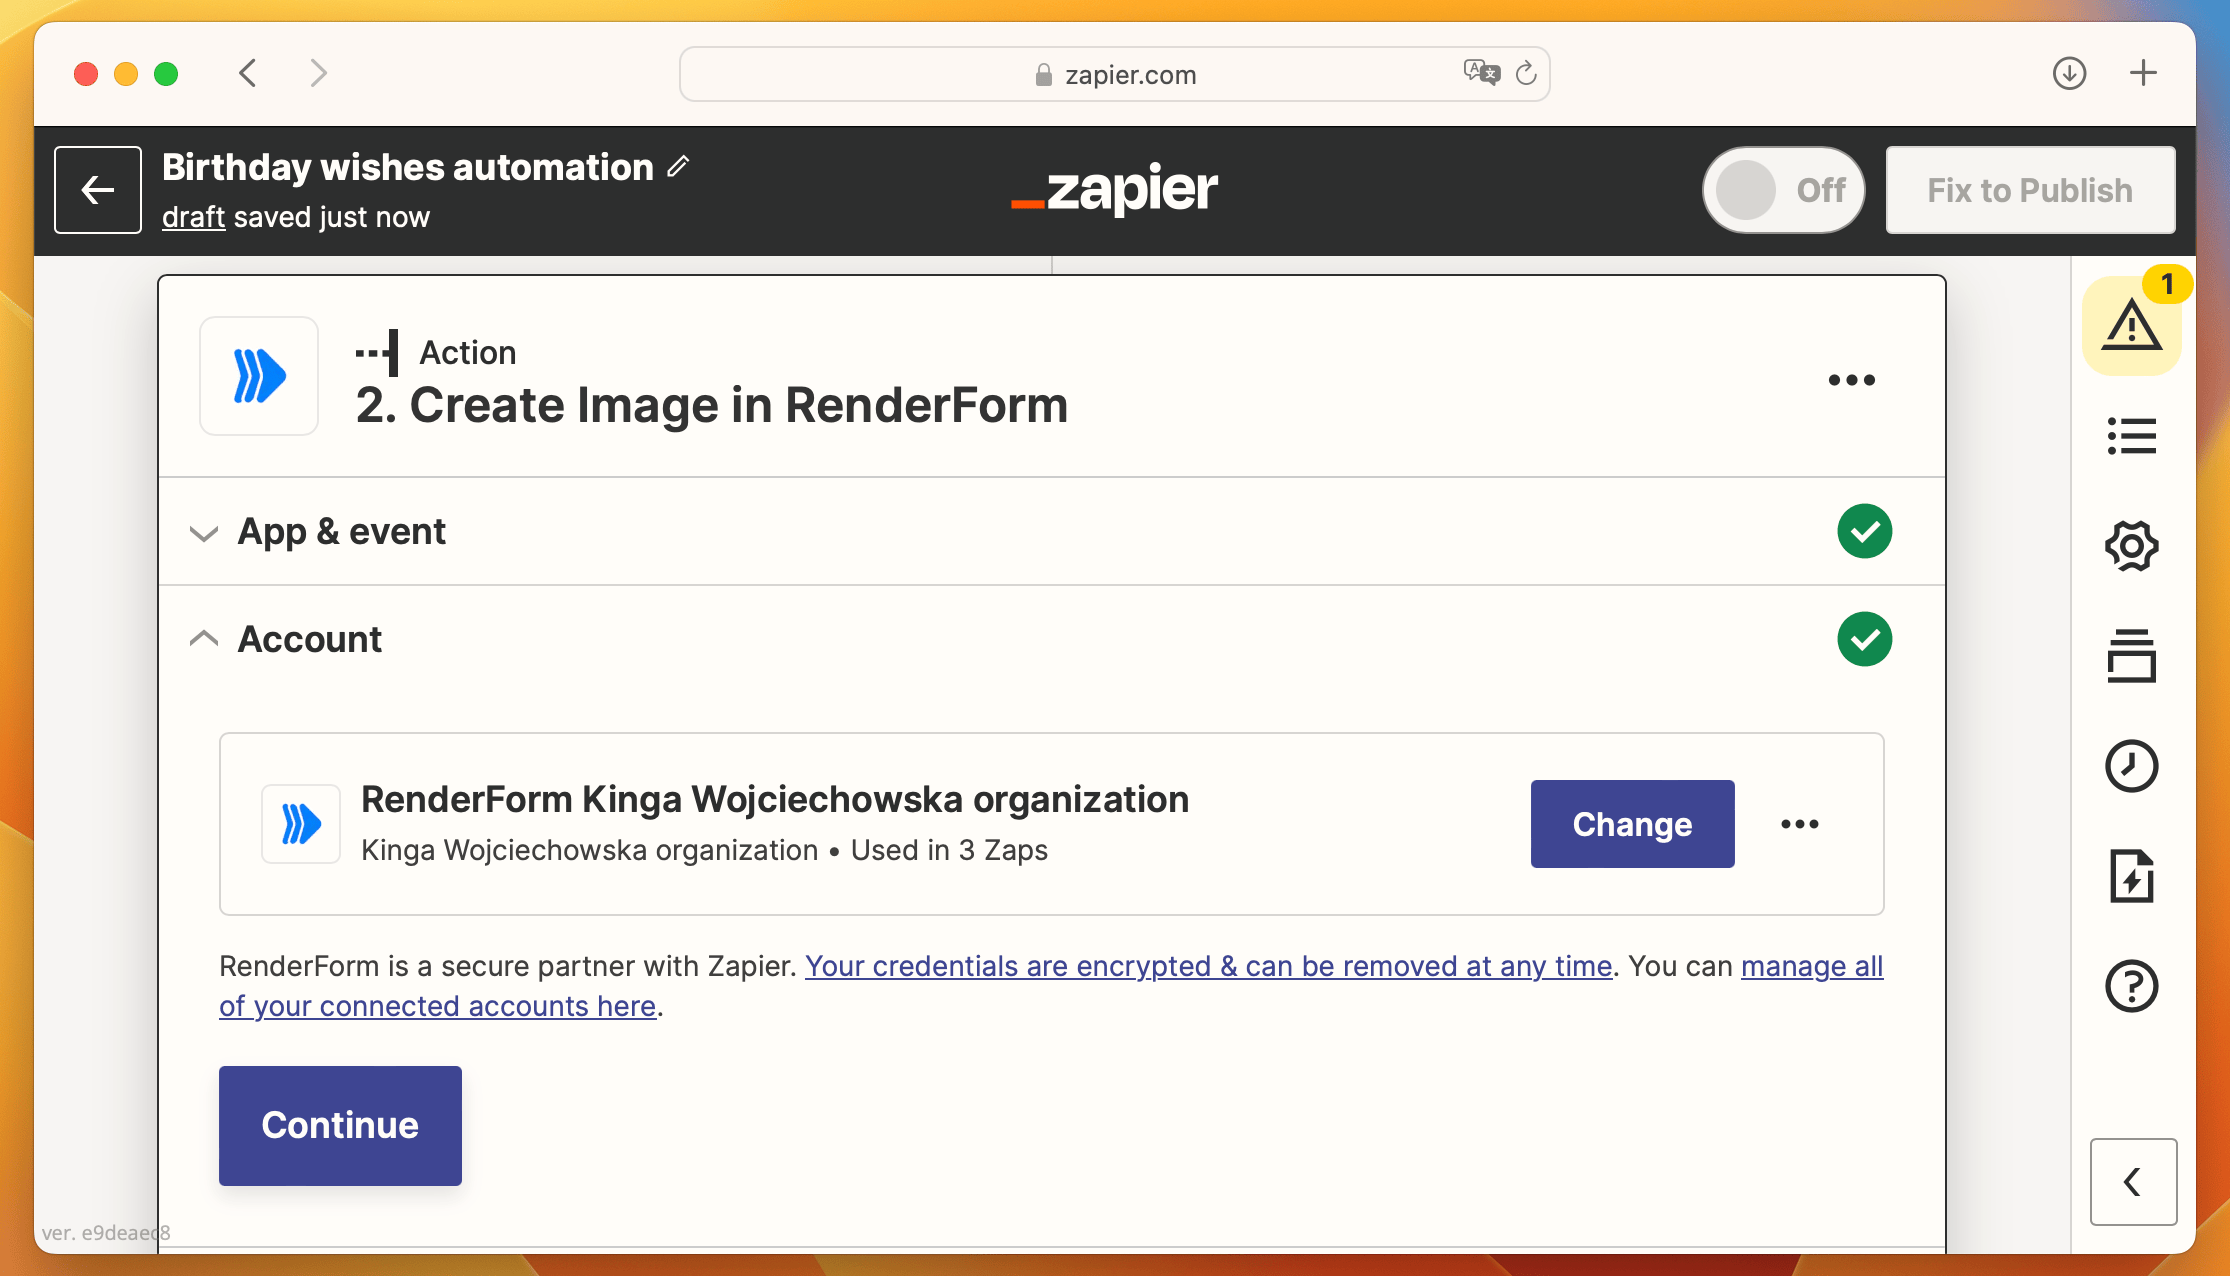
Account
Connect Zapier with your RenderForm account to gain access to your templates and enable image automation.
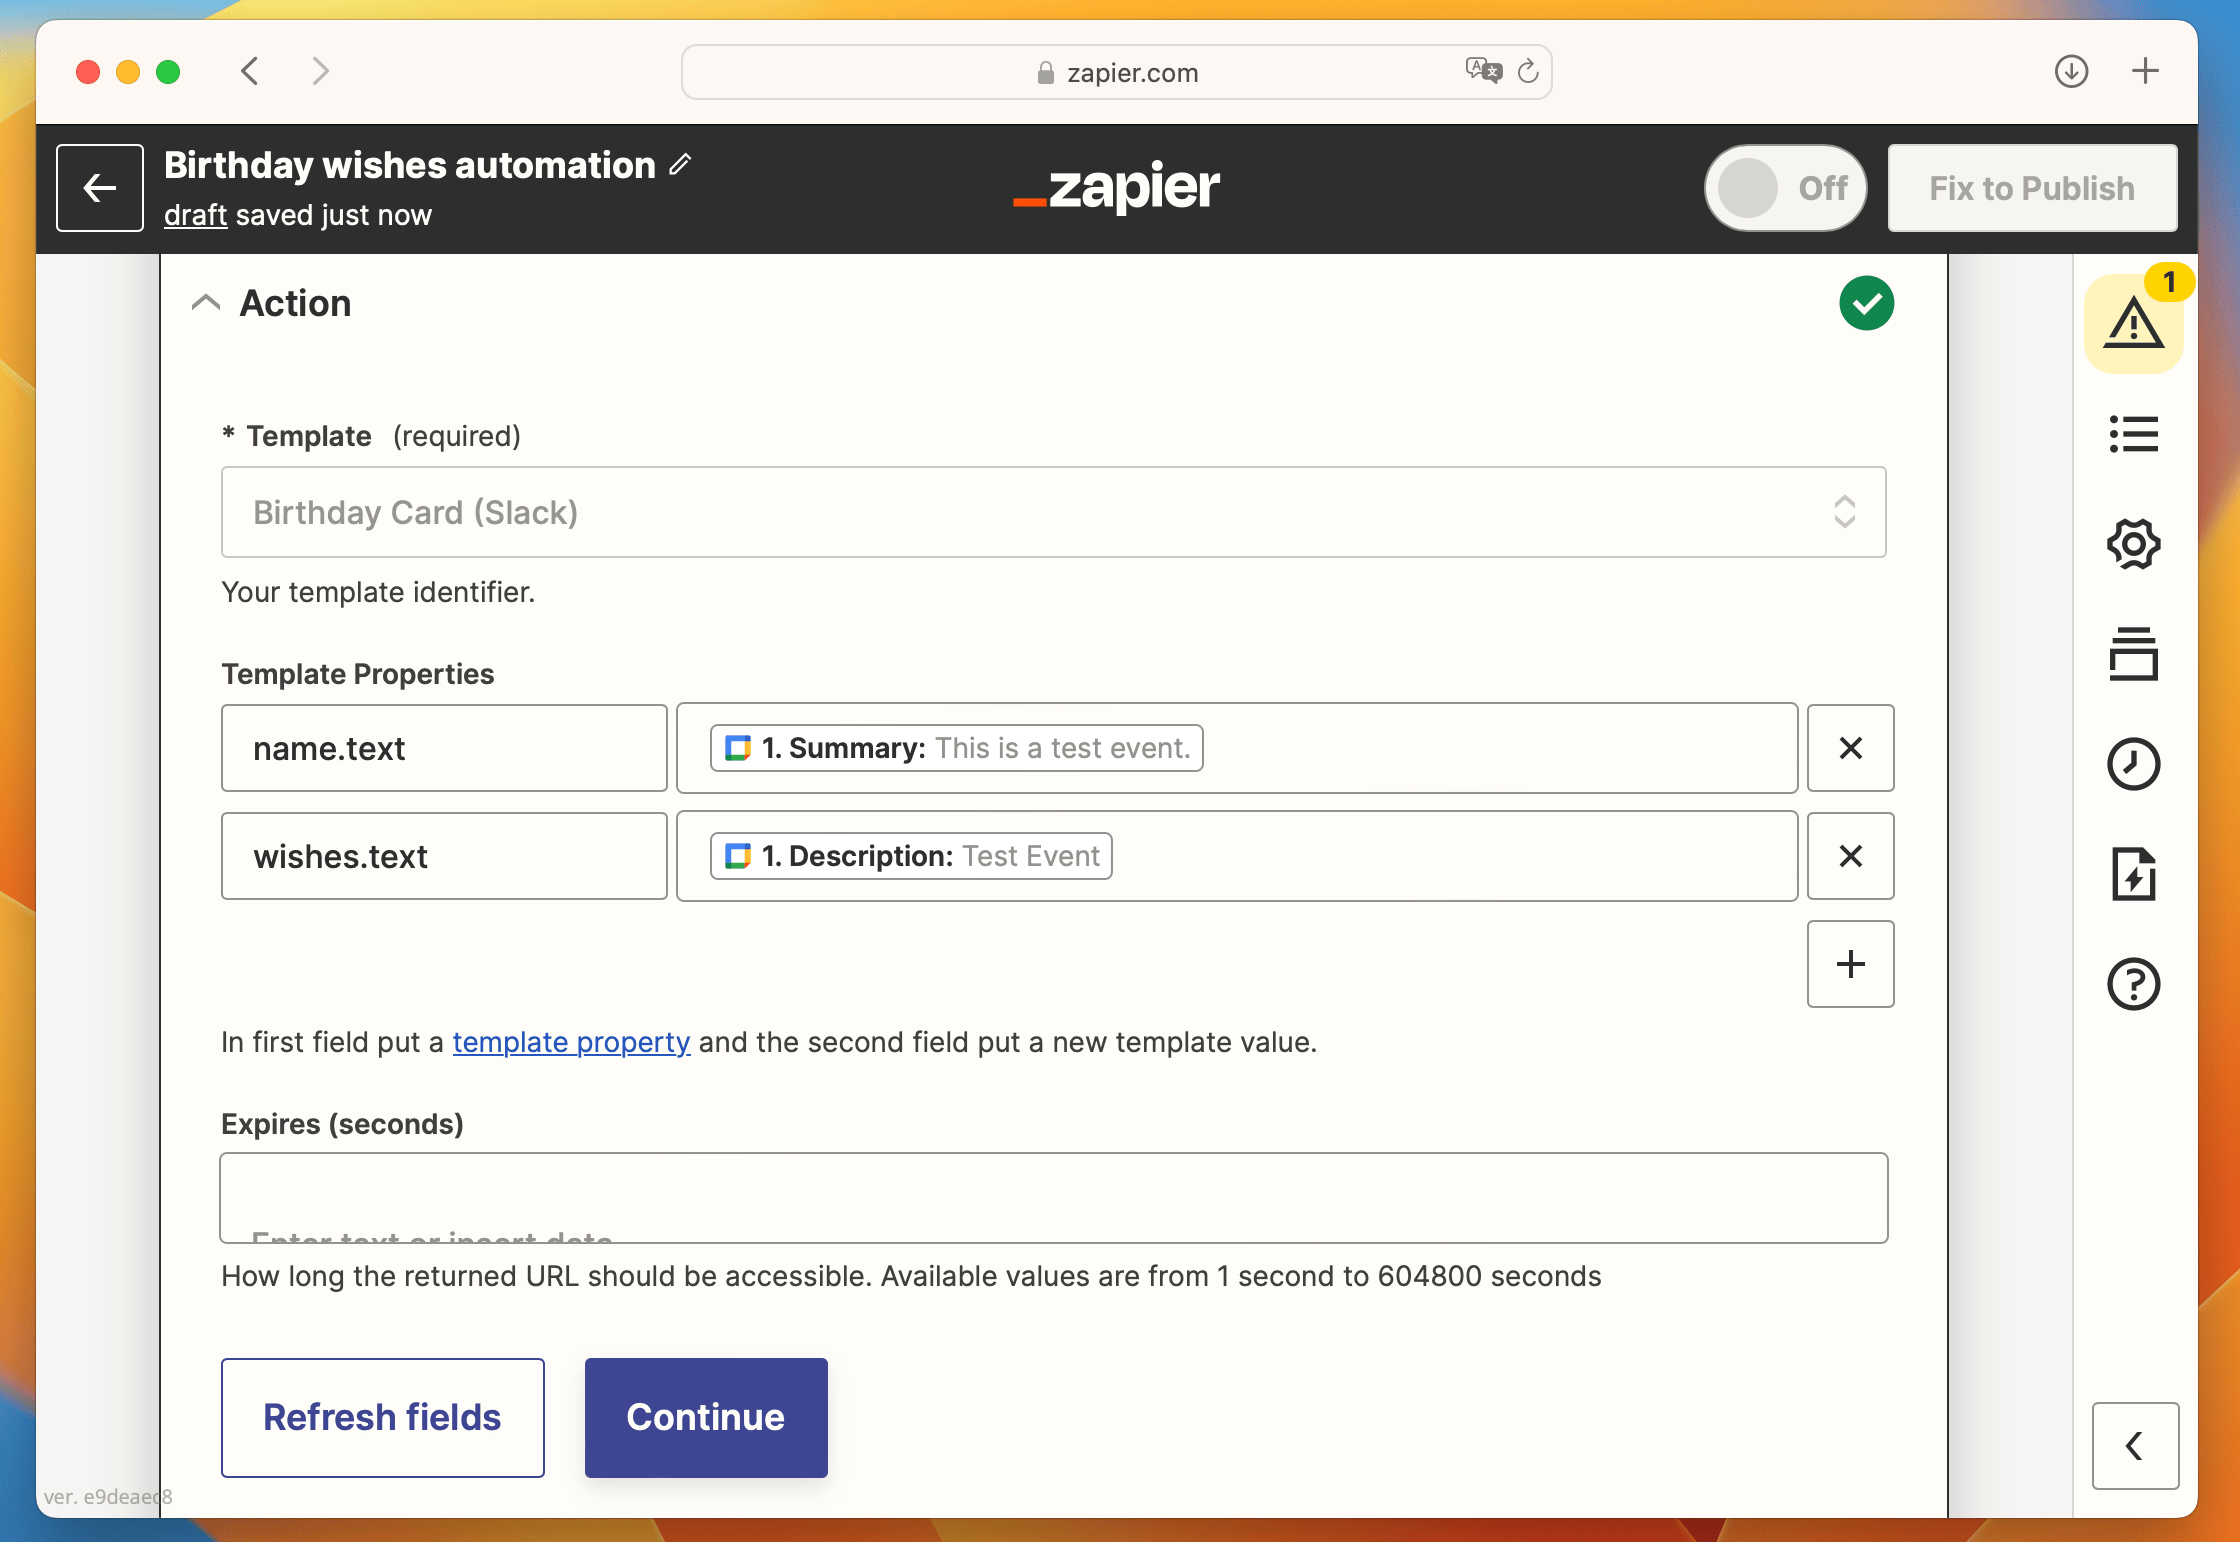
Action
In this step, we need to specify how we replace the components in our birthday card template. As a reminder, we'll be replacing the name.text and wishes.text components from our template. The birthday person's name can be found in the Google Calendar event as the event title (Summary), and the wishes can be obtained from the event Description.
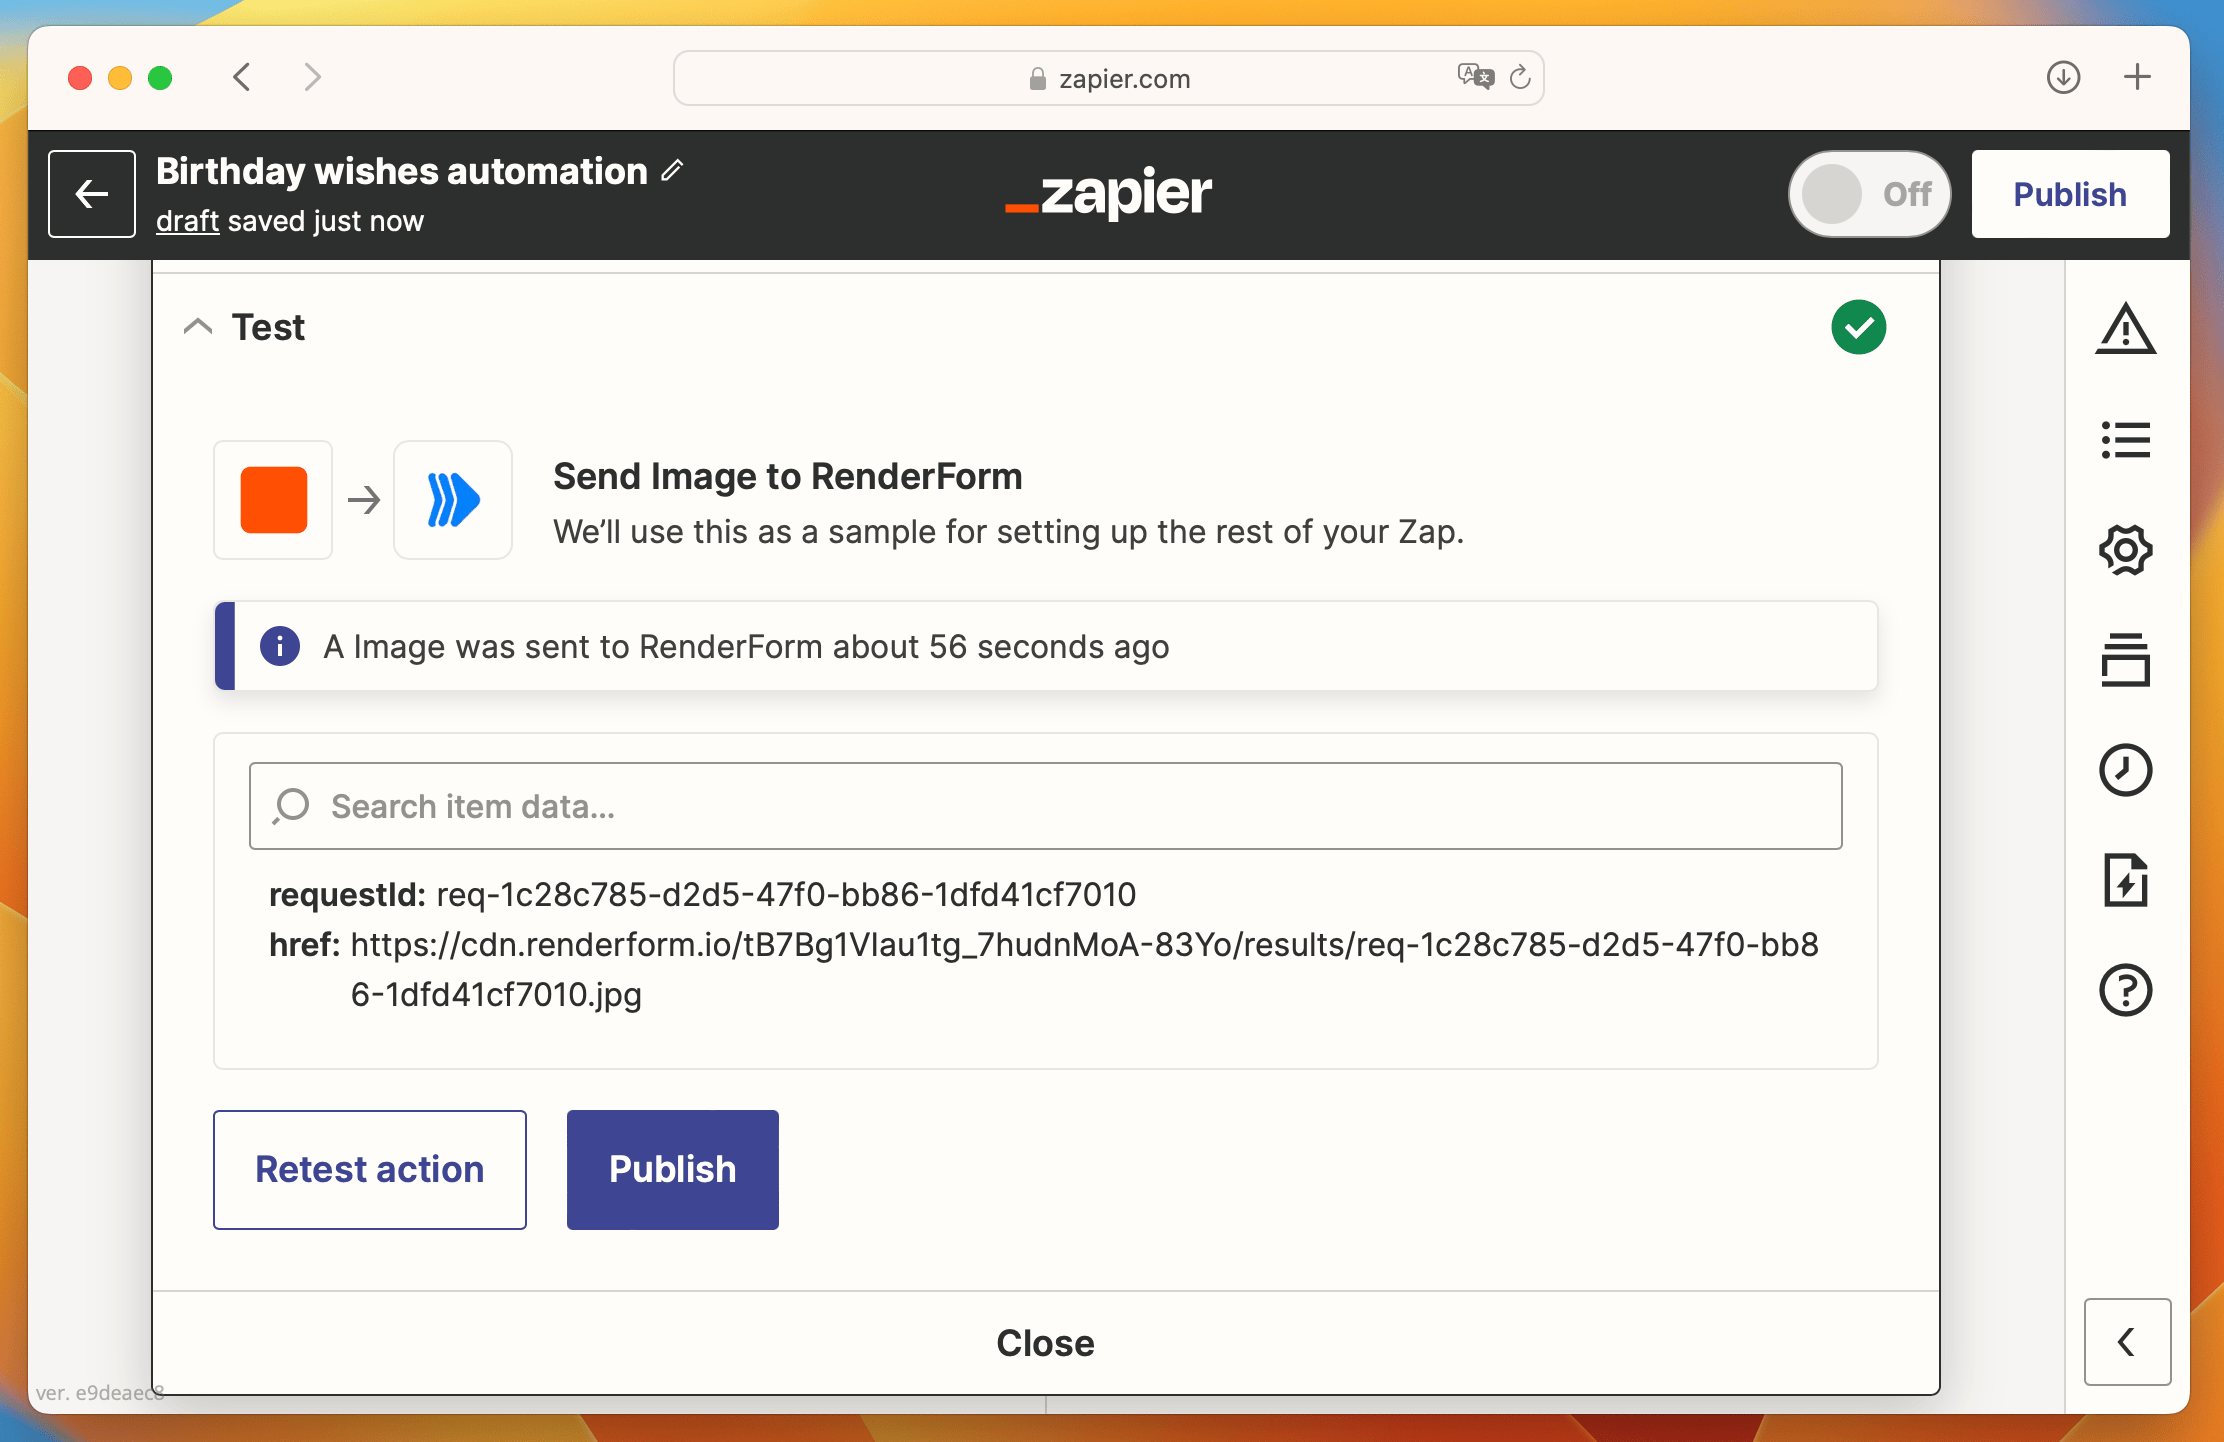
Test
Next, Zapier will conduct a test to ensure the connection is working correctly. Click on Continue and then select Test action.
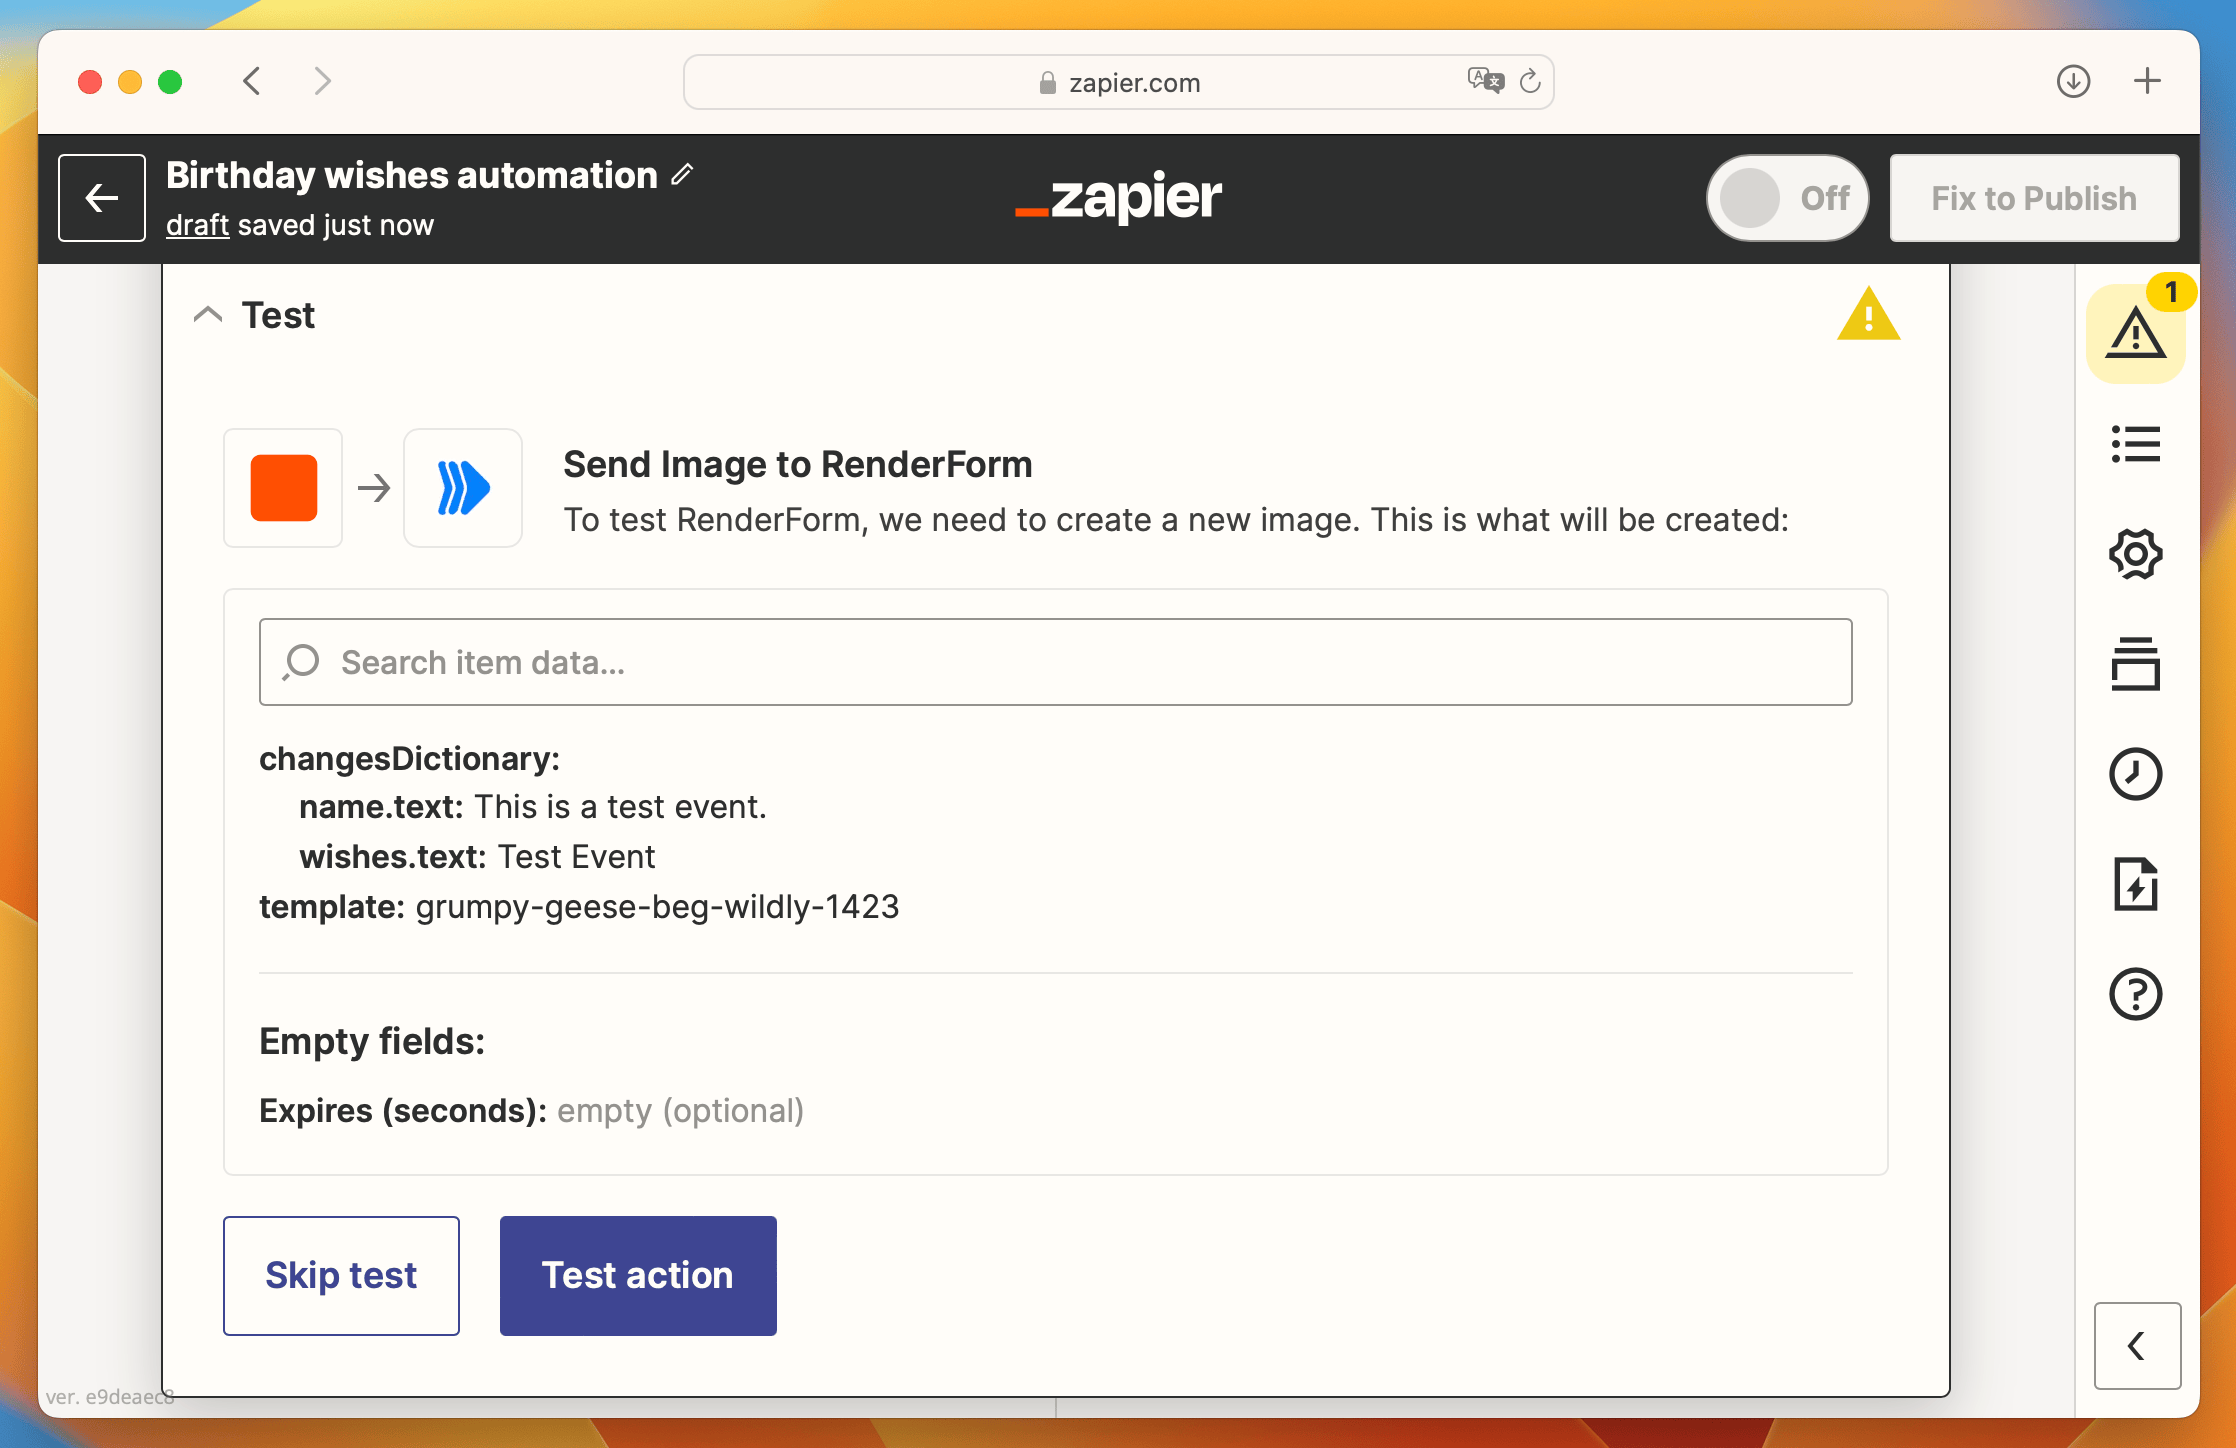
Once the test is completed, you can check the test image in the test result. Open the image link in a new tab in your browser and verify if everything appears as expected.
Now, instead of publishing our Zap, we need to add one more action: connecting our Slack channel, where the birthday cards will be sent automatically.
You can also trigger image generation directly from a spreadsheet, if you manage birthdays there instead of Calendar.
Connect Slack channel
The last step in creating the automation for sending birthday cards is to deliver the actual message and image on Slack. This step follows a similar process, as outlined below.
Begin by adding a new action to our Zap and proceed with the configuration.
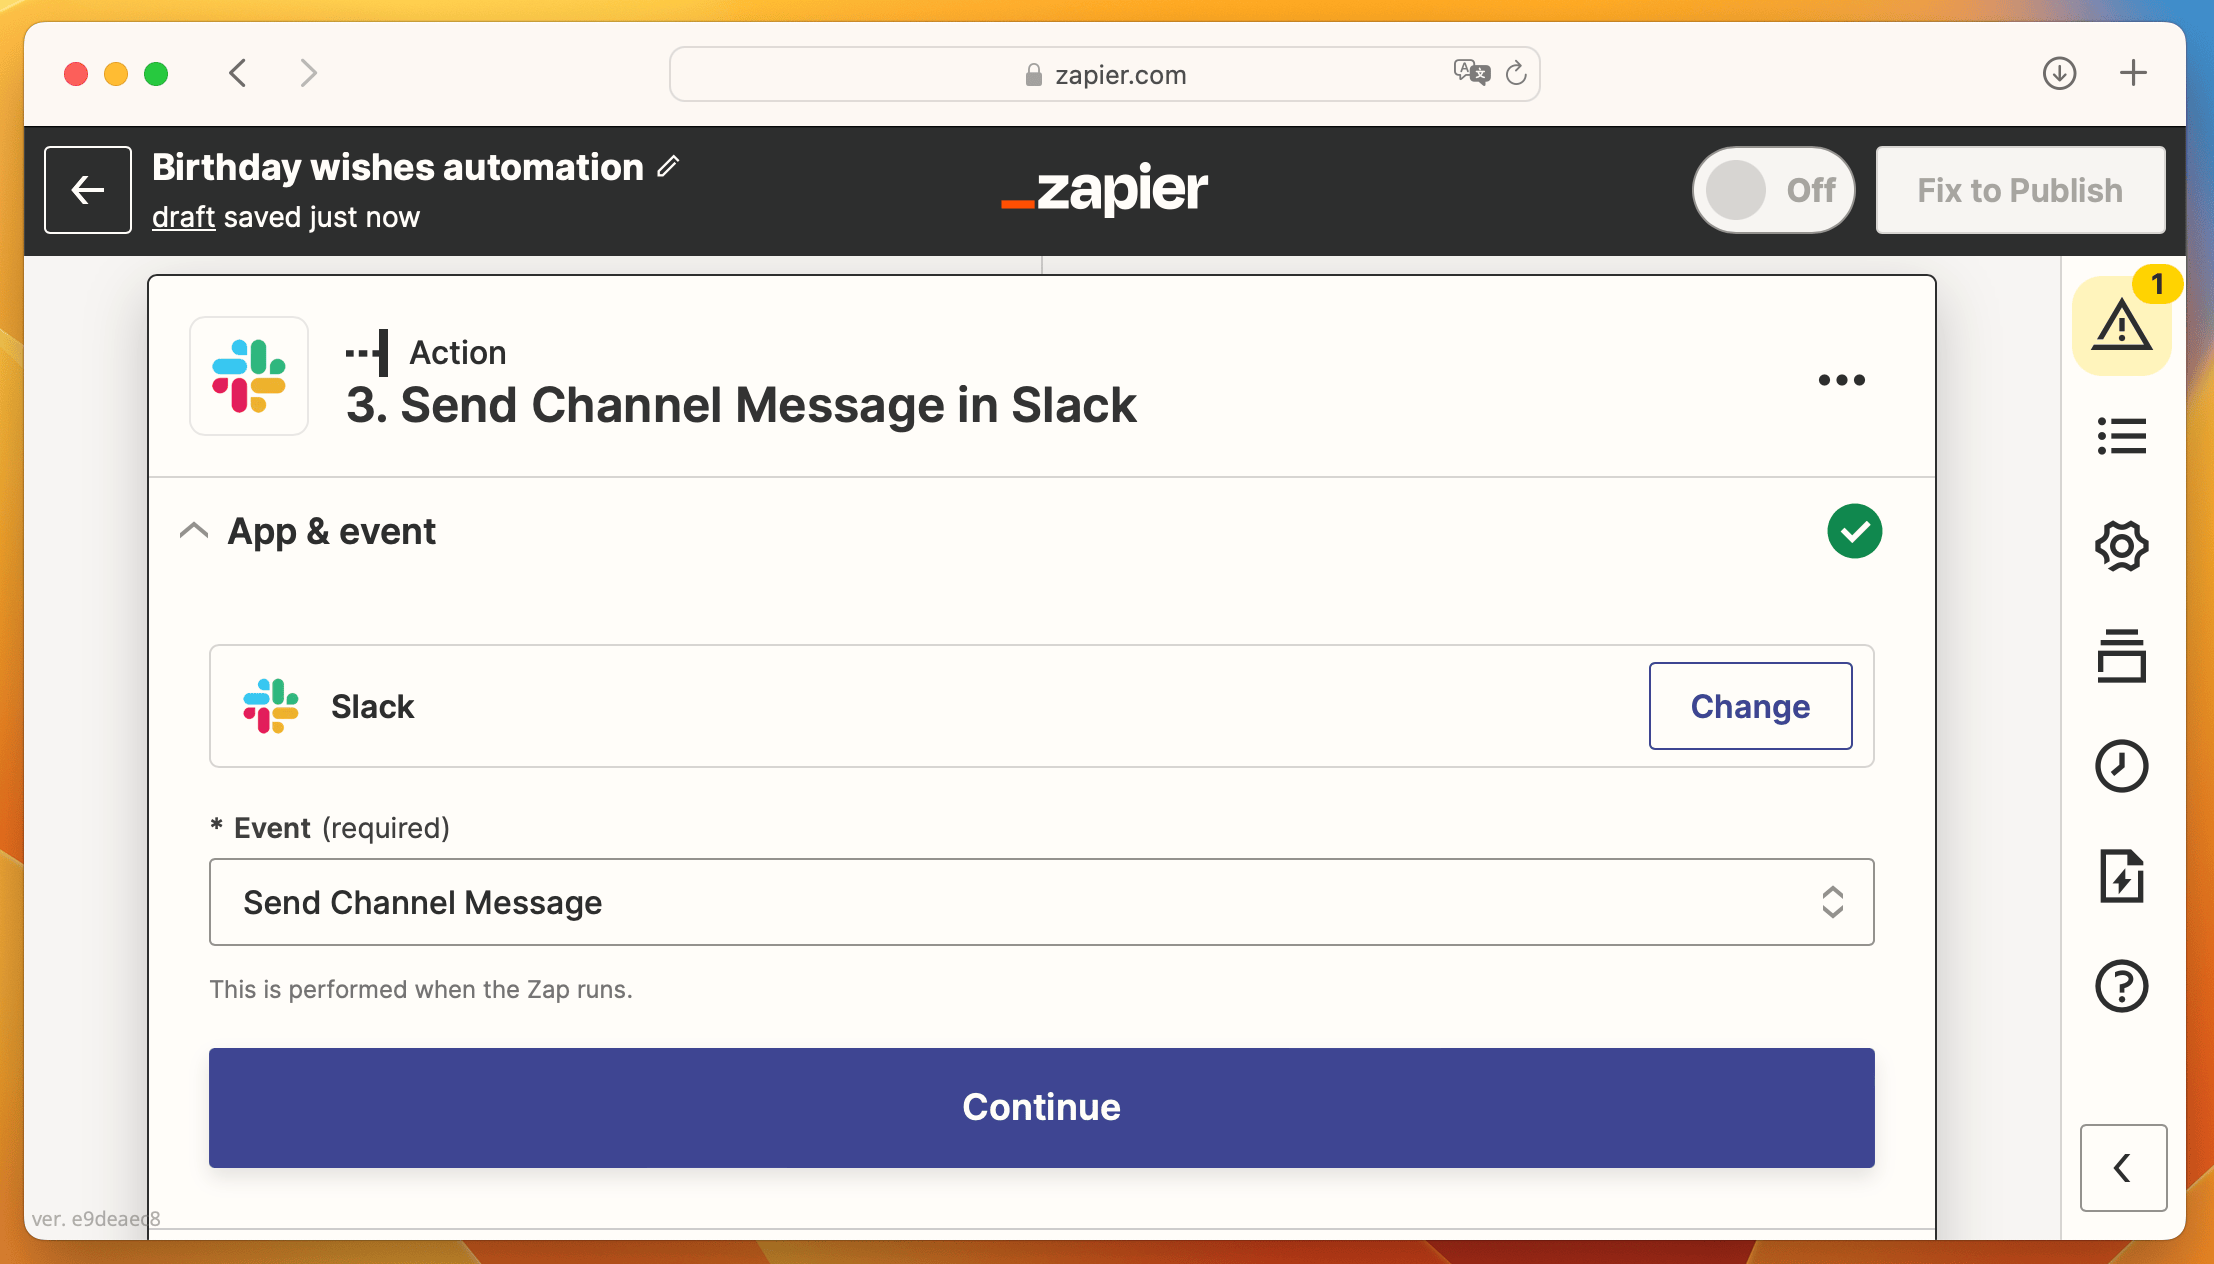
App & event
Search for Slack in the list of apps and select Send Channel Message as the event.
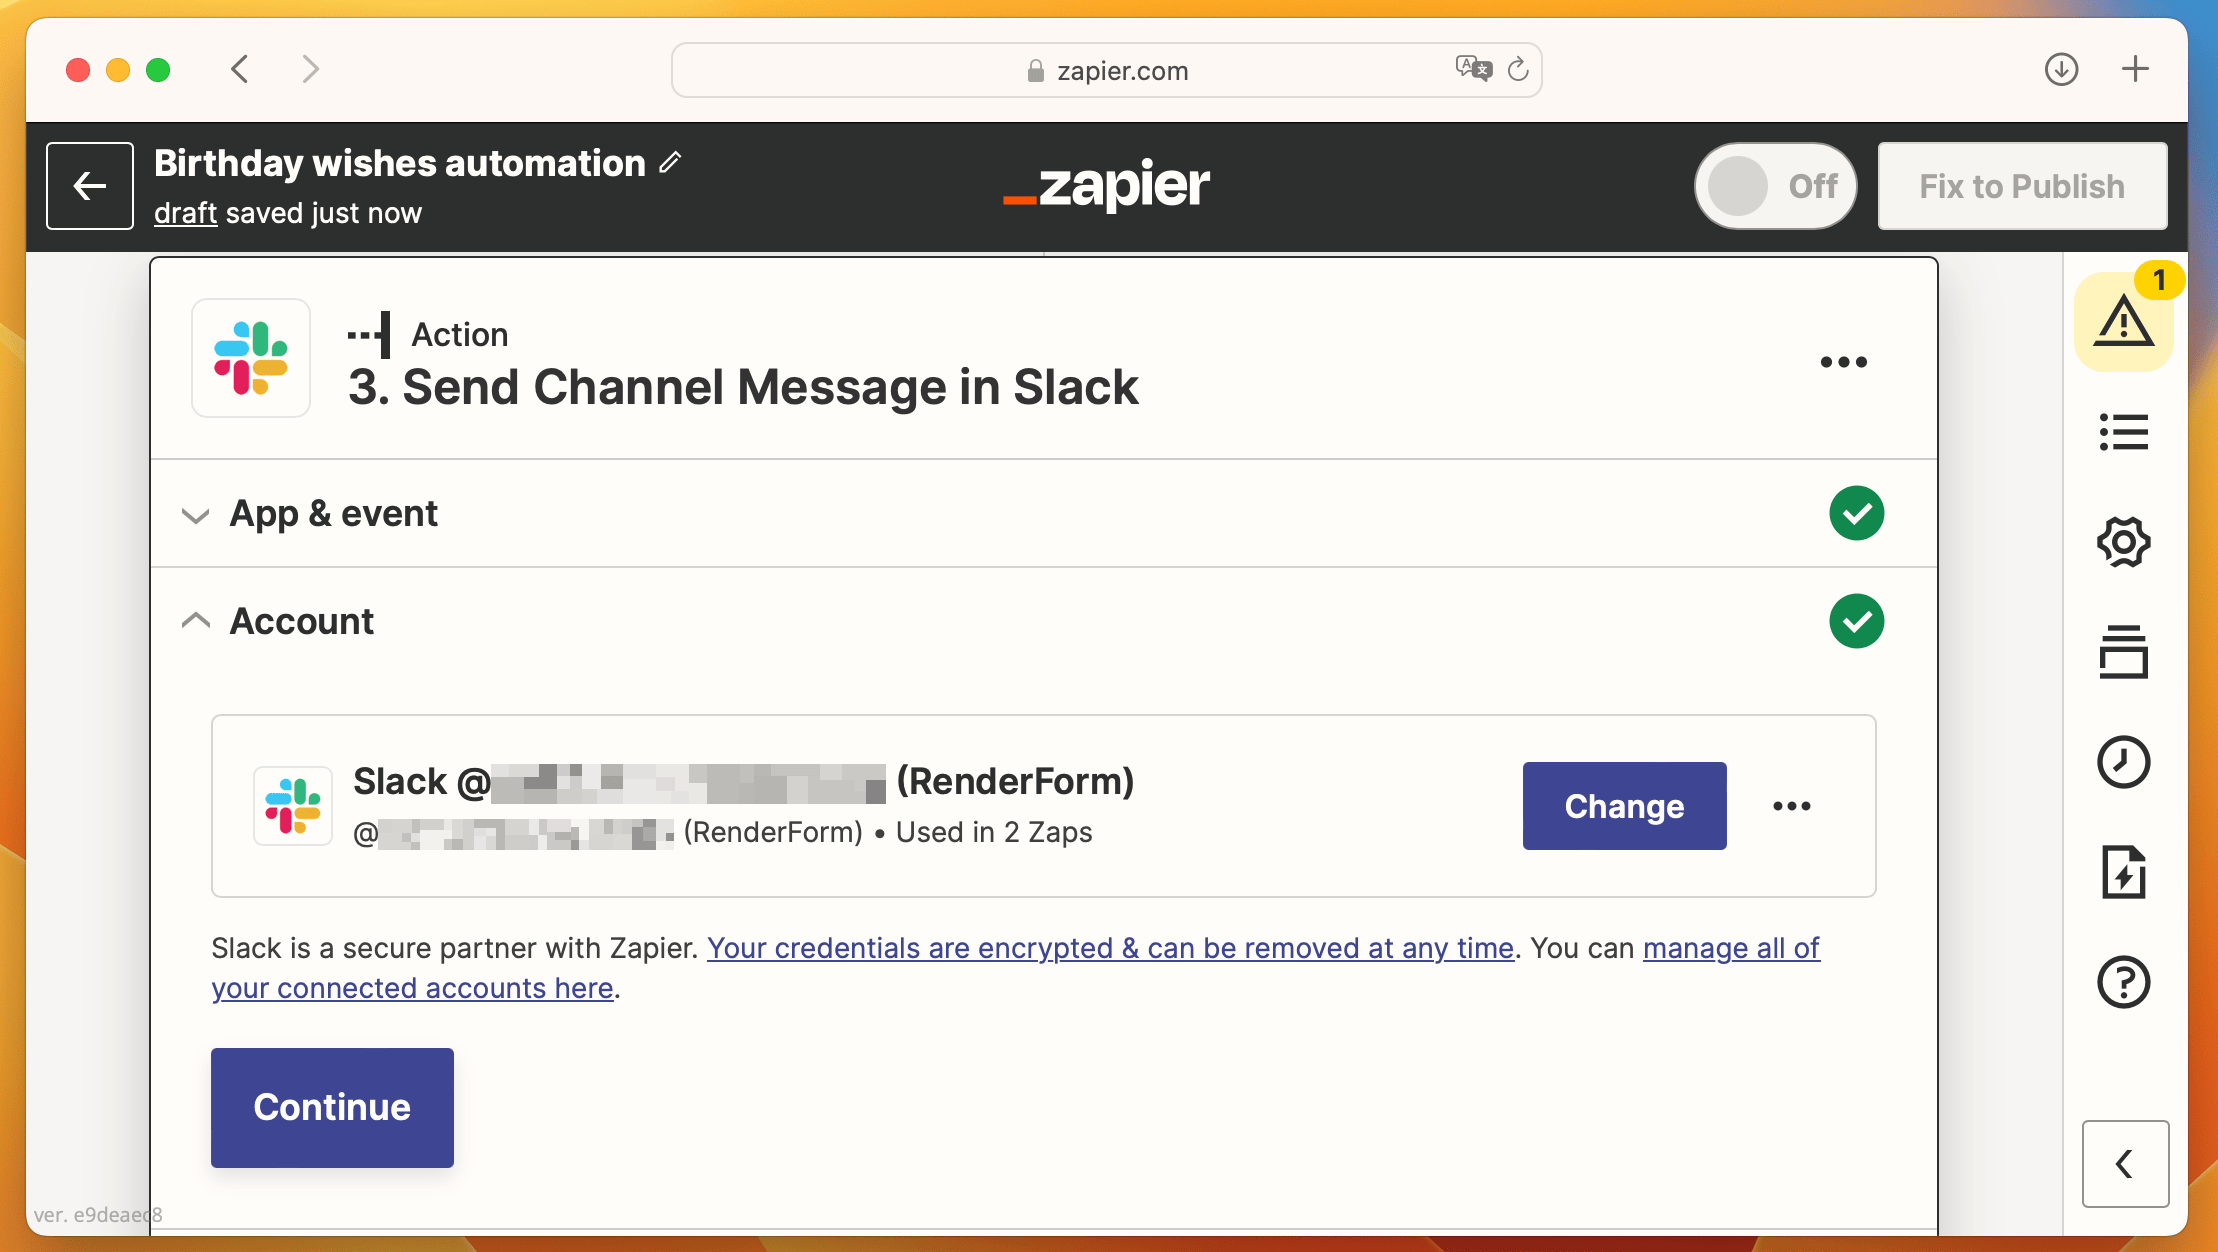
Account
Connect Zapier with your Slack account to access Slack channels and enable automated messages.
Action
In this step we create the message that is sent to Slack. For that we need to:
- select the Slack channel where you want to send the birthday card
- create a message with text and incorporate the RenderForm action result, which is the auto-generated birthday card image
In the message, you can add additional text (optional) and choose the RenderForm action result, which is the automatically generated birthday card image.
You can also personalize the message content! Utilize the birthday person's name from the event title to give it a personal touch!
Test
To ensure everything is functioning properly, run one final test.
Publish Zap
Finally, after conducting the test, click the Publish button. With that, our birthday card automation is ready to go!
Birthday card automation test
Before the automated sending of real birthday cards, it's important to perform a test to ensure that everything is set up correctly. Here's how you can do that:
1. Create a birthday event in your "Birthdays" calendar, scheduled for now plus 40 minutes. For example, if it's currently 9:00 AM, set the event to start at 9:40 AM. This allows Zapier enough time to run the trigger.
2. Wait for the trigger to activate in Zapier. The trigger will check the calendar for any upcoming birthdays.
3. Check the result on your designated Slack channel. You should see the automated birthday card message with the personalized wishes and image.
By performing this test, you can ensure that the automation is functioning correctly and that the birthday cards are being sent as intended.
Conclusion
With this setup in place, you will never miss a team birthday again, and you will do it with style. Try it out today, and give your team a reason to smile on their special day.
→ Start building your birthday card automation with RenderForm →
🧠 Want to do more with RenderForm automation?
Here are a few next steps you might like:


