How to add custom SVG elements to your template

If you are looking to add your own graphics or tweak the look of your templates in RenderForm, using SVG elements is a great option. In this post, I will walk you through how to insert custom SVGs using both the Canvas editor and the HTML editor, and why SVGs are a useful format to work with.
First, What is an SVG?
SVG stands for Scalable Vector Graphics. It's a way of creating images using code, and it's especially handy because the graphics can scale to any size without getting blurry. Unlike JPEGs or PNGs, SVGs don't lose quality when resized.
In RenderForm, you can use SVGs to build things like custom icons, logos, charts, shapes, or even full illustrations. And because they're made with code, you can style and tweak them directly in the template editor.
Why use SVG in your templates?
Here are a few reasons why SVGs are useful:
- They stay sharp at any size. Whether someone is looking at your image on a tiny phone or a big monitor, it will still look clean.
- They are easy to style. You can change colors, sizes, and even animate parts of them using CSS.
- You don't need extra image files. One SVG can often replace multiple versions of the same graphic at different sizes.
How to insert SVG elements into your template?
RenderForm gives you two main ways to work with SVGs: the Canvas editor and the HTML editor. Here is how both options work.
Using the Canvas Editor
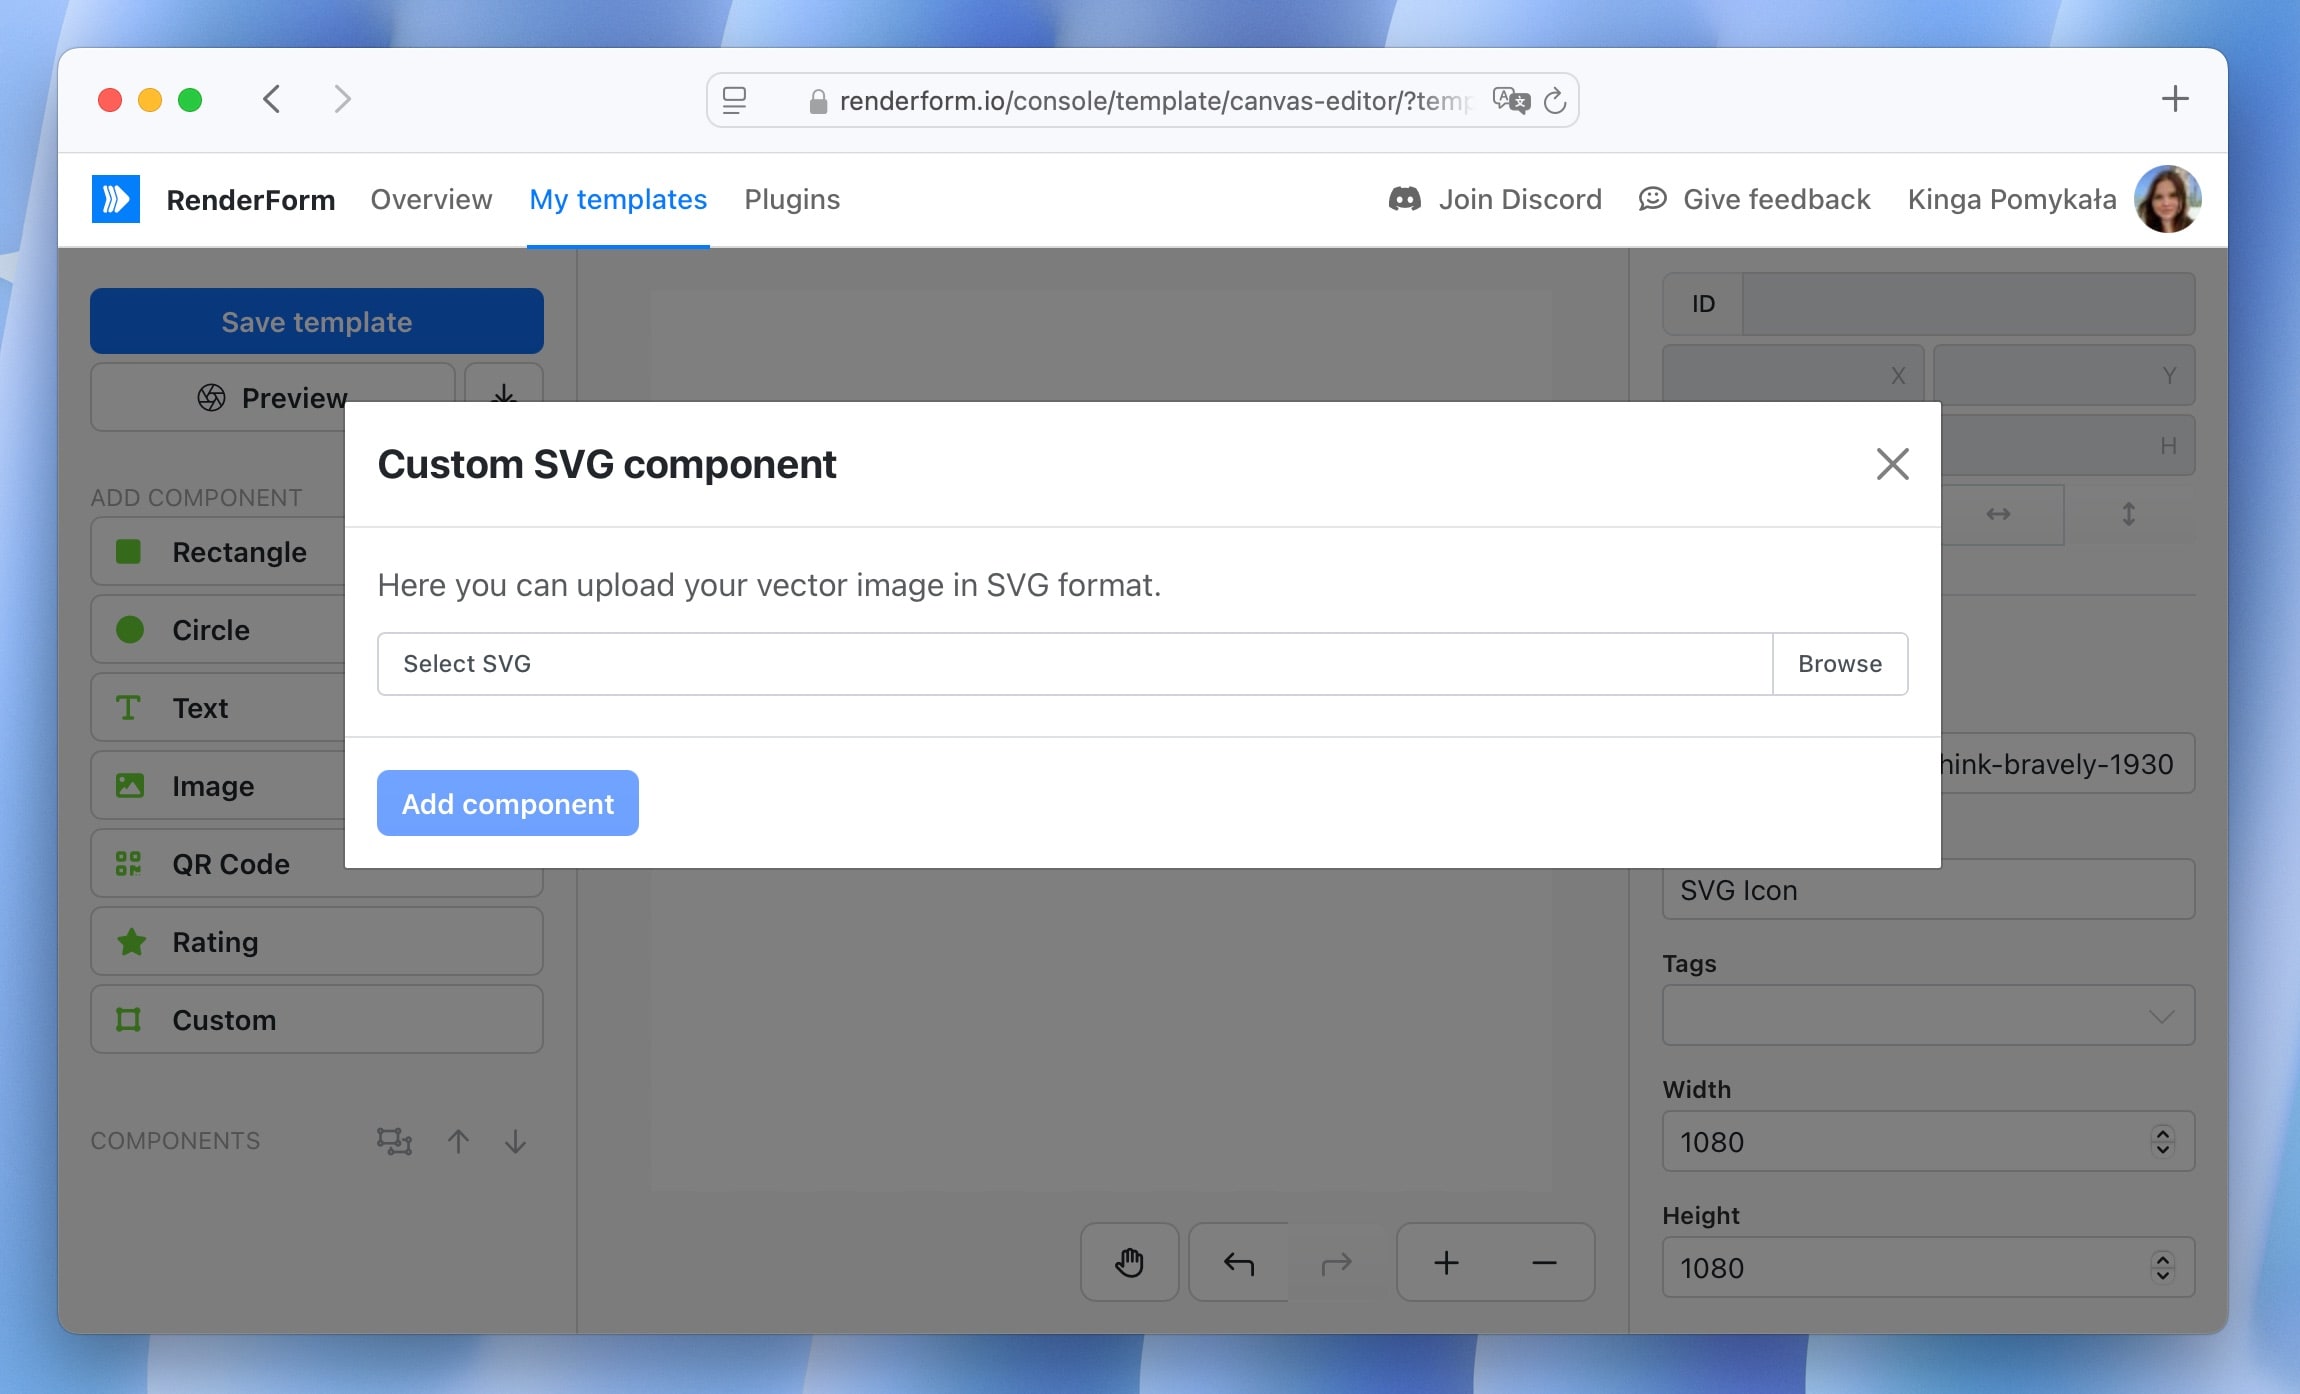
Open your template in RenderForm's canvas default editor or create a new one. In the left sidebar, choose the Custom component and upload your SVG file.
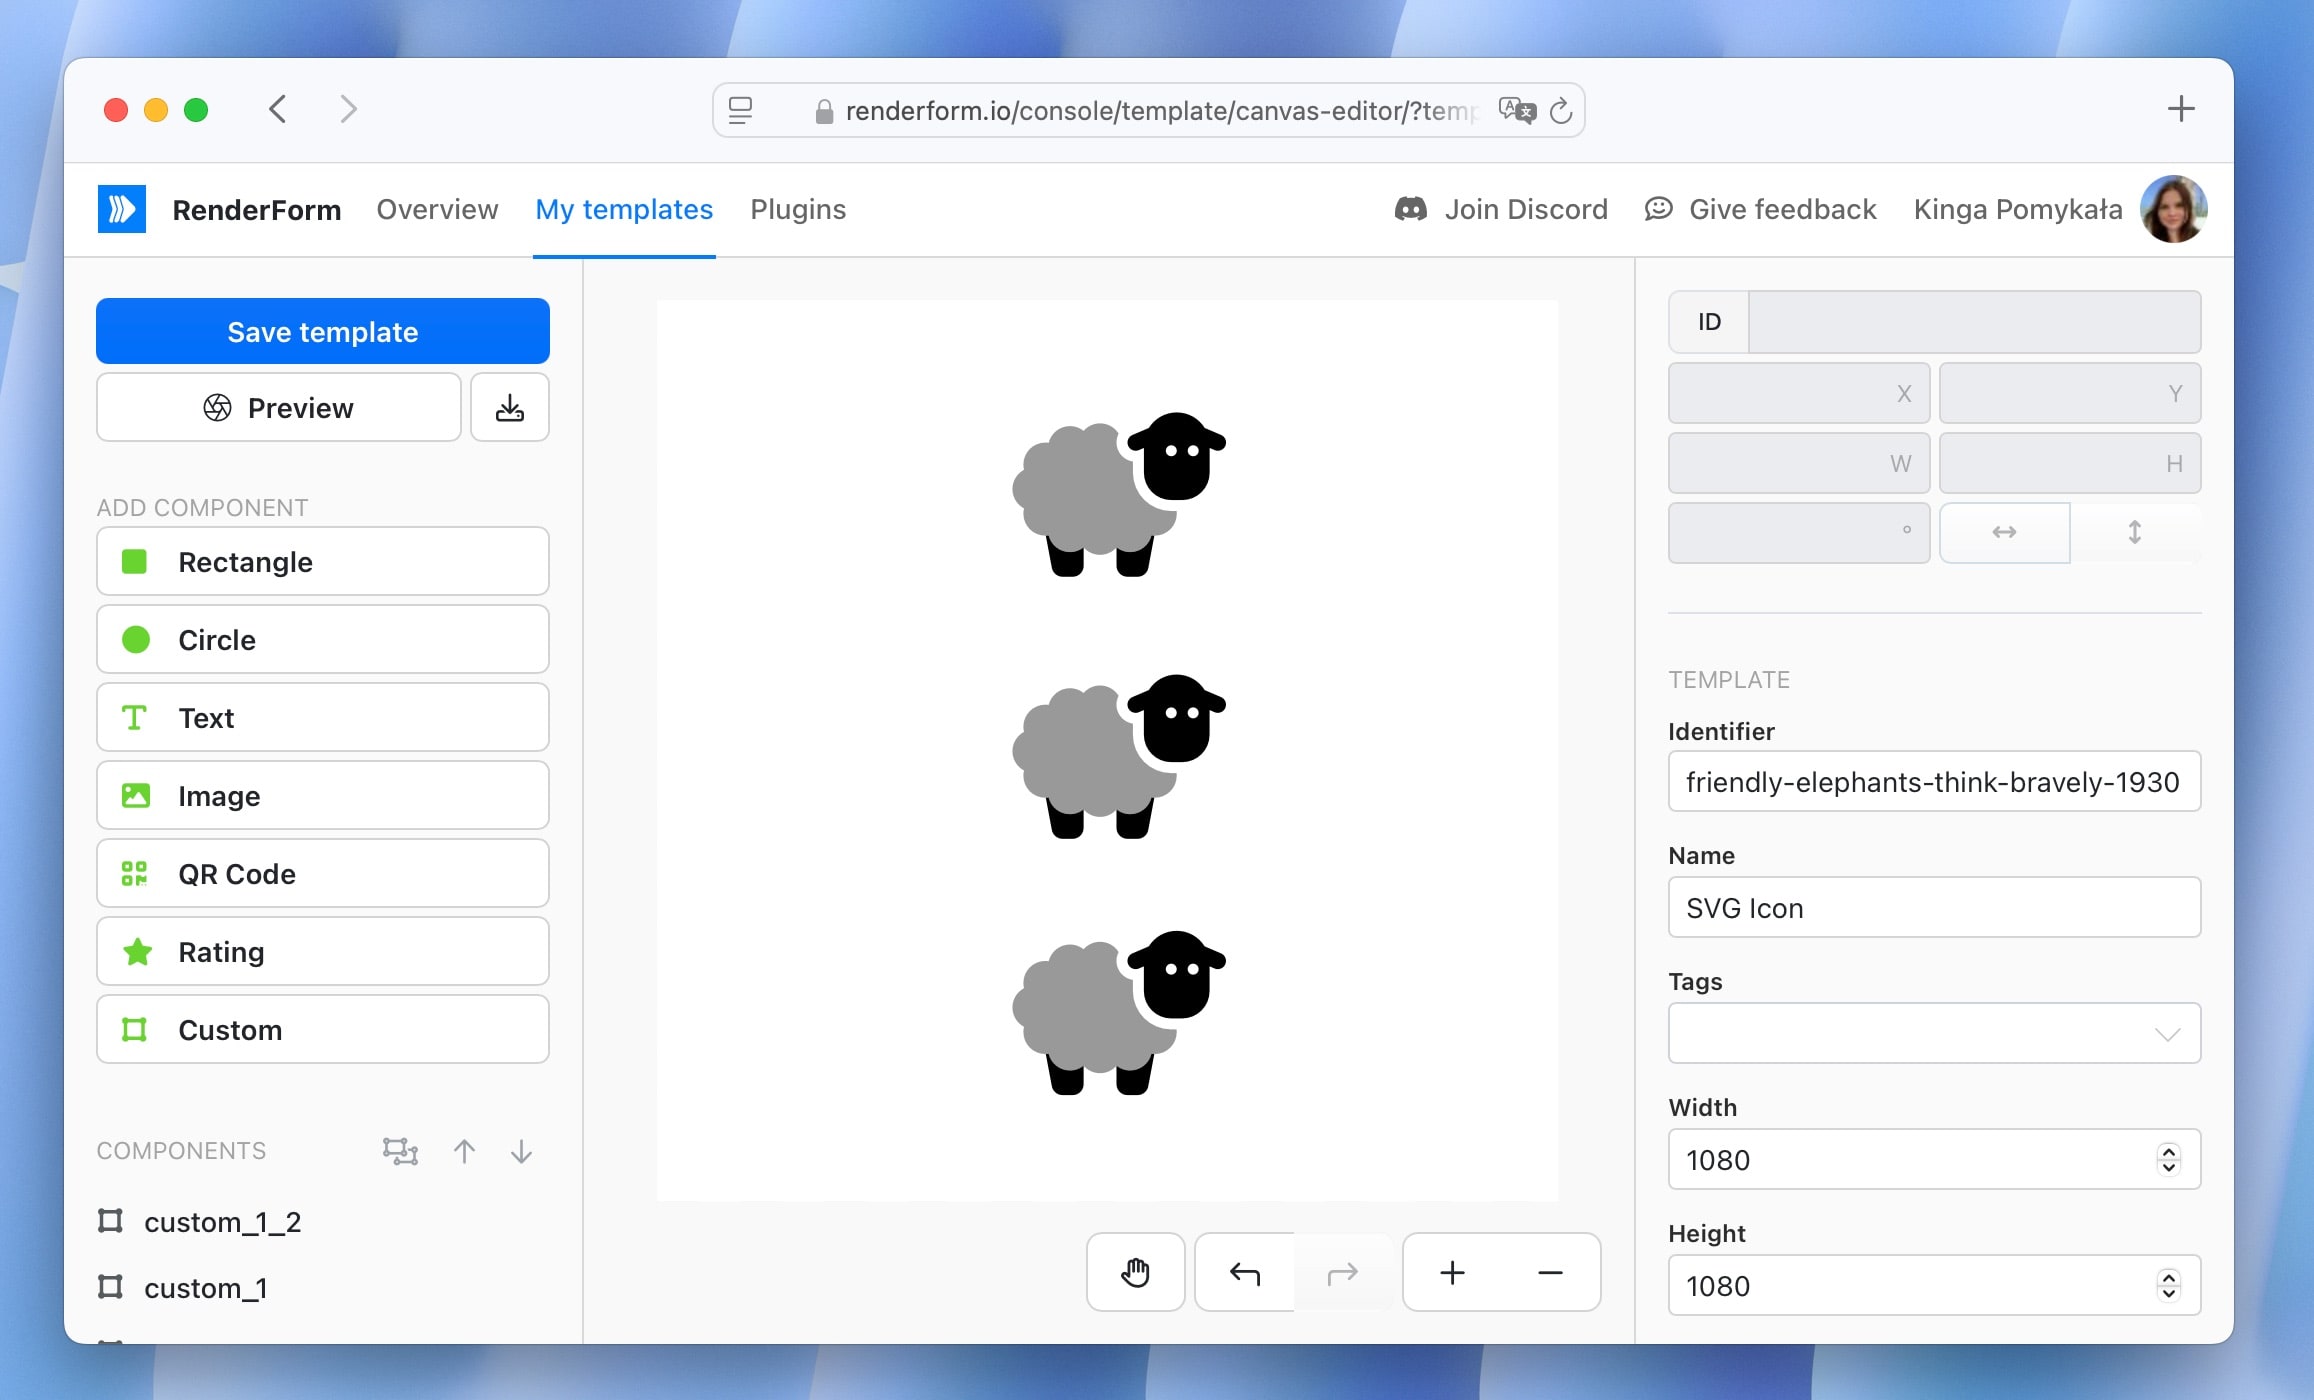
Place the SVG element on the canvas. You can move it around, resize it, and position it wherever you want.
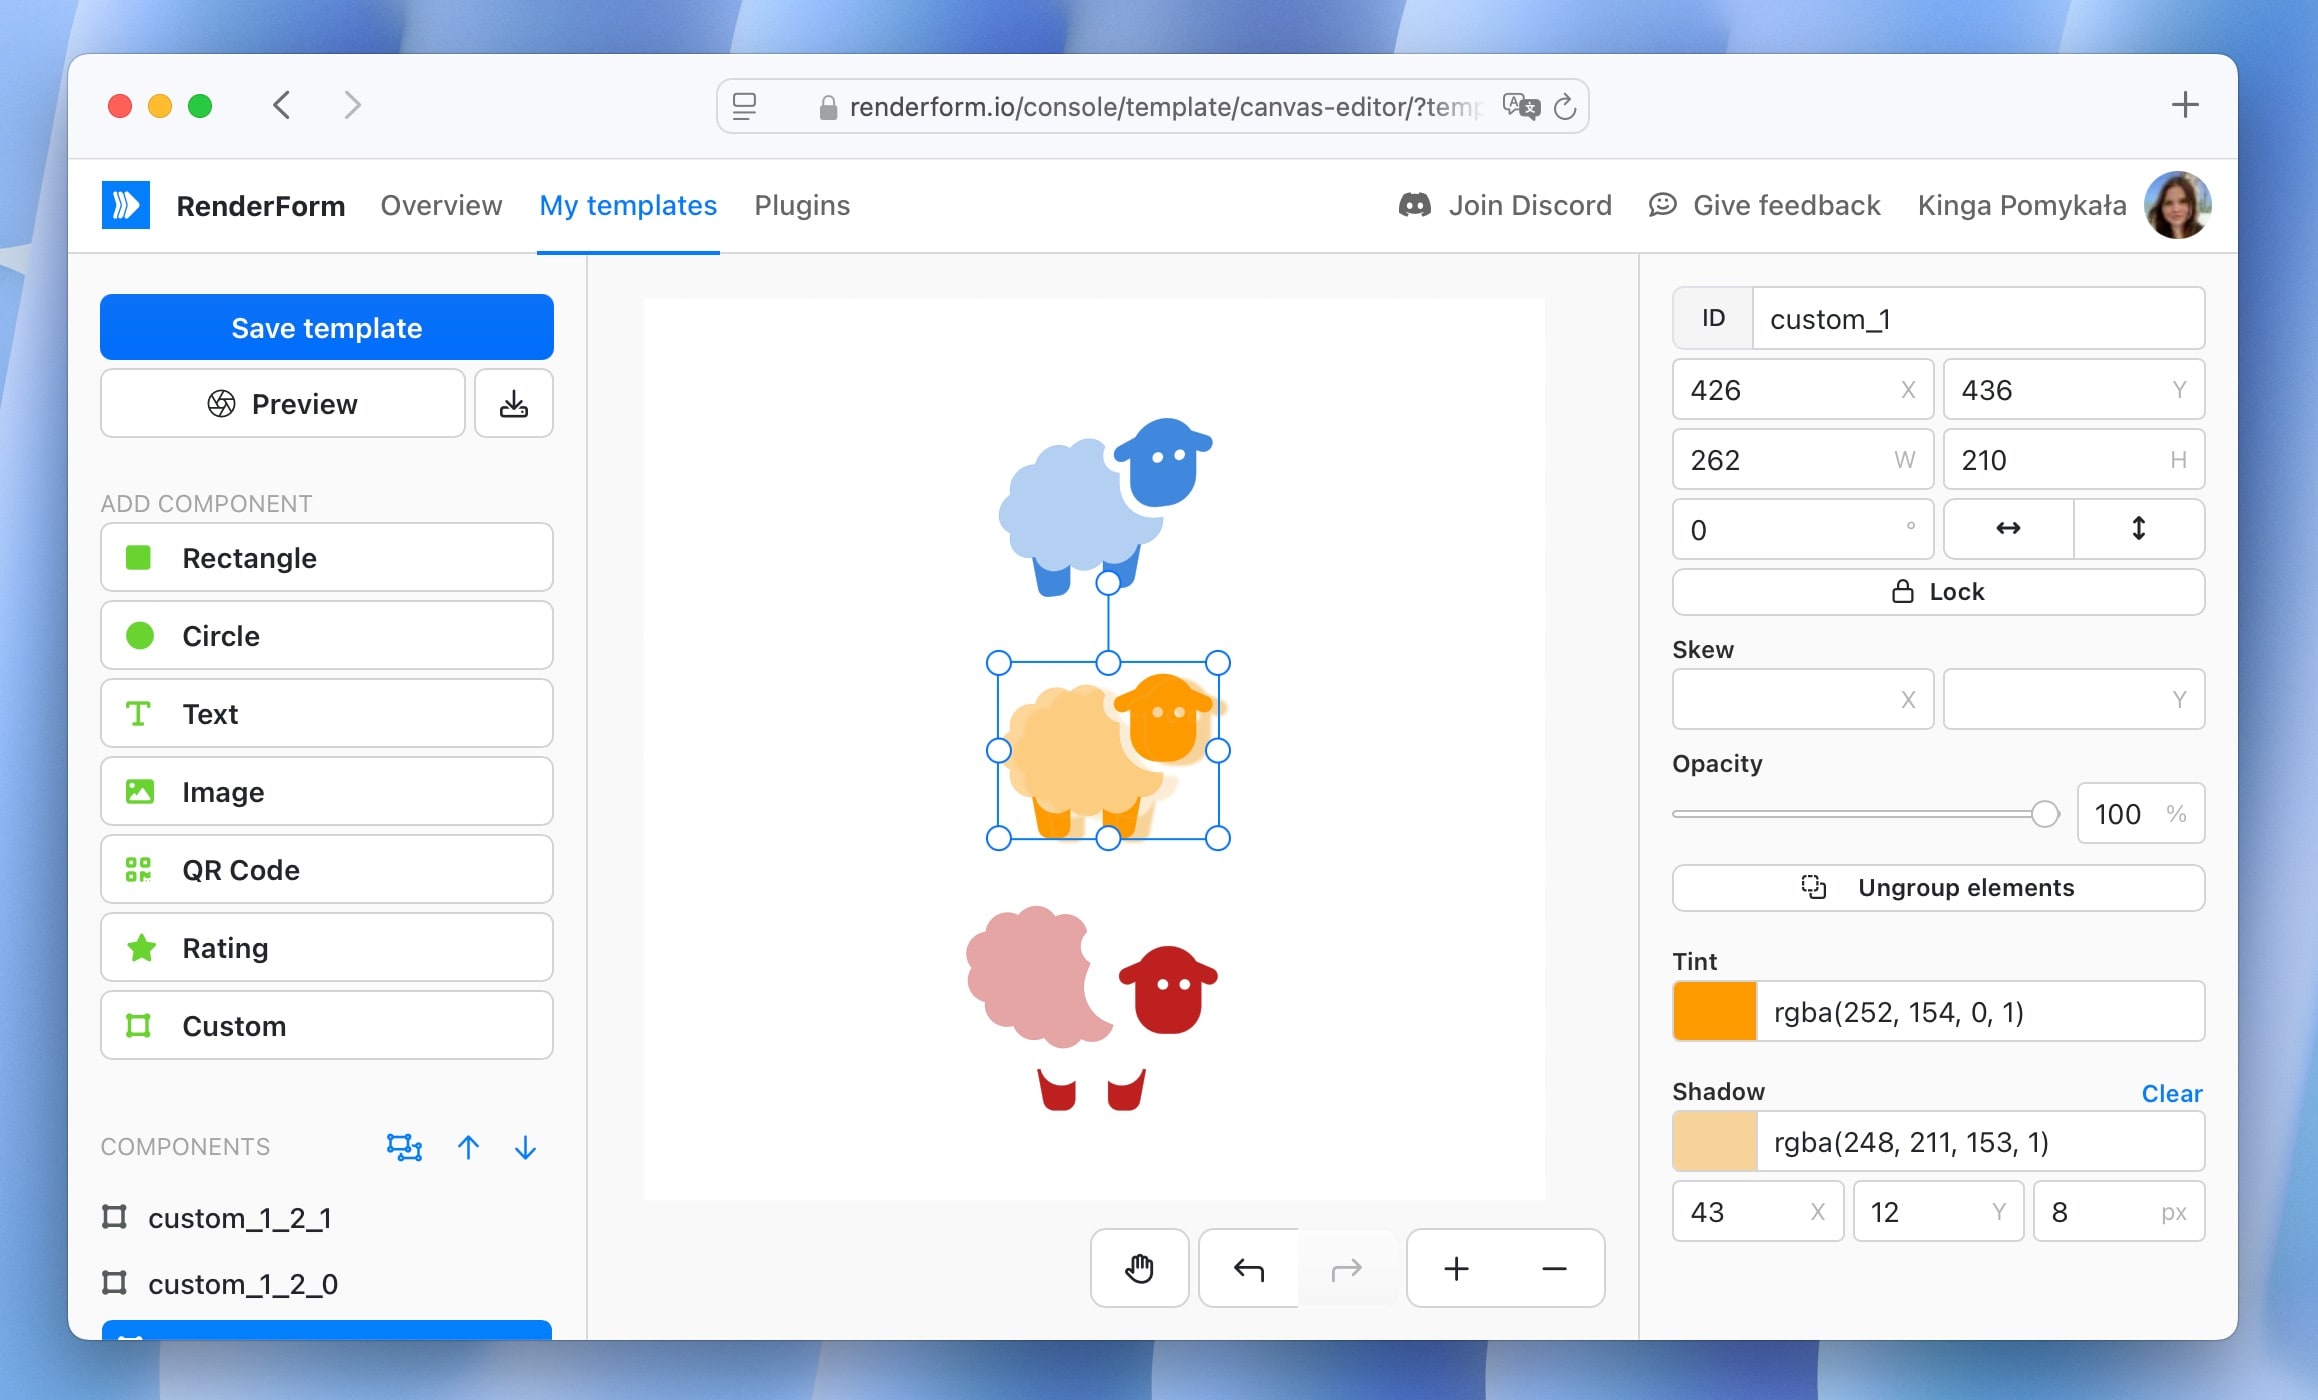
You can also change some of the visual details. For example, you can:
- Adjust the fill color
- Tweak stroke width
- Set opacity
- Add shadows
- Control individual layers within the SVG
This method is good if you want to upload and adjust SVGs without touching any code.
Using the HTML Editor
If you are comfortable with code or want more control over the SVG, you can insert it directly in the HTML editor.
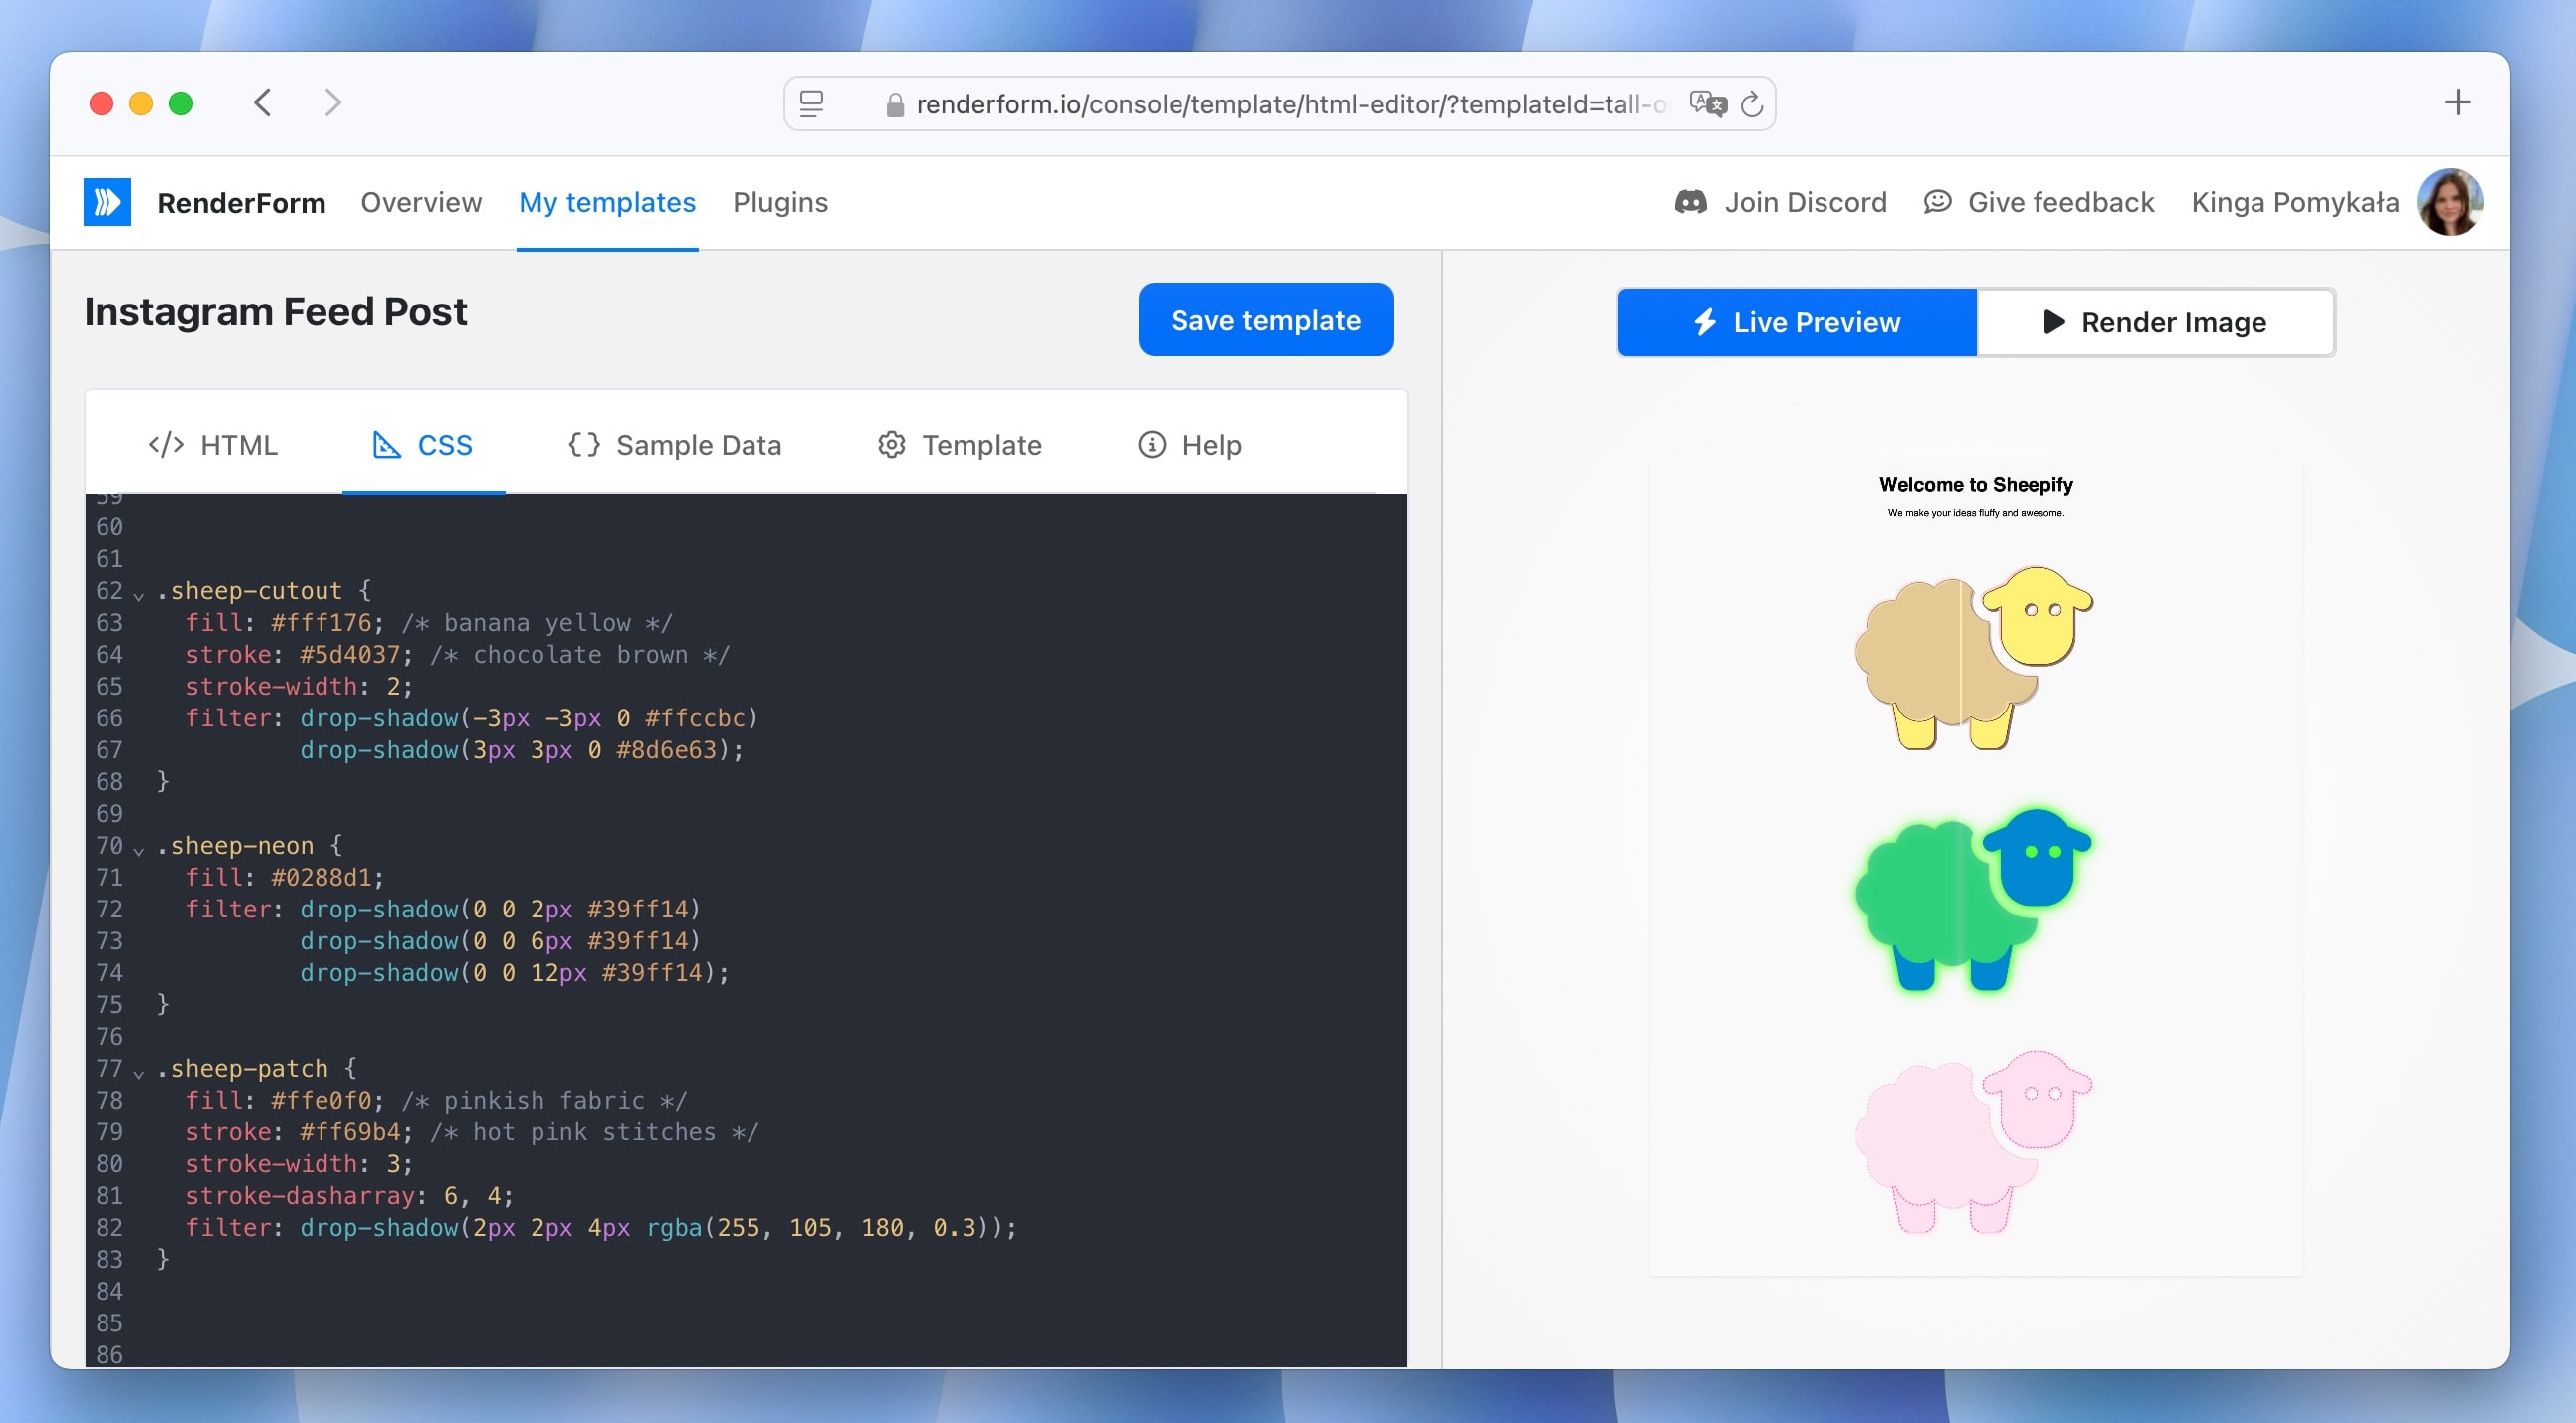
Open your template in the HTML editor or create a new one. Paste your SVG markup right into the HTML using the <svg> tag. Use CSS to style it however you want.
Below is an example and result of styling an SVG element using CSS:

Inline SVGs can be manipulated just like any HTML element:
- You can change colors dynamically.
- You can apply filters like
grayscale(),drop-shadow(),sepia(),blur(). - You can even add interactivity (like
:hovereffects or animations).
Since SVGs are just code, you can treat them like any other HTML element. This makes them pretty flexible if you want to get creative.
Ideas for using SVG in your templates
Here are a few ideas of how you can use SVGs in your templates:
- Icons: Clean and scalable icons for buttons or navigation
- Logos: Company logos that look good at any size
- Charts and graphs: Simple graphs and visualizations you can style and animate
- Background patterns: Use SVG patterns as backgrounds for sections of your template. They can be easily manipulated and styled to create unique designs.
- Illustrations: Hand-drawn or vector-style images you can tweak right inside RenderForm
- Decorative elements: Use SVG shapes and patterns as decorative elements in your template. They can be easily manipulated and styled to create unique designs.
- Custom shapes: Circles, arrows, lines, and other unusual elements to give your design some personality
You can make SVGs using tools like Figma, Adobe Illustrator, Sketch, or Inkscape, then export them and upload to your RenderForm template.
Conclusion
Adding your own SVGs is a great way to make your RenderForm templates feel more personal or tailored to your style. Whether you prefer dragging and dropping in the Canvas editor or digging into code with the HTML editor, both approaches are simple once you get the hang of them. Give it a try, and see what you can build. If you get stuck or have questions, the support team is always around to help.


