How to render lists in HTML templates
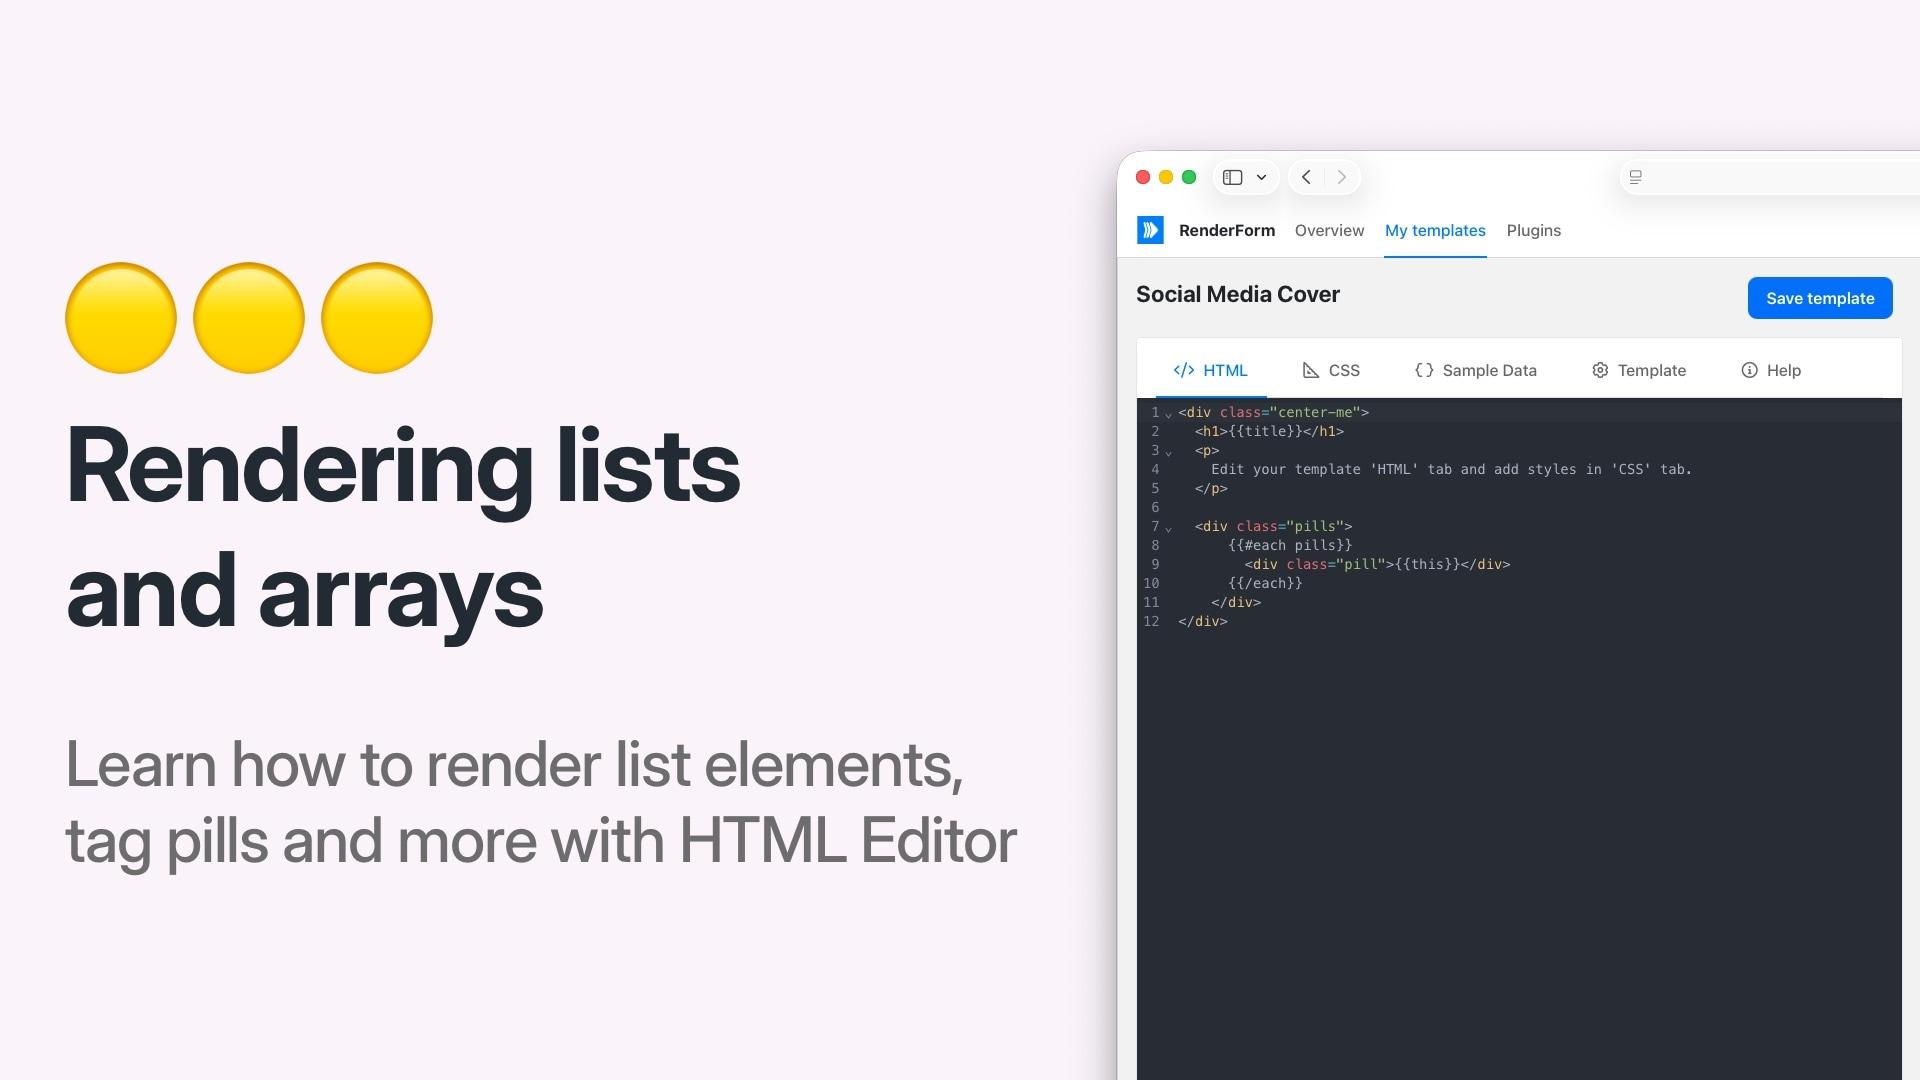
When working with HTML templates in RenderForm, you might need to render a list of items — for example, tags, features, or product badges. By default, passing a JSON array into a merge tag renders it as a comma-separated string. In this post, we will show you how to render arrays as individual HTML elements using the Handlebars {{#each}} helper.
The problem
Let's say your Sample data JSON looks like this:
{
  "pills": ["discount", "free shipping", "new arrival"]
}
If you use {{pills}} directly in your HTML template, it will render as a single string:
discount,free shipping,new arrival
That's probably not what you want. You'd rather have each item rendered as a separate HTML element.
The solution: {{#each}} helper
RenderForm HTML templates are processed using Handlebars, which gives you access to built-in helpers like {{#each}}. This helper lets you iterate over an array and generate HTML for each item.
Here's how to render the pills array as individual <div> elements:
<div class="pills">
  {{#each pills}}
    <div class="pill">{{this}}</div>
  {{/each}}
</div>
This will output:
<div class="pills">
  <div class="pill">discount</div>
  <div class="pill">free shipping</div>
  <div class="pill">new arrival</div>
</div>
Inside the {{#each}} block, {{this}} refers to the current item in the array.
Styling the list
You can combine this with CSS to create styled badges, tags, or pills. For example:
.pills {
  display: flex;
  gap: 8px;
  flex-wrap: wrap;
}

.pill {
  background-color: #e0f2fe;
  color: #0369a1;
  padding: 4px 12px;
  border-radius: 16px;
  font-size: 14px;
  font-weight: 500;
}
Rendering an array of objects
You can also iterate over arrays of objects. Given the following sample data:
{
  "features": [
    { "icon": "✅", "label": "Free shipping" },
    { "icon": "⭐", "label": "Top rated" }
  ]
}
Use {{#each}} to access each object's properties:
<ul class="features">
  {{#each features}}
    <li>{{this.icon}} {{this.label}}</li>
  {{/each}}
</ul>
Using the index
Need to display a numbered list? Use {{@index}} inside the {{#each}} block to access the current zero-based index:
<ol>
  {{#each items}}
    <li>{{@index}}. {{this}}</li>
  {{/each}}
</ol>
API request example
When rendering via the REST API, pass the array in the data object just like any other property:
curl --request POST \
     --url https://get.renderform.io/api/v2/render \
     --header 'X-API-KEY: <API_KEY>' \
     --header 'Content-Type: application/json' \
     --data '{
        "template": "<TEMPLATE_ID>",
        "data": {
          "pills": ["discount", "free shipping", "new arrival"],
          "title": "My listing"
        }
    }'
Summary
- Use
{{#each arrayName}}...{{/each}}to iterate over arrays in HTML templates - Use
{{this}}to reference the current item in the loop - Use
{{this.propertyName}}when iterating over an array of objects - Use
{{@index}}to access the current index
For more details, check out the HTML Template Editor documentation.


