How to generate images on your website
Introduction
In this tutorial, you will learn how to embed RenderForm image generator into any website into which you can add HTML code.
This is useful if you want to allow your users to generate images directly from your website, or you want to simplify your workflow by generating images directly from your website.
The integration uses the Live Preview sharing feature and iframe HTML tag to embed the image generator in your website.
Enable Live Preview sharing
First, you need to enable Live Preview sharing for your template. To do this, find the template you want to embed in your website and open the Preview popup, then click on the Settings tab and enable the Live Preview sharing.
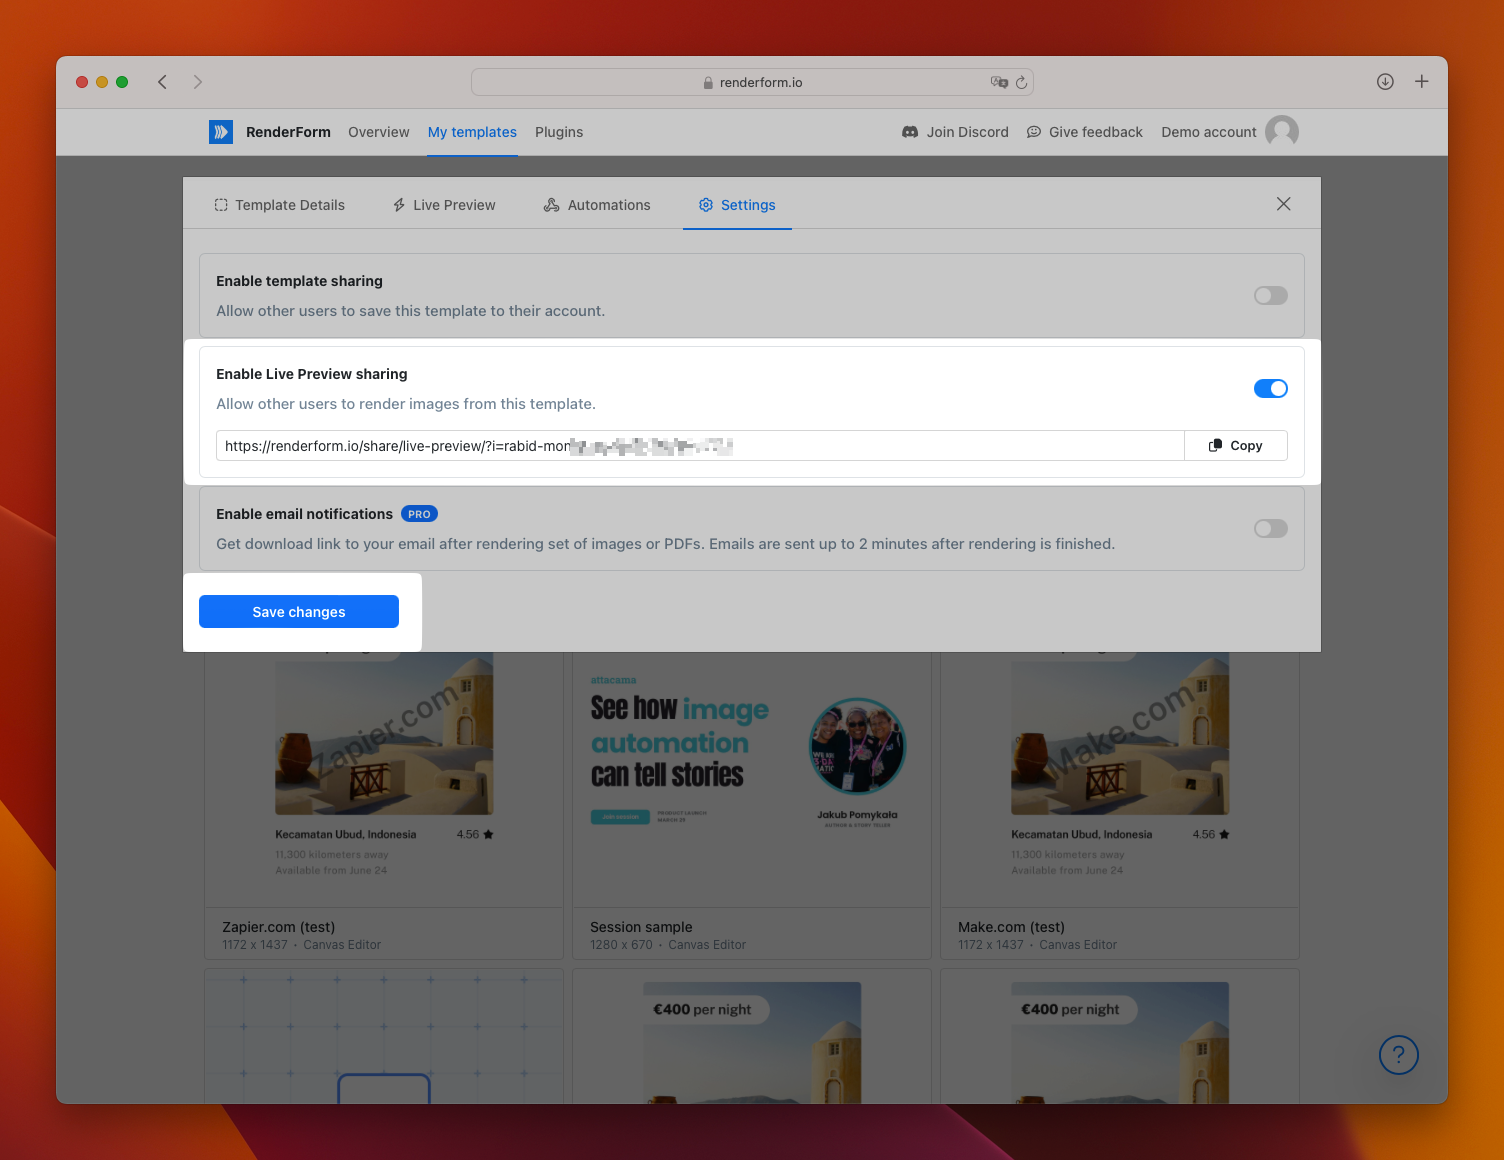
Copy the link from the Live Preview section. This link will be used to embed the image generator in your website. Remember to save the changes.
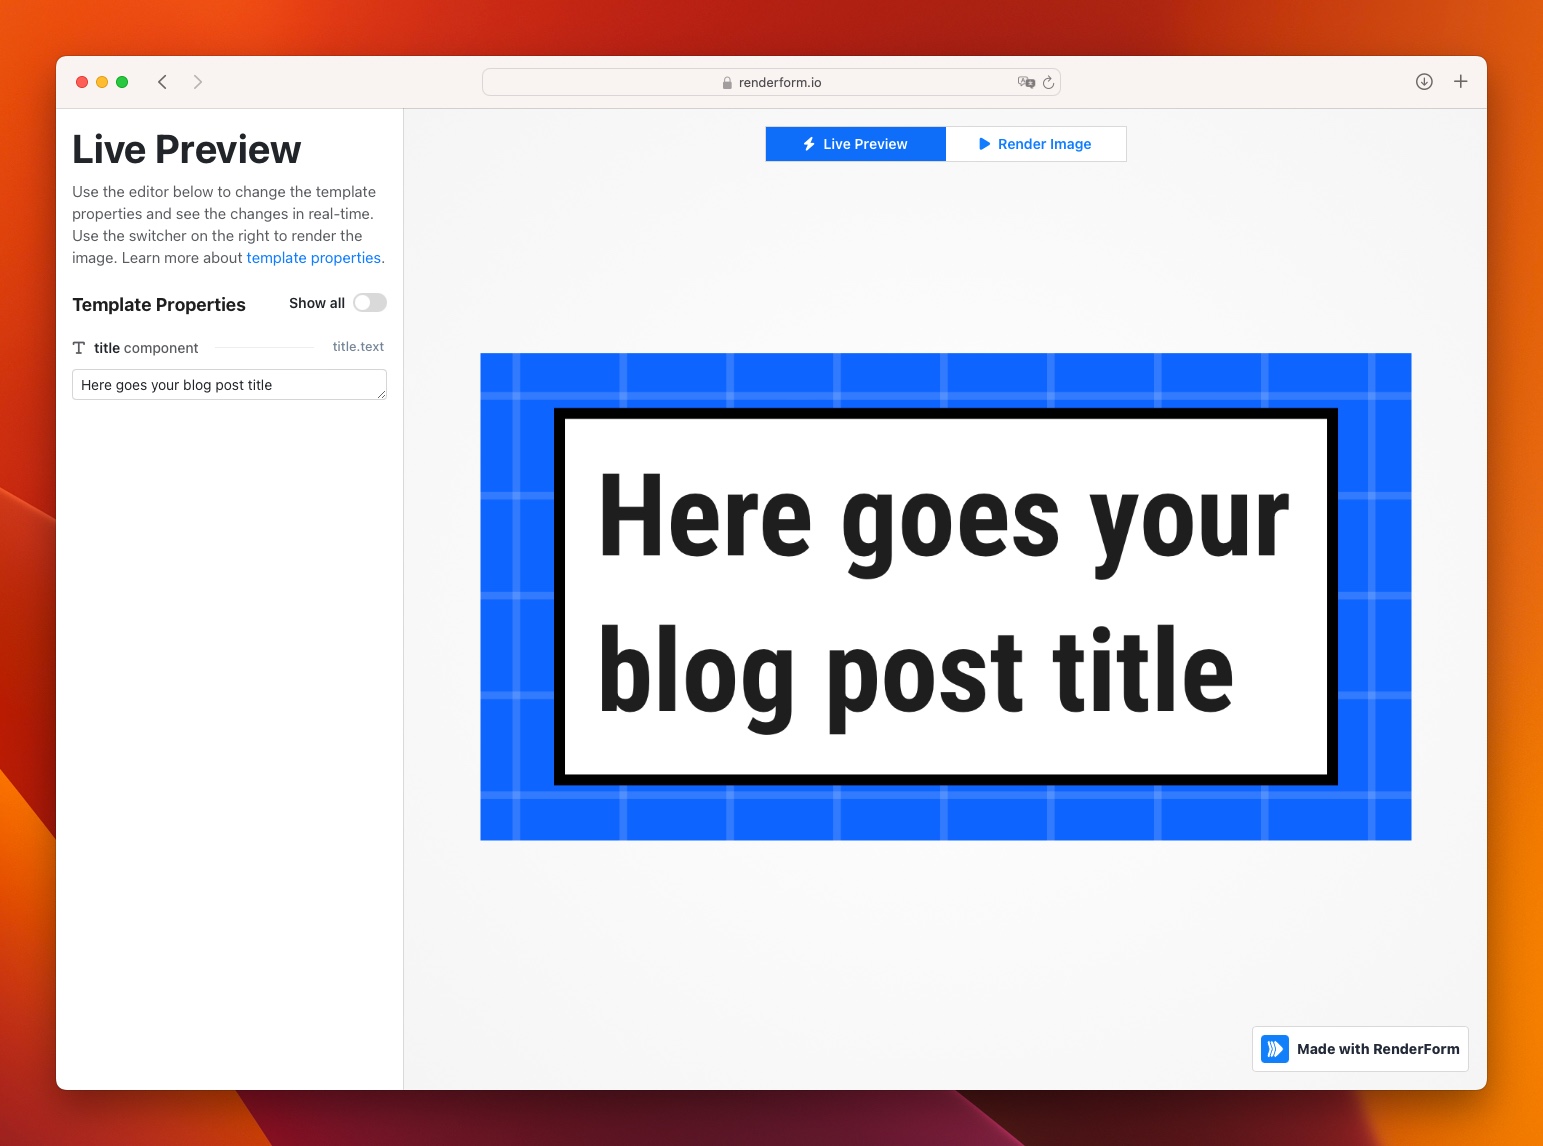
You can verify if the Live Preview sharing is enabled by opening the link in your browser. You should see the image generator with the template you want to embed in your website.
Embed the image generator in your website
To embed the image generator in your website, you need to use the following HTML code:
<iframe
  src="https://renderform.io/share/live-preview/?i=XXXXXXXXXXXXXXXXX"
  width="100%"
  height="500px"
  frameborder="0"
>
</iframe>
Put the HTML code in the place where you want to embed the image generator in your website.
Replace the link for the src attribute with the link that you copied from the Live Preview section.
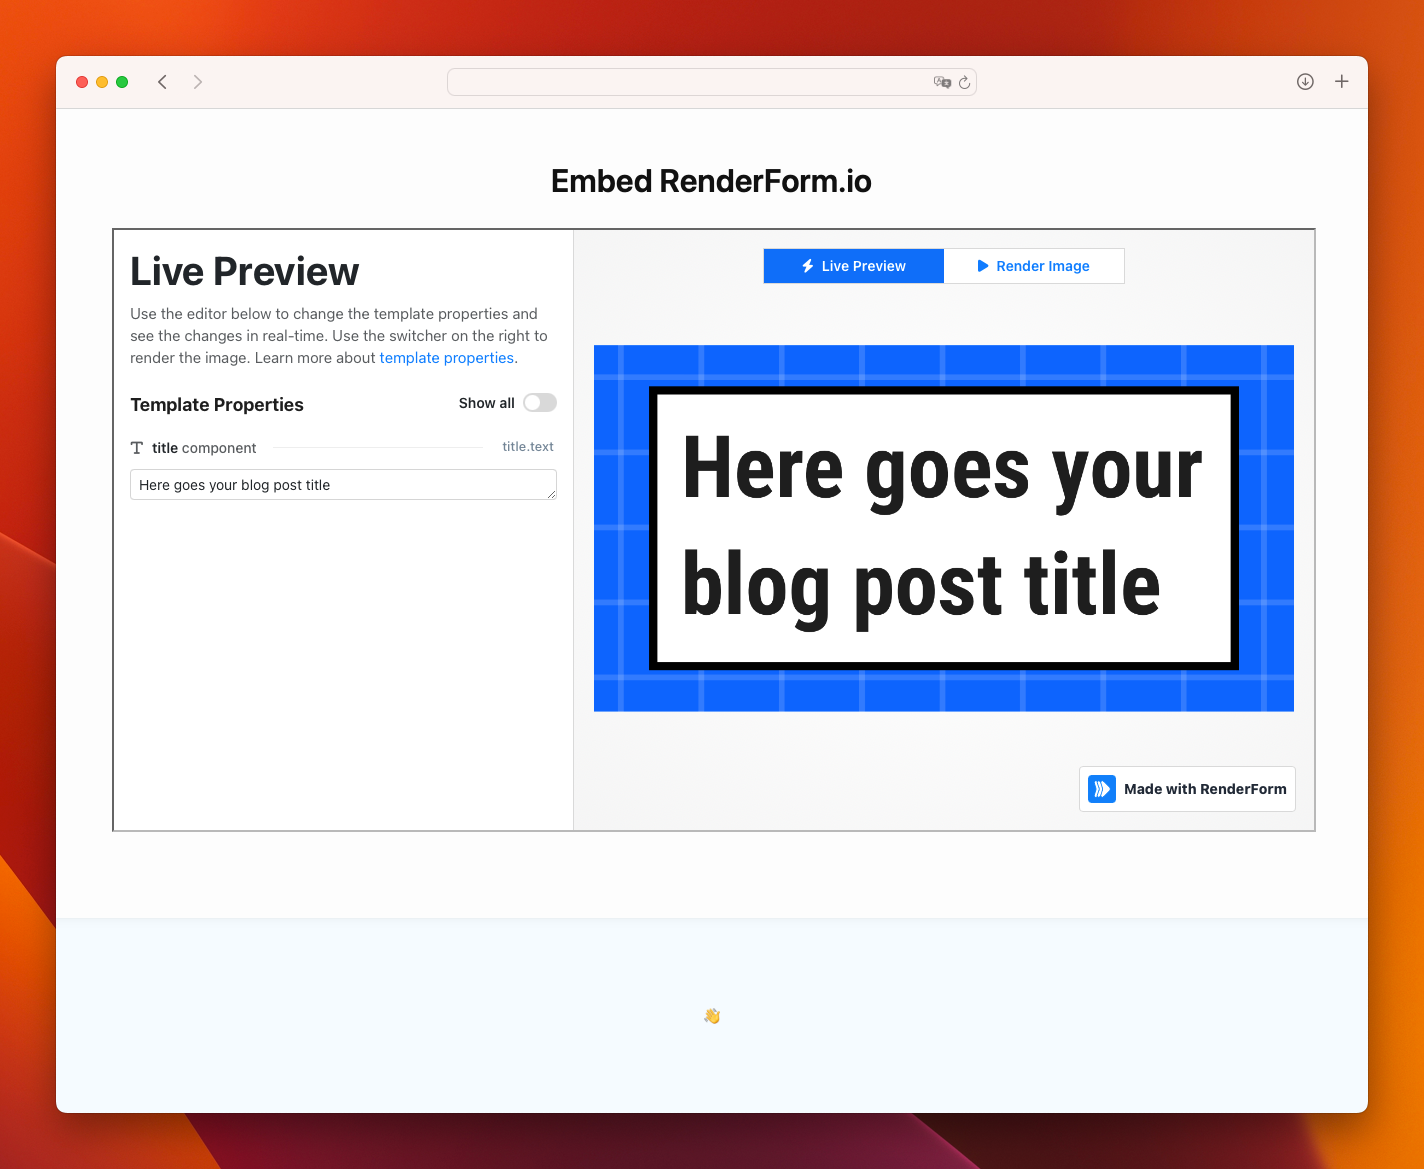
Image generator embedded in website
As a result, you will see the image generator embedded in your website. You and your users can use the image generator to generate images for the given template.
Your API Key is not exposed to the public, so you can safely embed the image generator in any public website to allow your users to generate images for the given template.
Please be aware that anyone who has access to the link can generate unlimited images for the given template, and this can lead to excessive usage of your RenderForm credits until the Live Preview sharing is disabled.
Customizing the Live Preview properties
To make your Live Preview more user-friendly, you can hide some properties from the Live Preview. This is useful if you want to allow your users to customize only specific parts of the template and hide the complexities of the template from them.
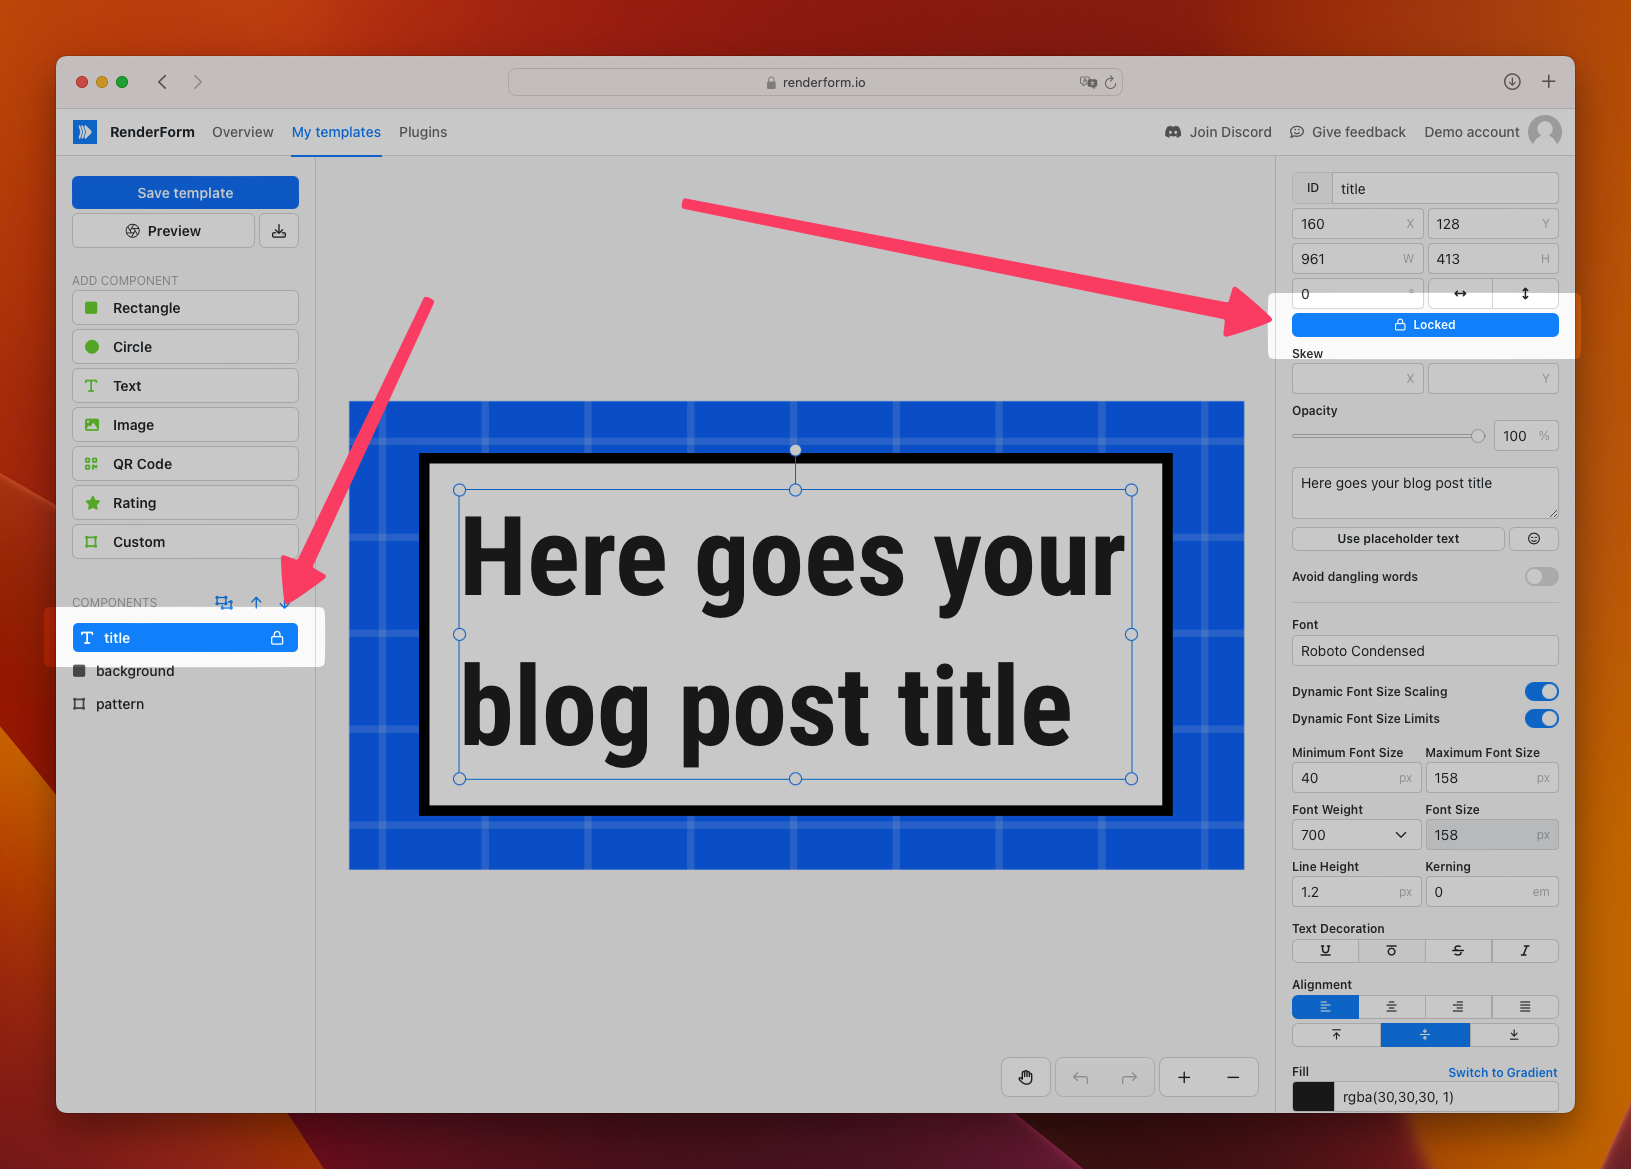
To hide a property from the Live Preview, you need to lock the component in the template editor. Open the template editor and click on the property you want to hide, then click on the Lock button to lock the component, and save the changes.
Conclusion
In this article, you learned how to embed RenderForm image generator thanks to a Live Preview sharing feature. It's extremely useful if you want to improve your or your users' workflow by generating images directly from your website.
Integrations via iframe are simple and can be used in any website that allows you to add HTML code. You can also customize the Live Preview properties to make the image generator more user-friendly.
If you have any questions or need help with the integration, feel free to contact us at contact@renderform.io!


