Personalized Emails with Mailchimp in 3 minutes

Email campaigns are one of the most popular ways to reach subscribers and customers. Generic emails are useful for general announcements or new product updates, but they don't create any emotional connection between you and the email recipient.
Personalized images are a powerful way to connect with your customers on a personal level. Tailoring the images of your emails to include the recipient's name, organization name or other personal details allows you to give them an experience that they are sure to enjoy.
Check how to send personalized email campaigns with Mailchimp and RenderForm.io image generator in 3 simple steps!
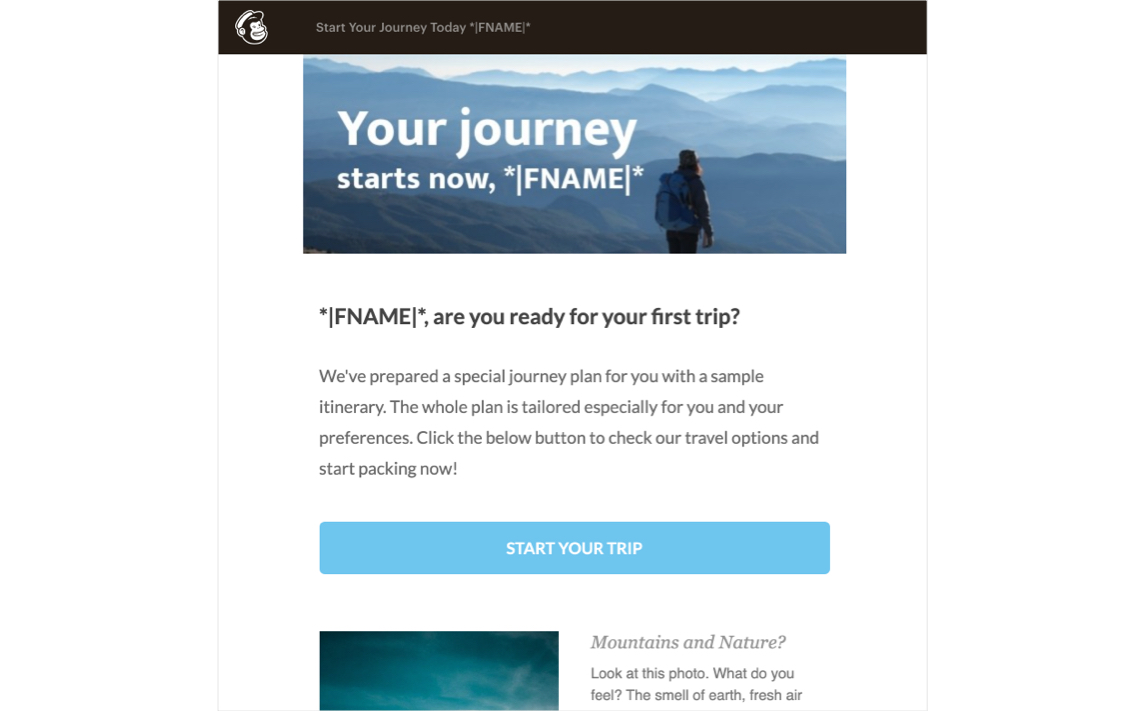
Create personalized images for your Mailchimp email campaign
RenderForm.io's easy template editor lets you create nice image templates and use them in your Mailchimp email campaign without any coding skills. Automate your email campaigns and improve your relations with your customers with those 3 easy steps.
Create image template
First, log in to RenderForm.io and create an image template. You can also use any image you like from our template base.
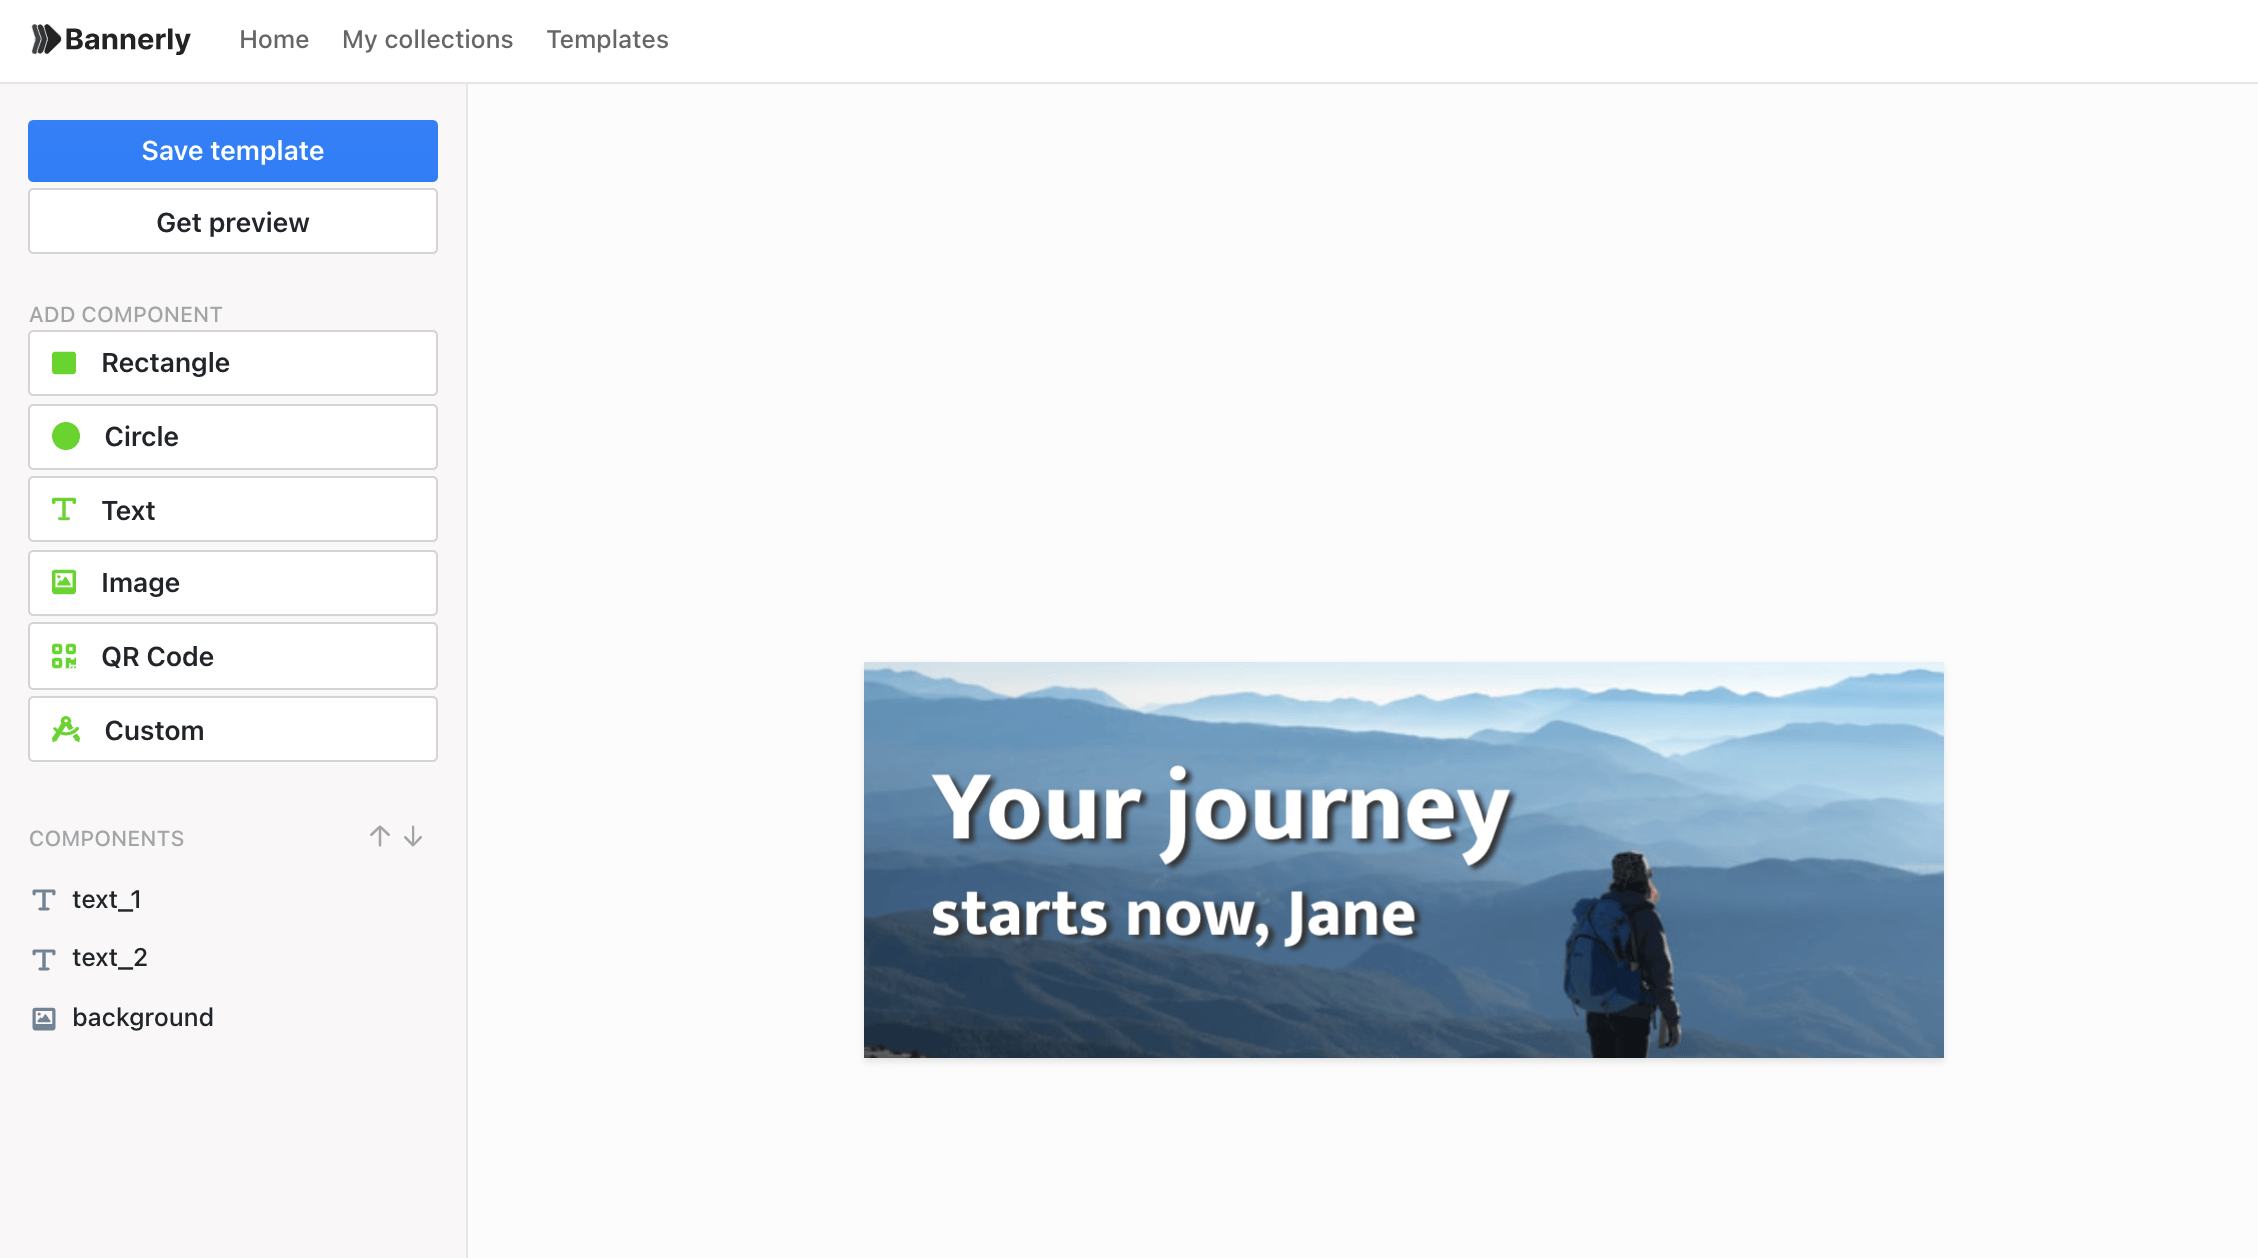
Our tips:
- think about where you want the image to be in the email (e.g., in the email header, as a sticker or promo banner)
- for email header image in Mailchimp, use a template with 600 pixels width
- create space for the recipient's name, company name or other element you want to personalize
- have a photo of the recipient or a company logo? Use it to personalize the content!
Create the image link
When your image template is ready, create its unique link that you will use in your email campaign.
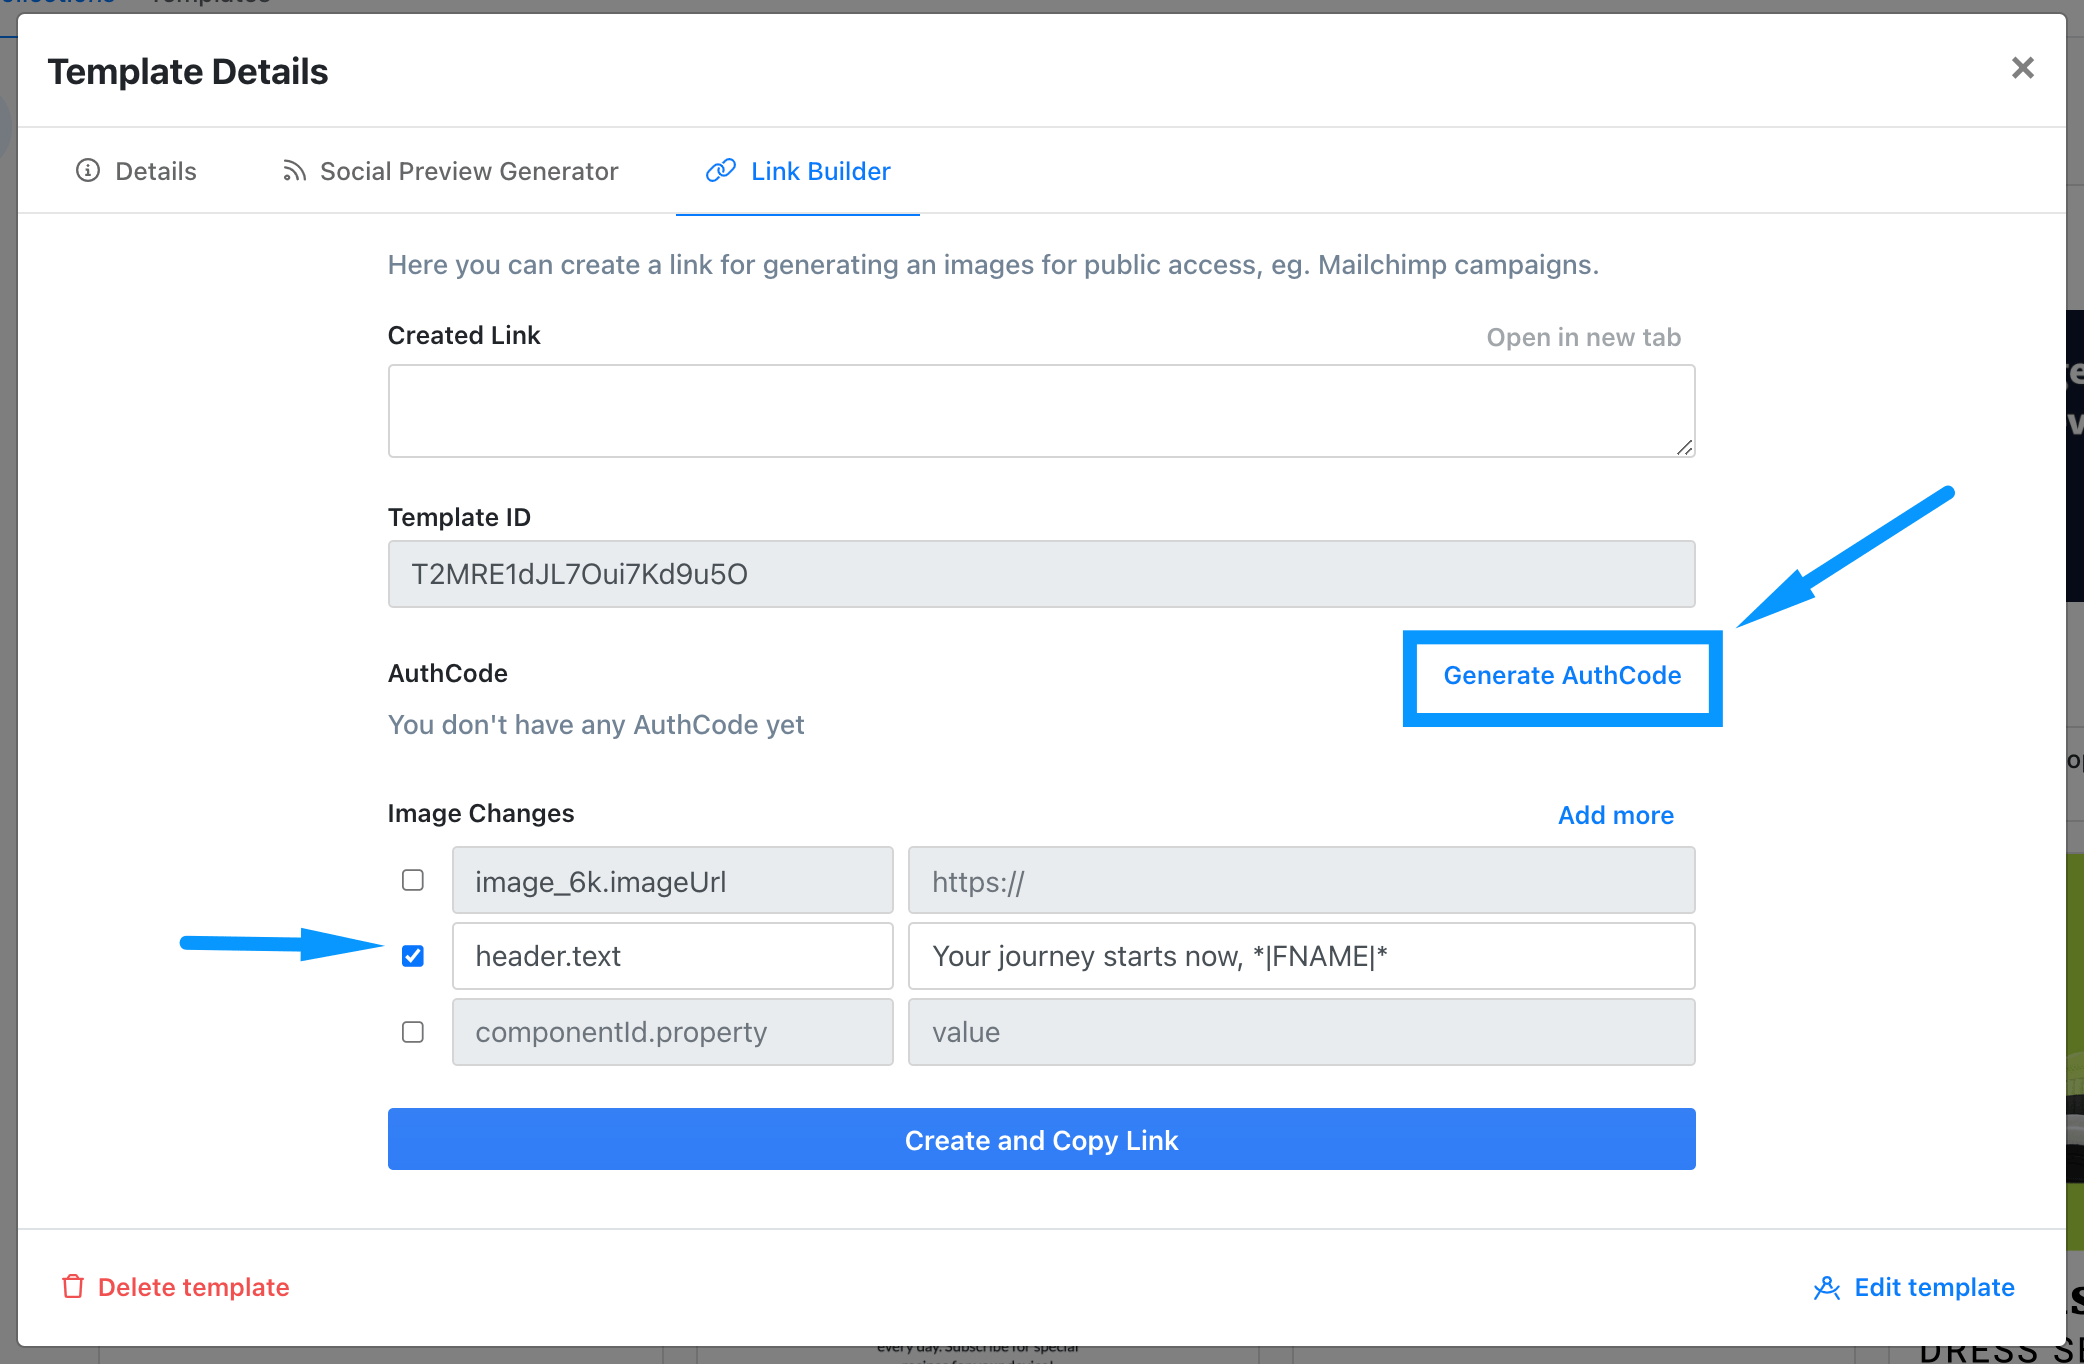
- Open Plugins tab,
- Go to Link Builder plugin to generate your image link.
- Choose your template from selector.
- Click Generate AuthCode option to create a unique code for your image.
- In Image Changes, select which image component will be modified. In this case, we will modify the component named Header. Enter your text and to insert your recipient's name to the image, use
*|FNAME|*key from Mailchimp. - Click on Create and Copy link button to generate your image link.
Add image to Mailchimp email template
Create a new email template in Mailchimp or use an existing one and drag Code block section to the template.
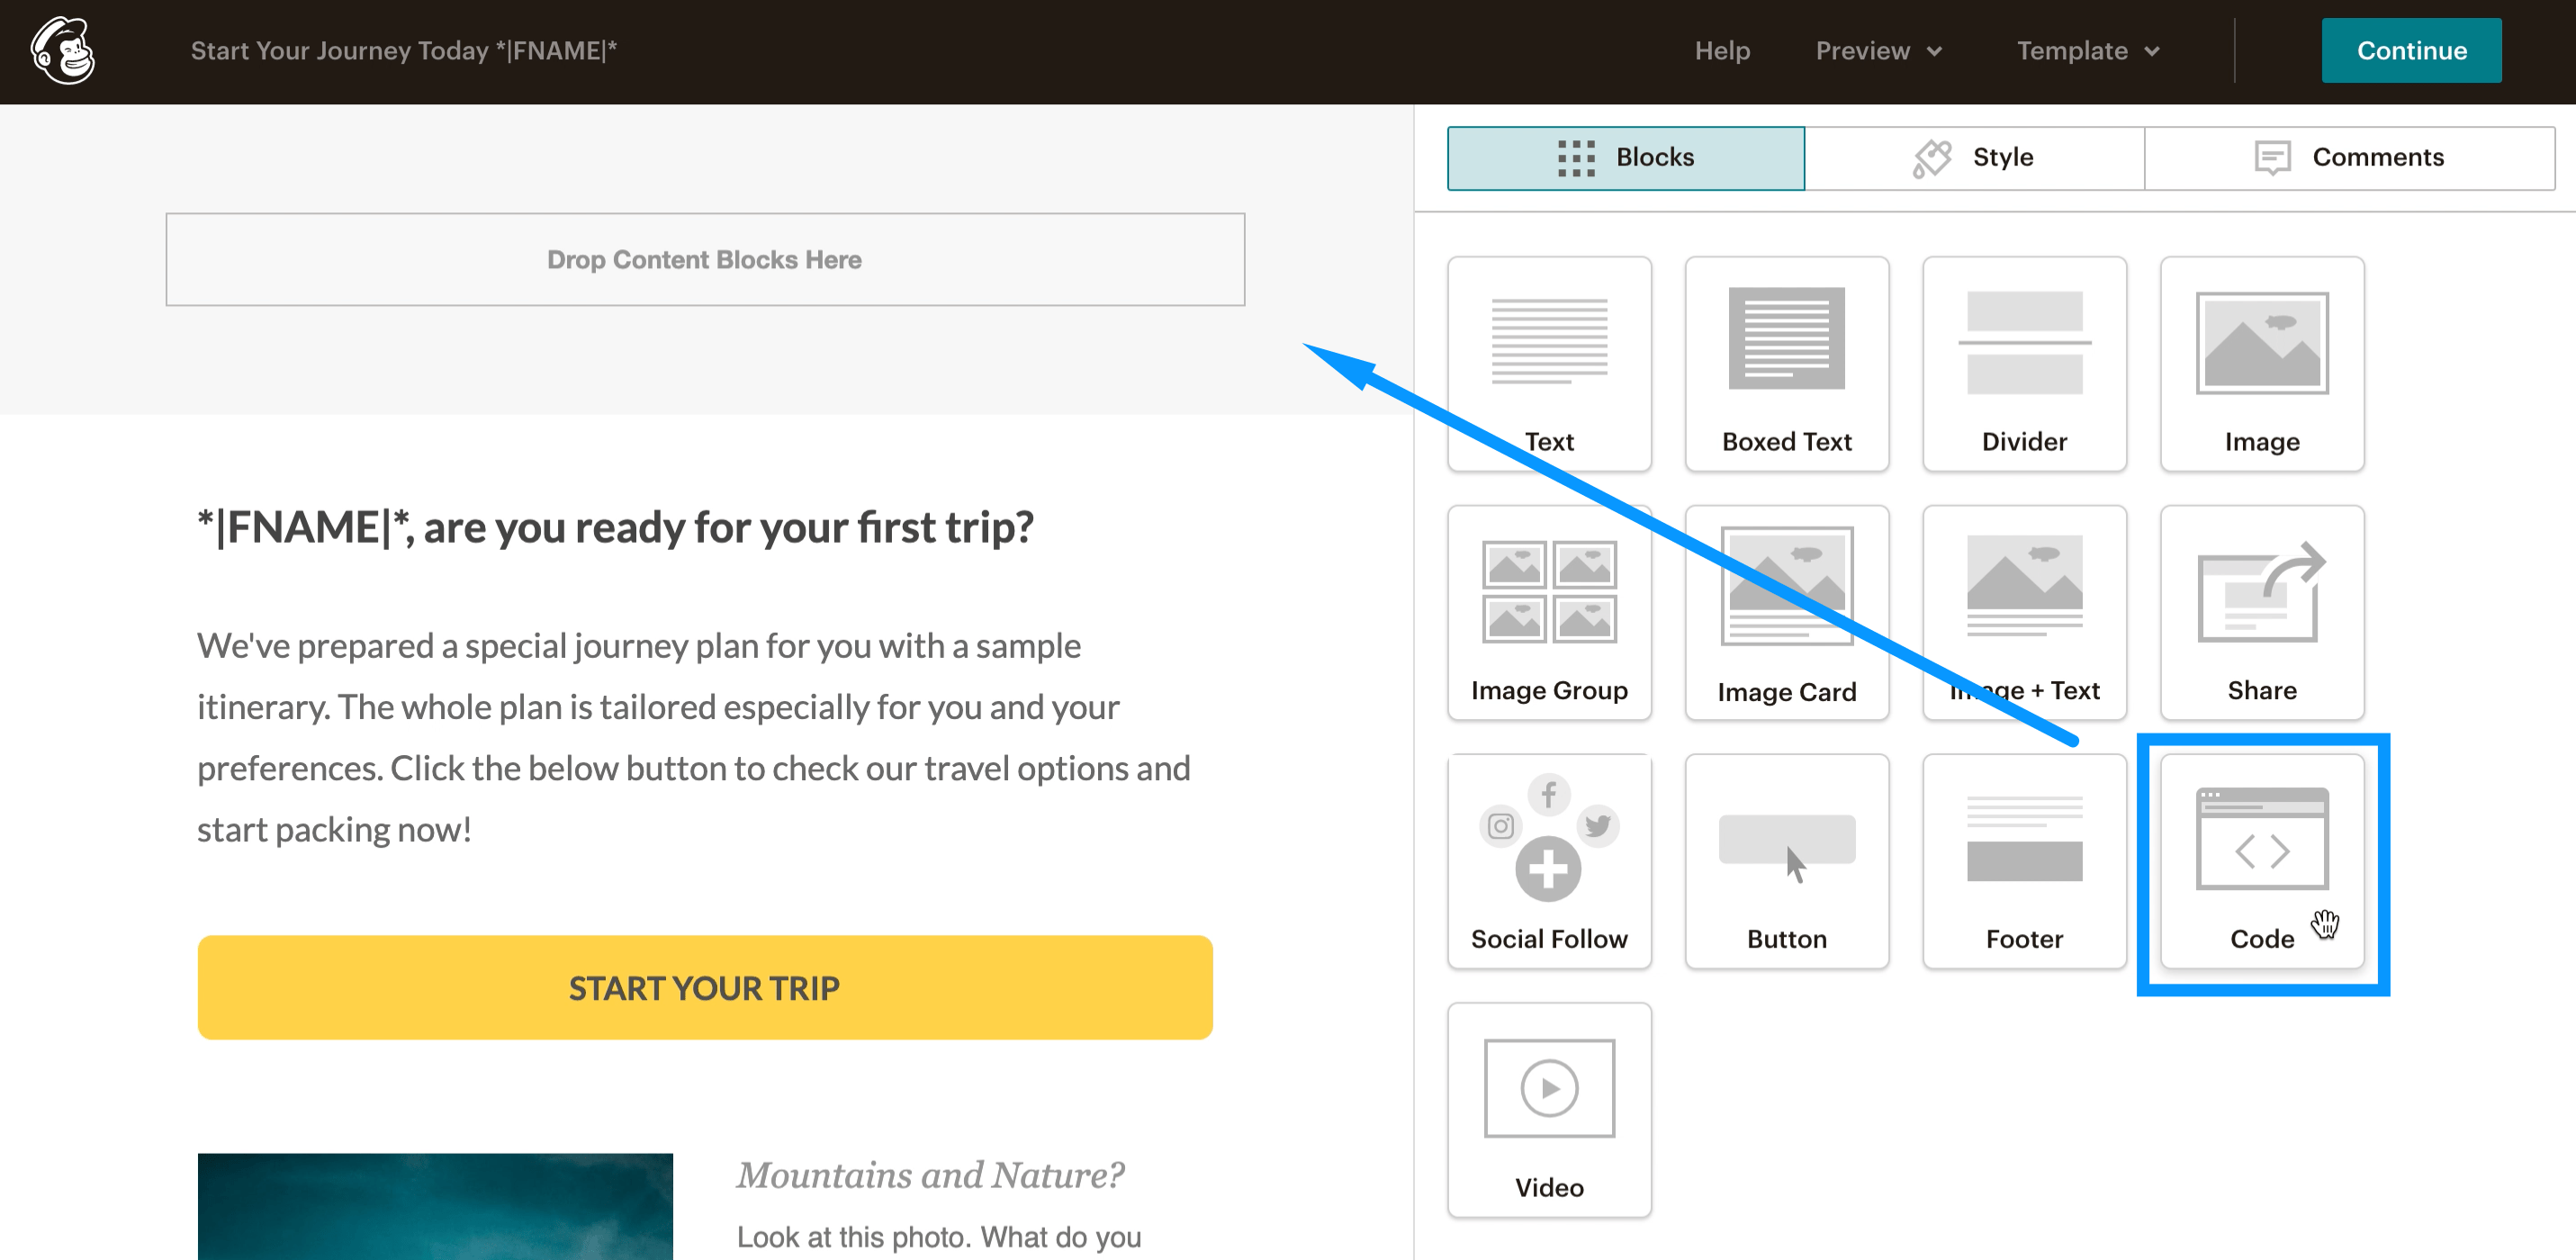
In the Code editor, paste the following code, replacing YOUR_IMAGE_LINK with the image link created in RenderForm.
<div class="mcnTextContent">
   <img src="YOUR_IMAGE_LINK"/>
</div>
Save the template and it's ready to go!
Personalized Email with Mailchimp
With those 3 steps, your audience can receive interesting and tailored emails that stand out from the mass of generic emails they receive daily.
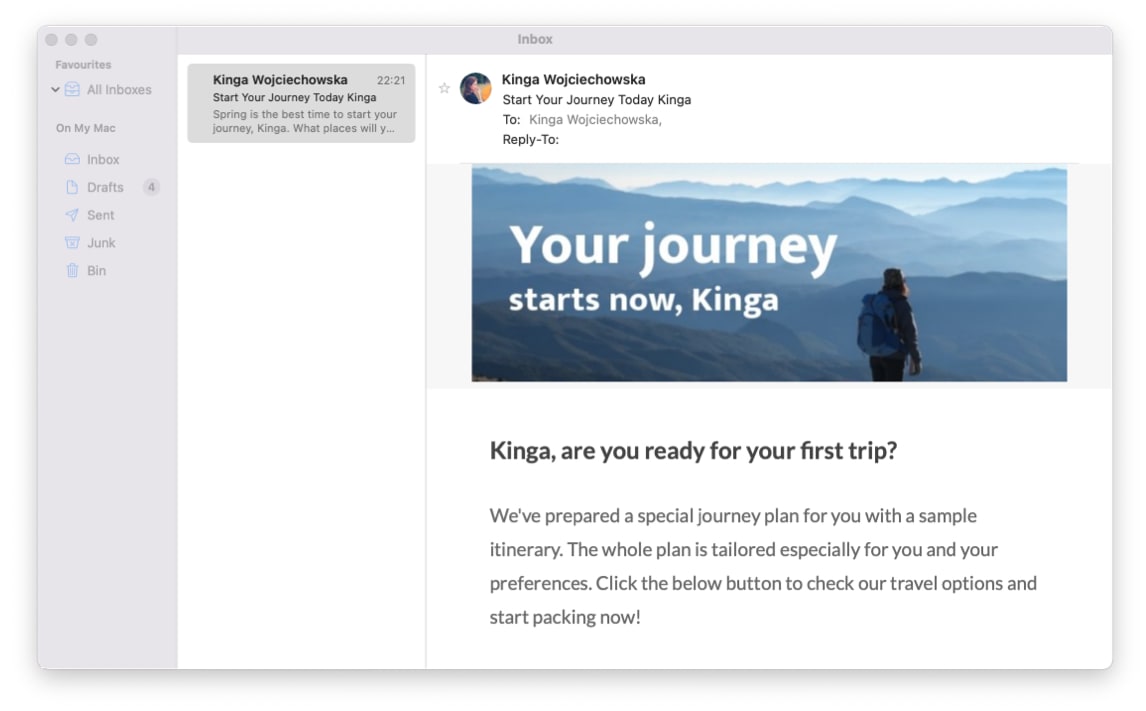
Thanks to personalized image links, you can send customized messages in your Mailchimp Campaigns! Create custom and interesting texts and add them to your emails as images.


